Thank you for the tremendous response to last week’s post, the big reveal of my adventure in interior design. This week we move into the bedroom…cue the romantic music.
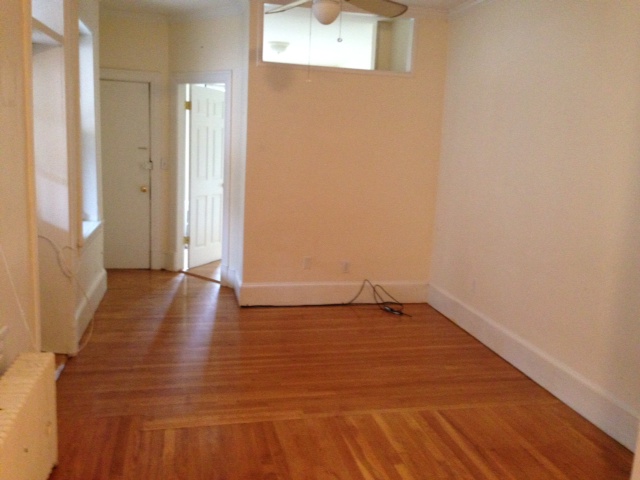
Here is the before:
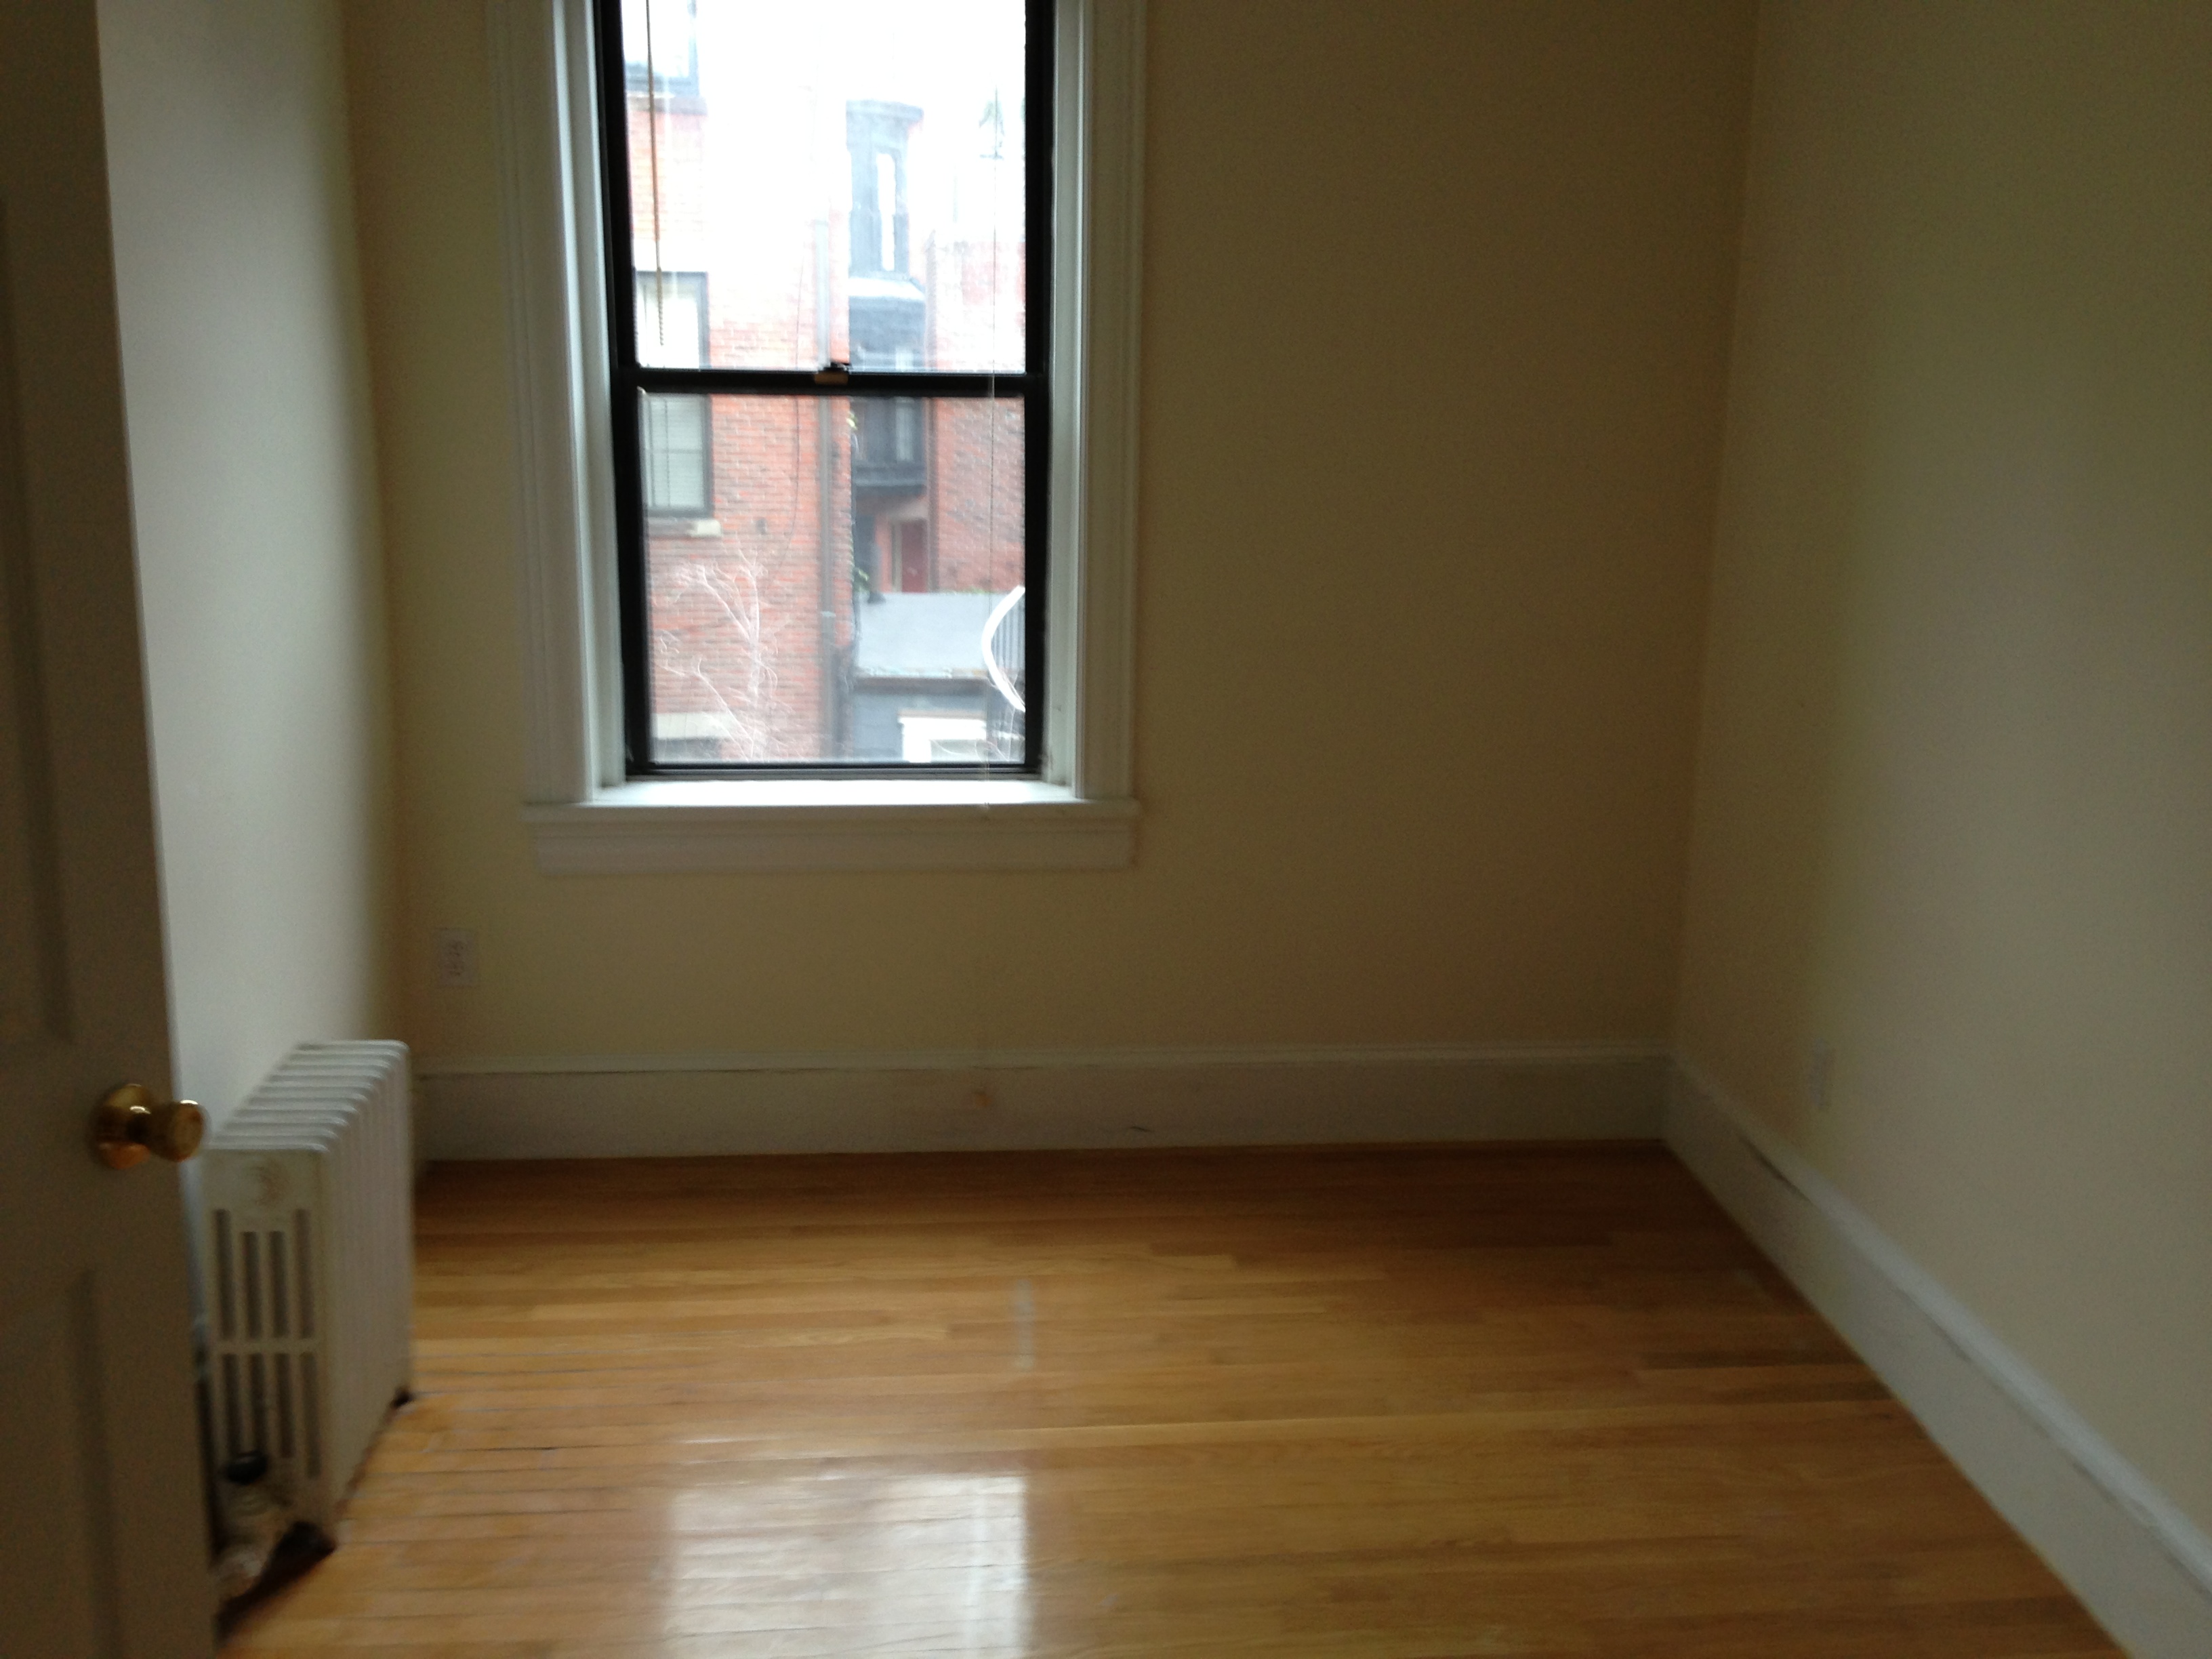
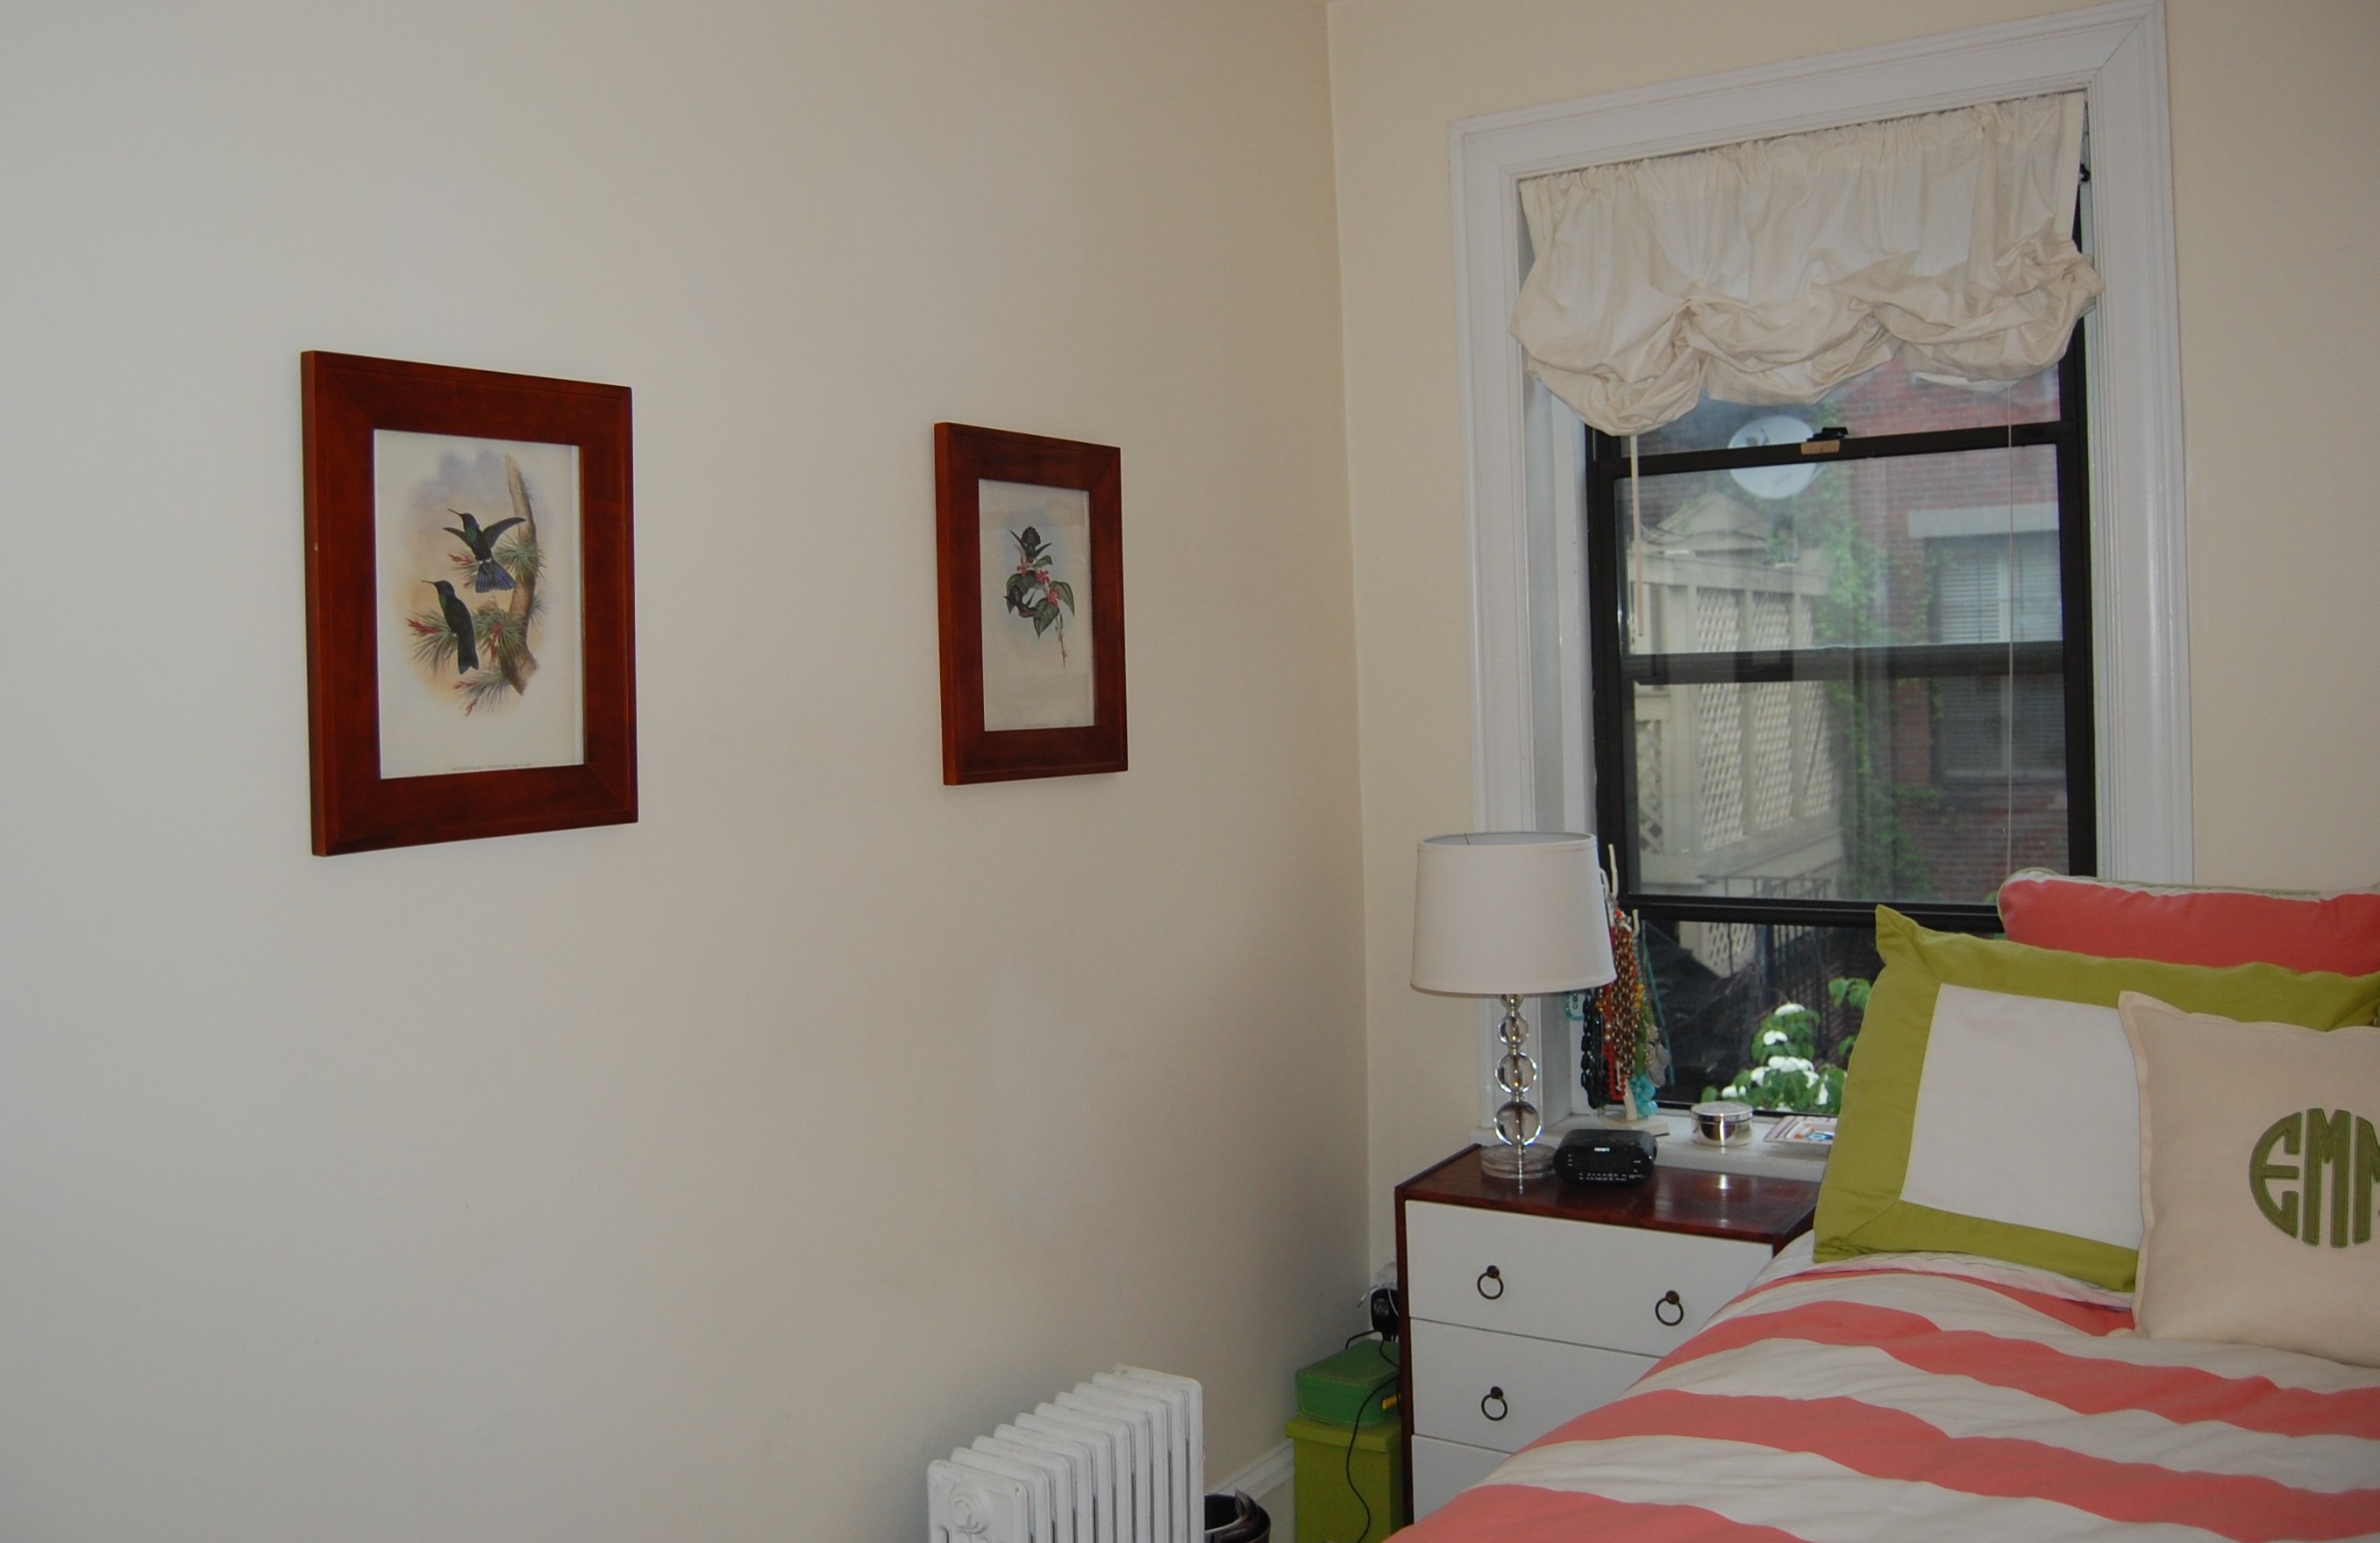
Long and narrow, tough to work with
As you can see the shape of my bedroom (not to mention the window and radiator) doesn’t allow for many variations in terms of furniture placement. My bed could only really go one place, so there it is. I’m using the same Serena and Lilly bedding that I had in my last place, although with these eggshell colored walls (which sadly I am not allowed to paint) the pink and green seems a little bit more in your face than before, so I may change my bedding in the coming months.
Because the room is an odd shape, I really didn’t want to invest a tremendous amount of money in bedroom furniture that fits in this small space, but may not be the right proportion for a larger room I inhabit in the future. In addition, and perhaps more importantly, I wanted to impress you all with my craftiness, so I decided to Ikea Hack! I didn’t realize this was a thing until I stumbled upon this Apartment Therapy post and realized there was a lot I could do with a raw wood piece from the Swedish furniture maker. It’s a cottage industry.

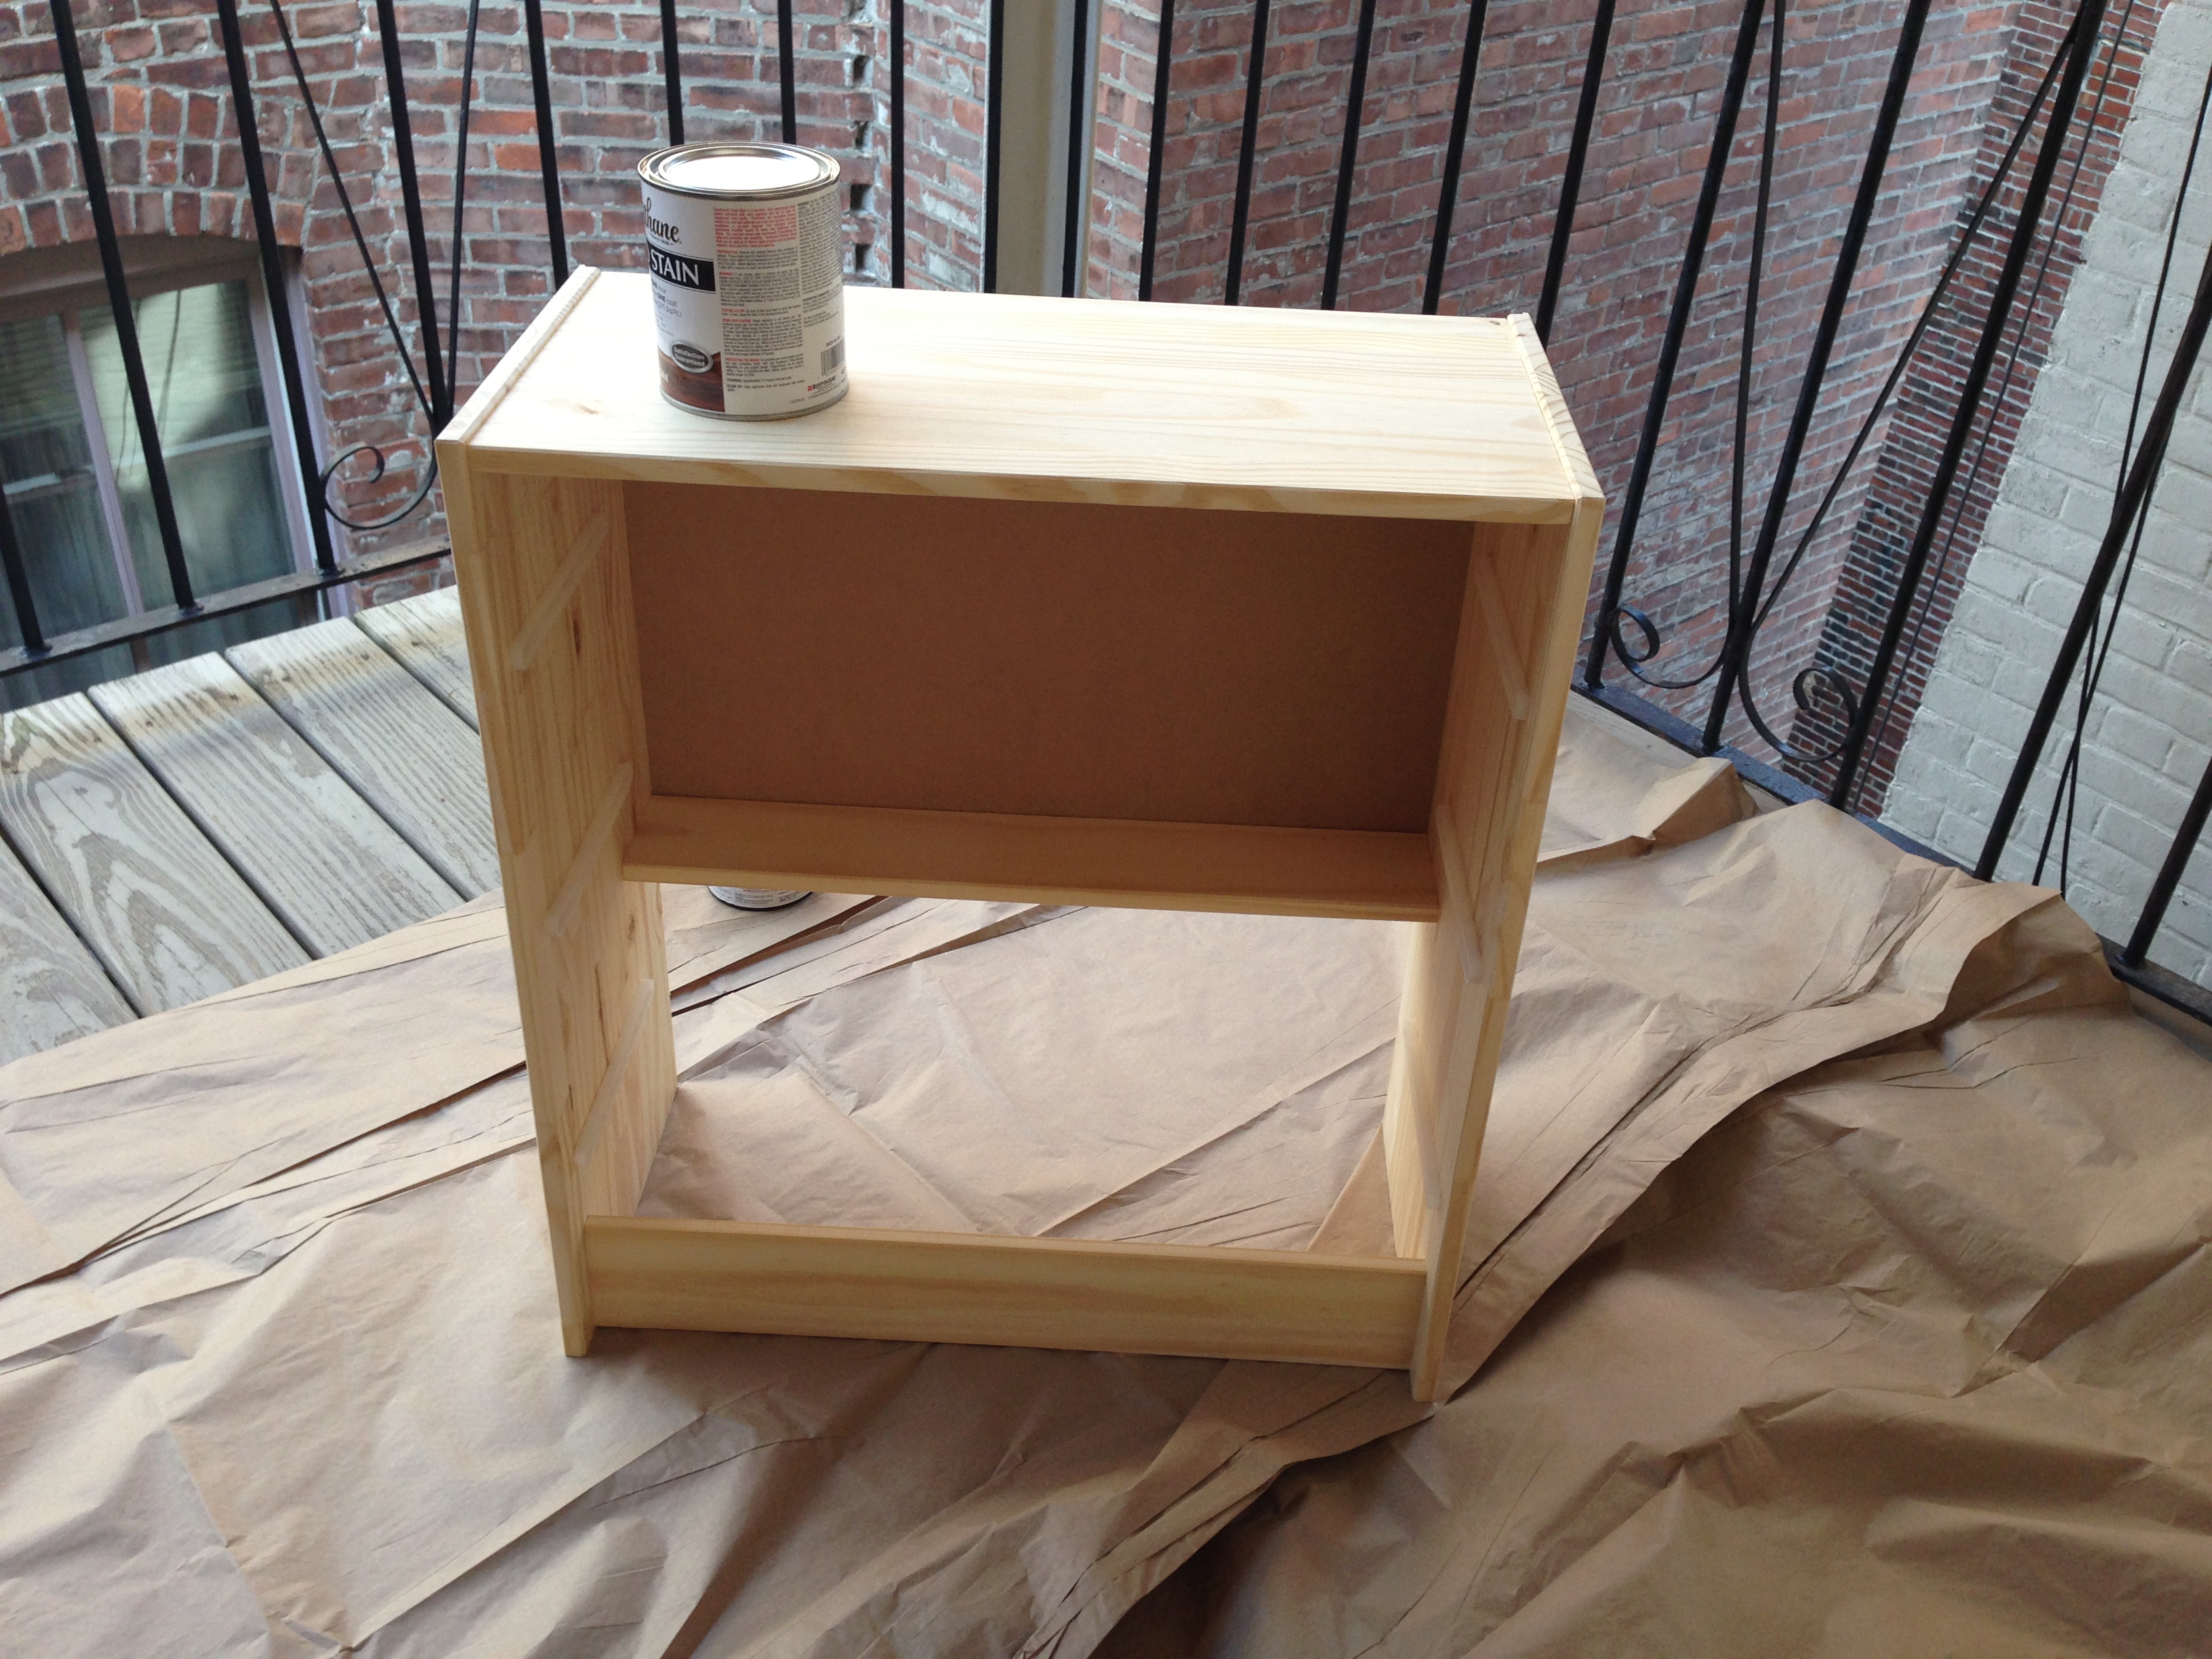
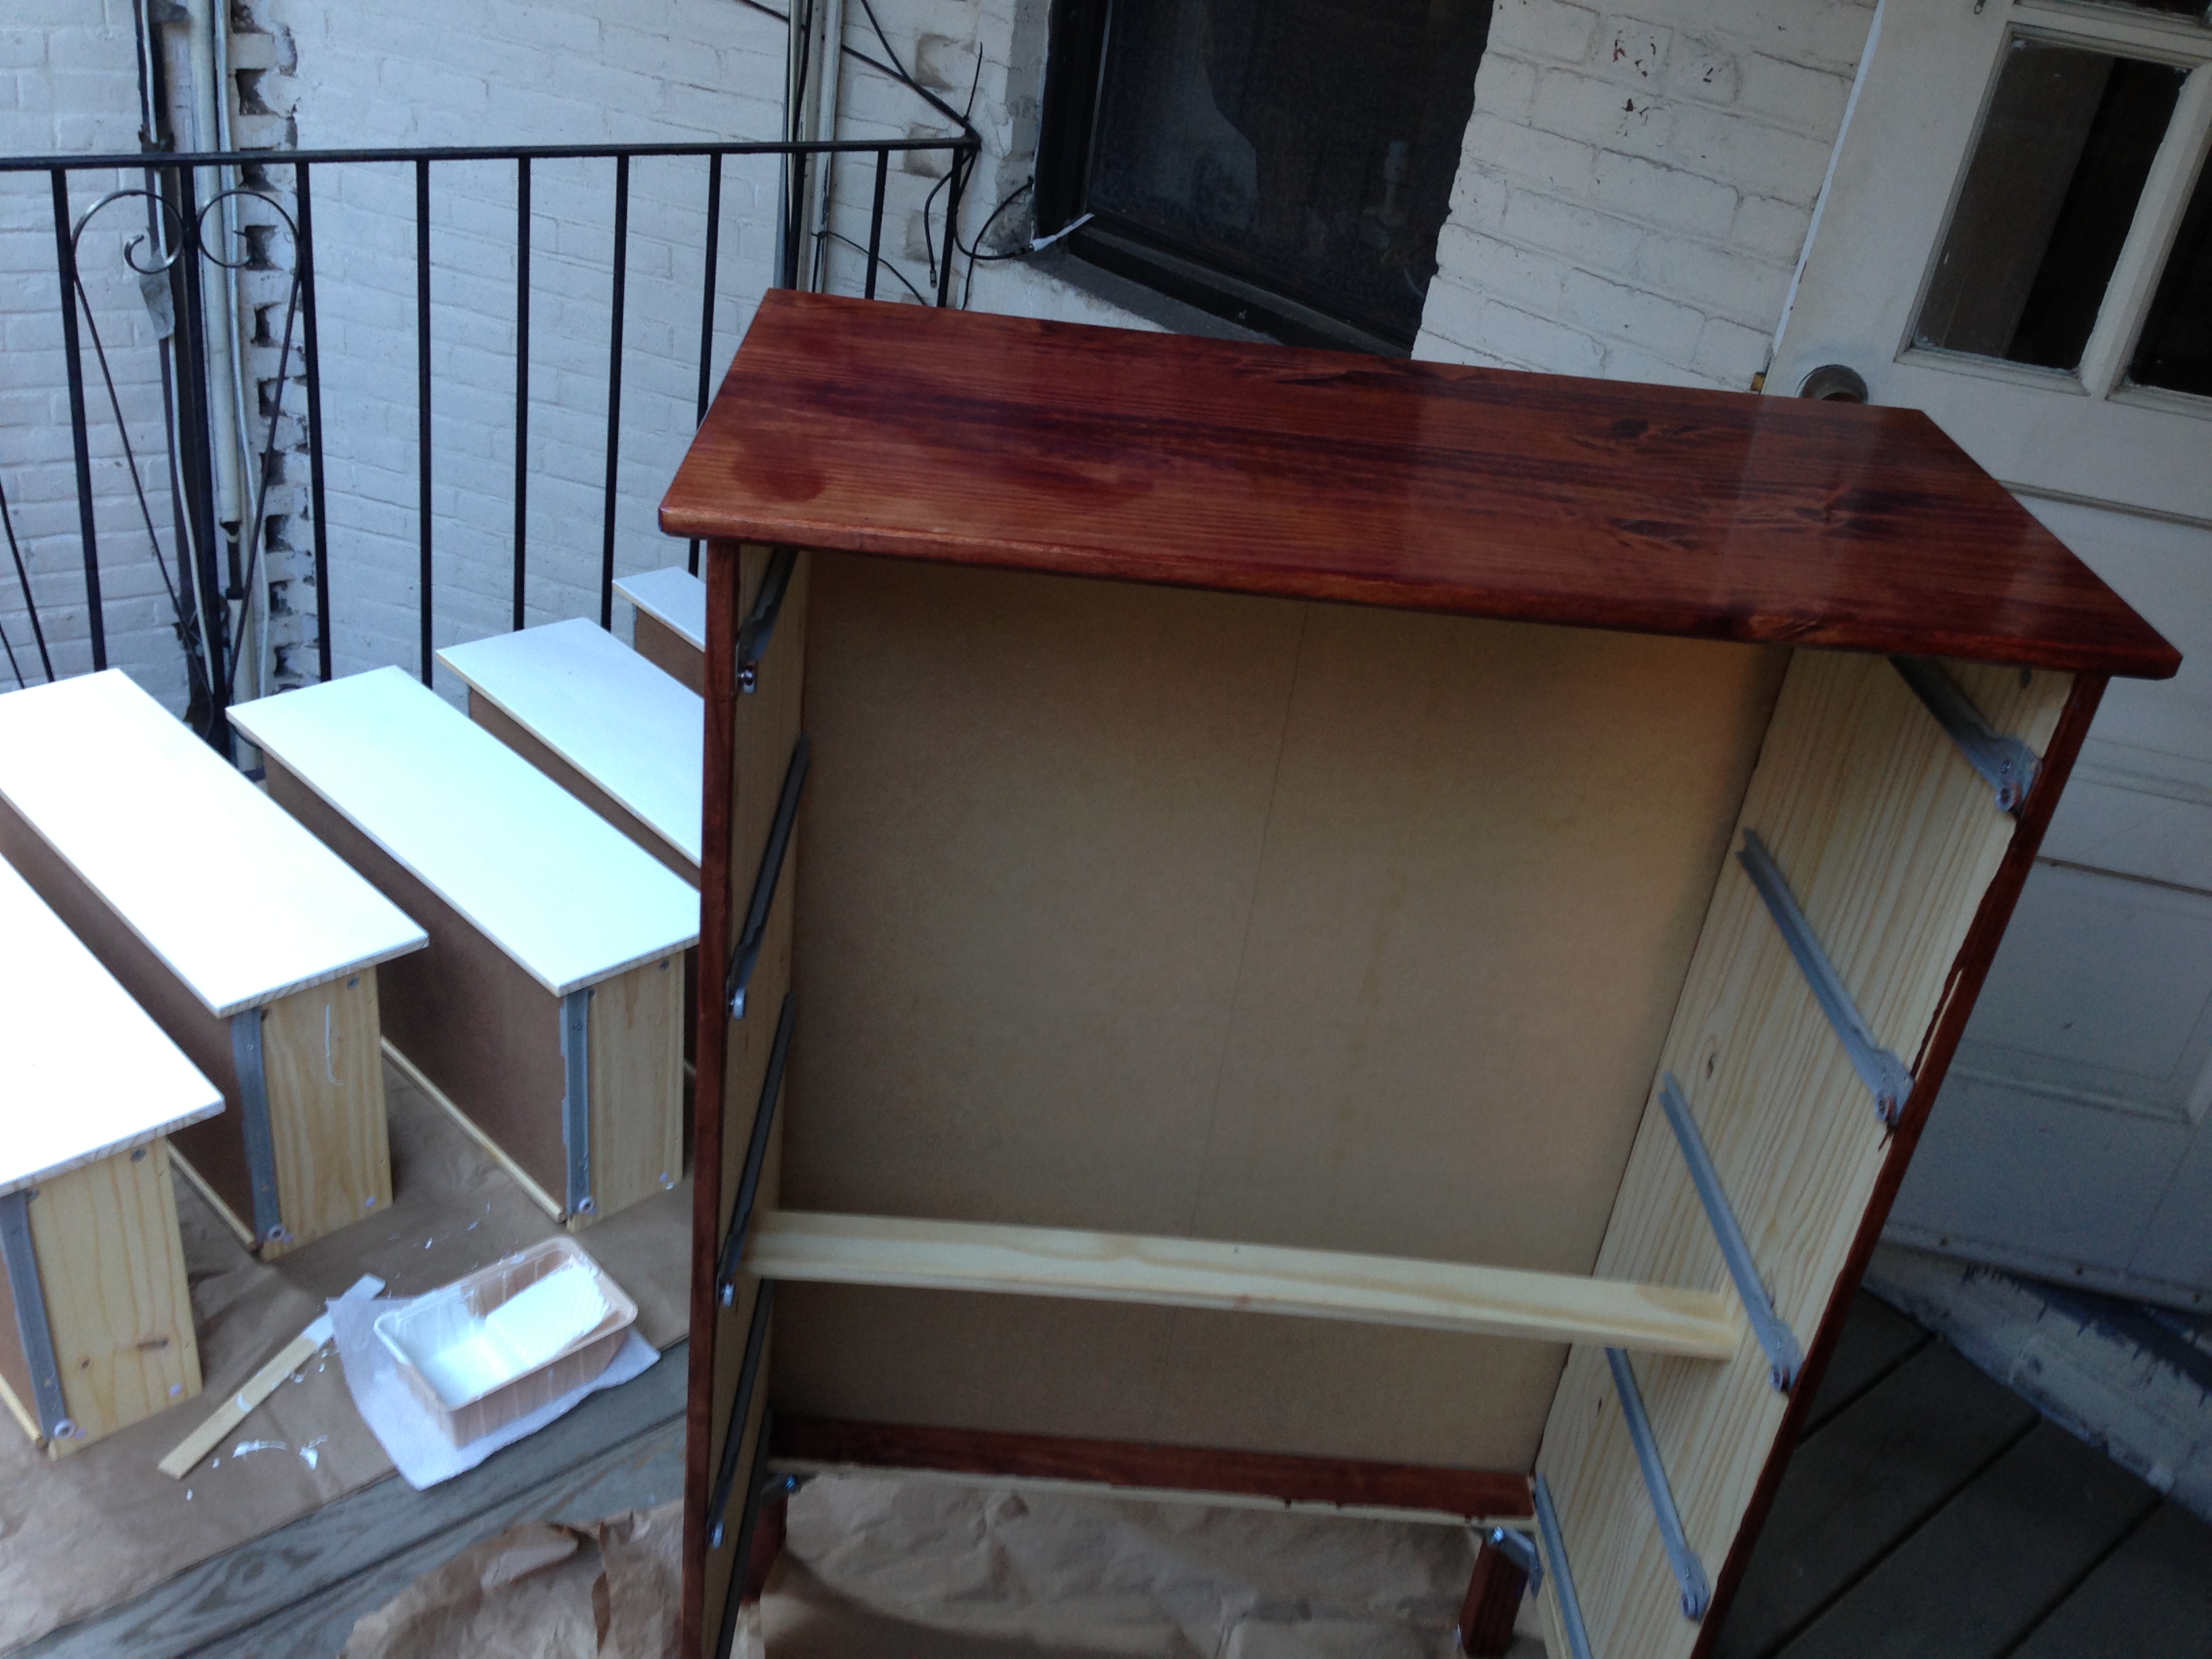
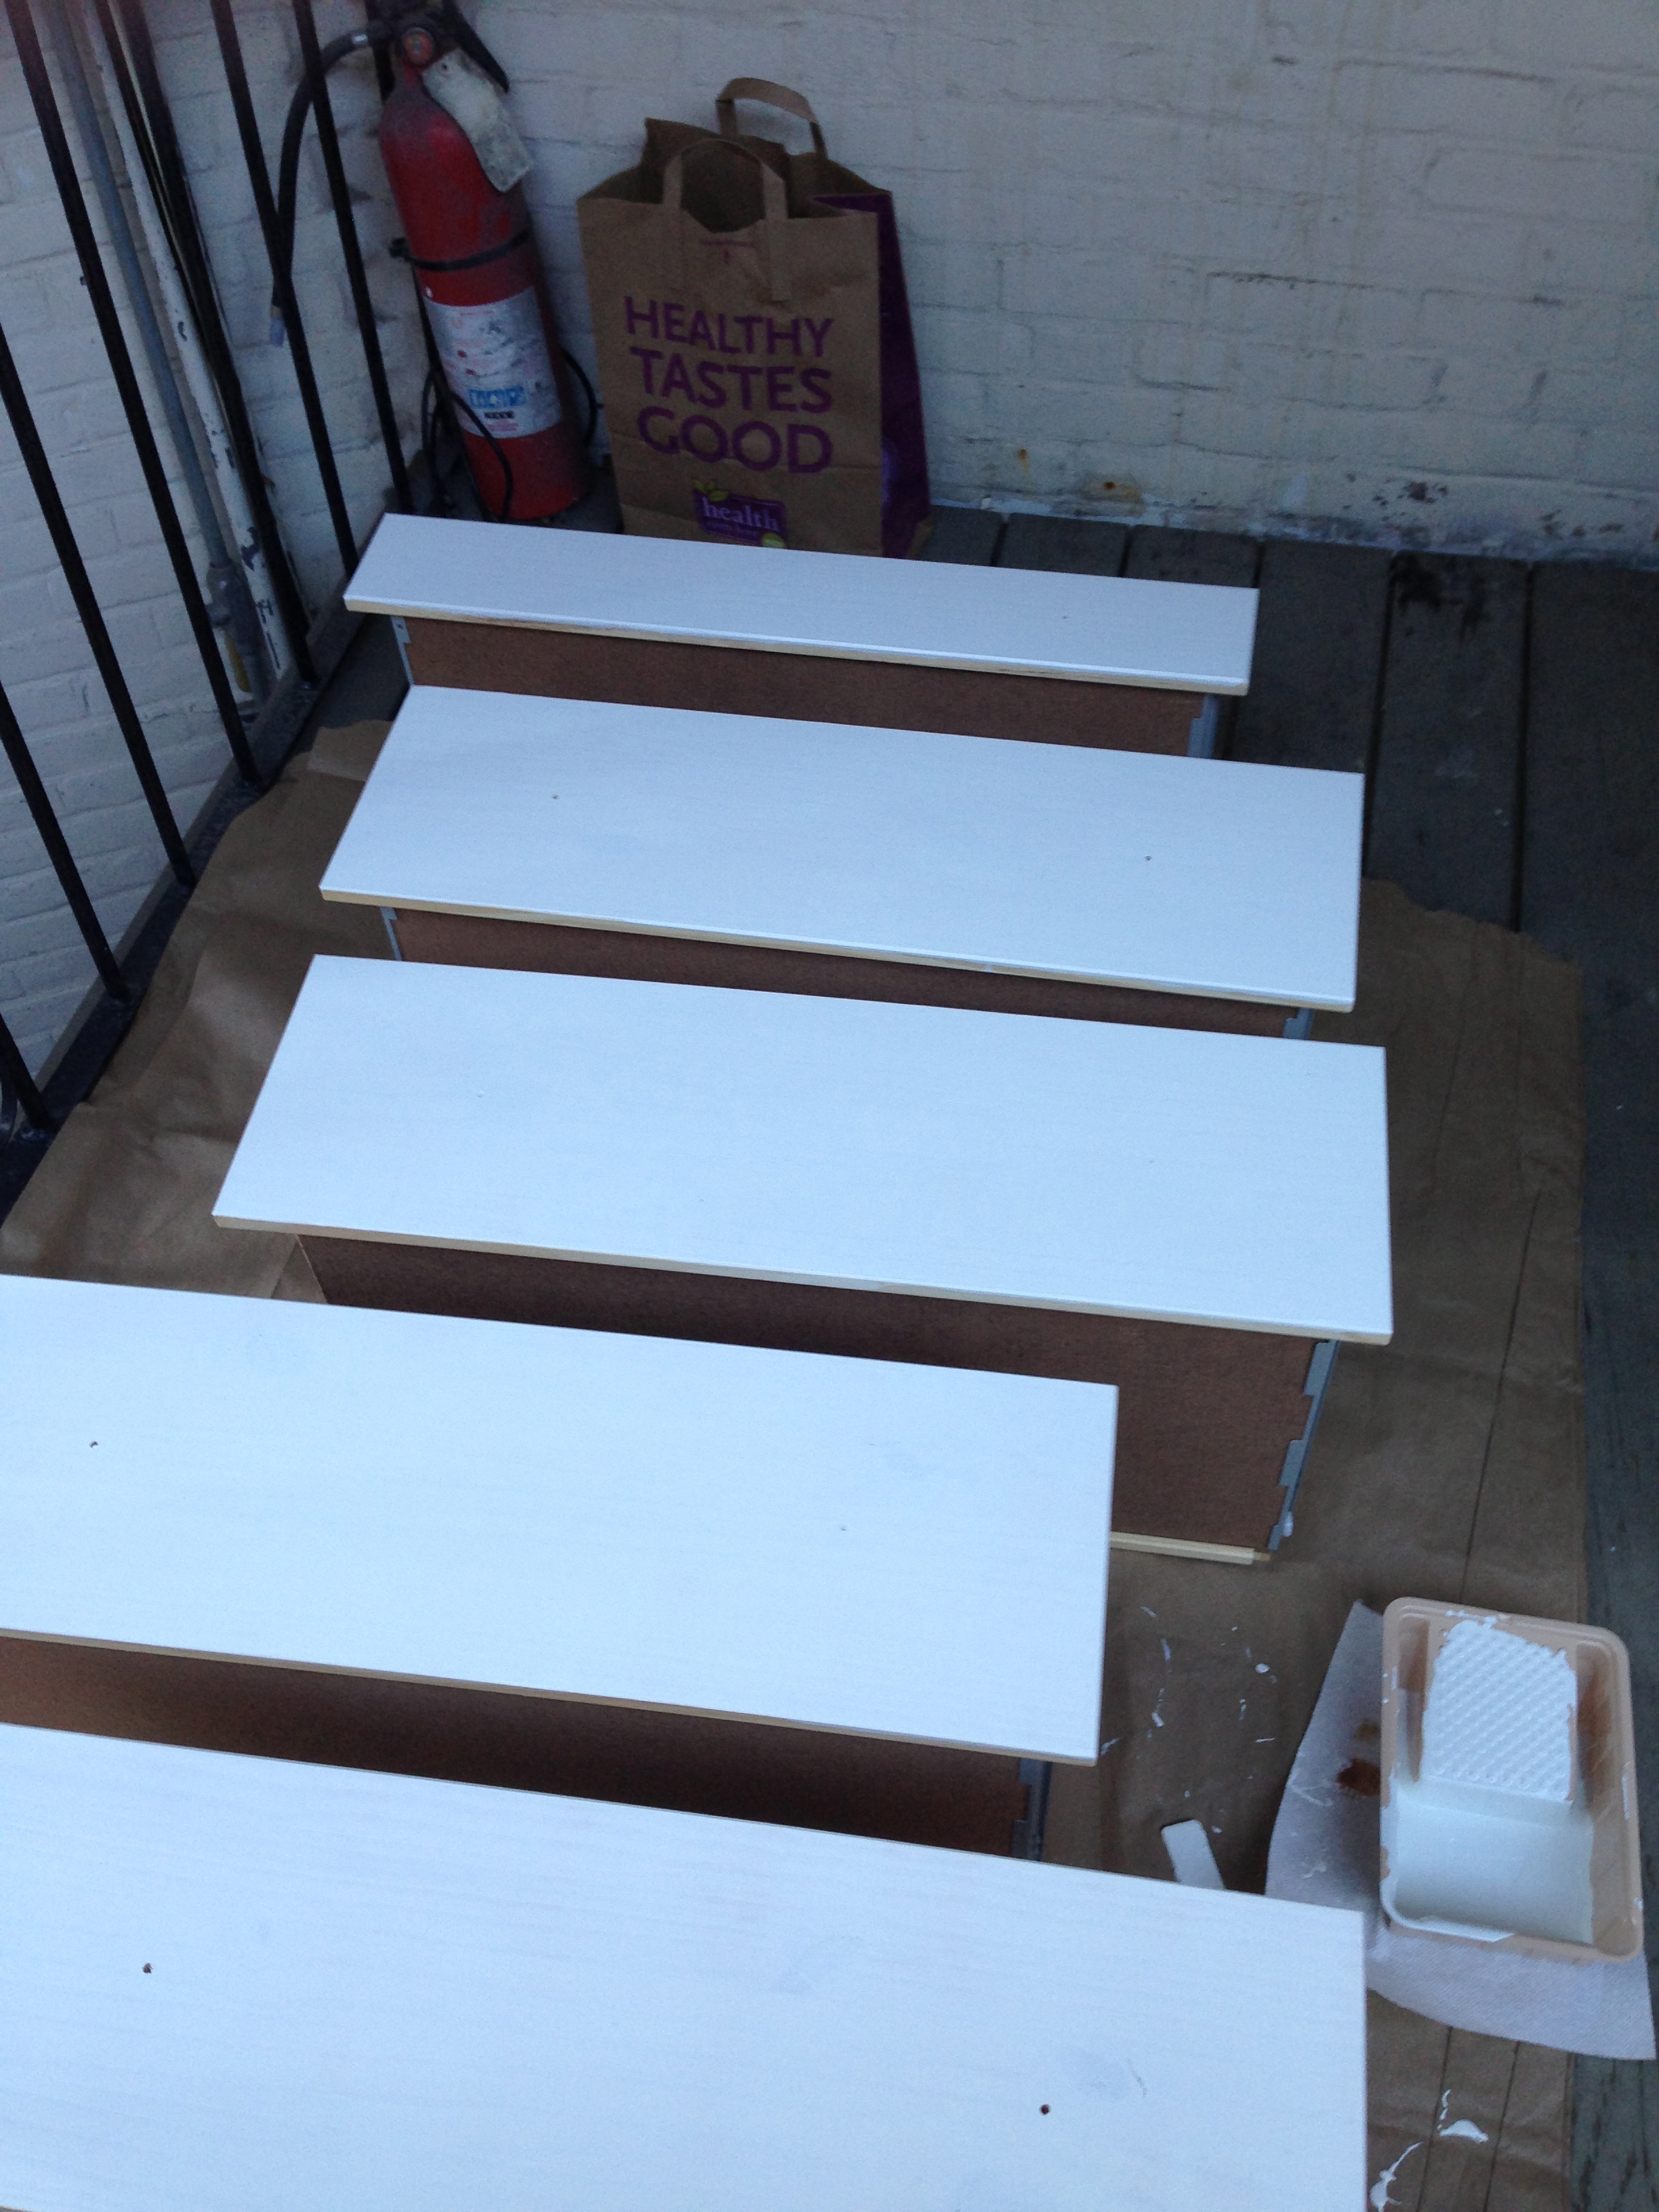
I started out with the rast table (above, at an amazing $34, I’ve paid more for a lunch). Sitting in my living room with a dozen pieces of raw wood covering the floor gave me terrible flashbacks of college, but it was an easy piece to put together, and I quickly moved out to the patio to paint (high gloss Chantilly Lace by Benjamin Moore), stain (“Red Oak”) and varnish what would become my bedside table. After a few coats I added some brass pulls from Lee Valley Tools (I cannot get enough brass these days). I think it looks great and at this price if I throw it out in a year when I fall in love with a real beside table it won’t own me anything.
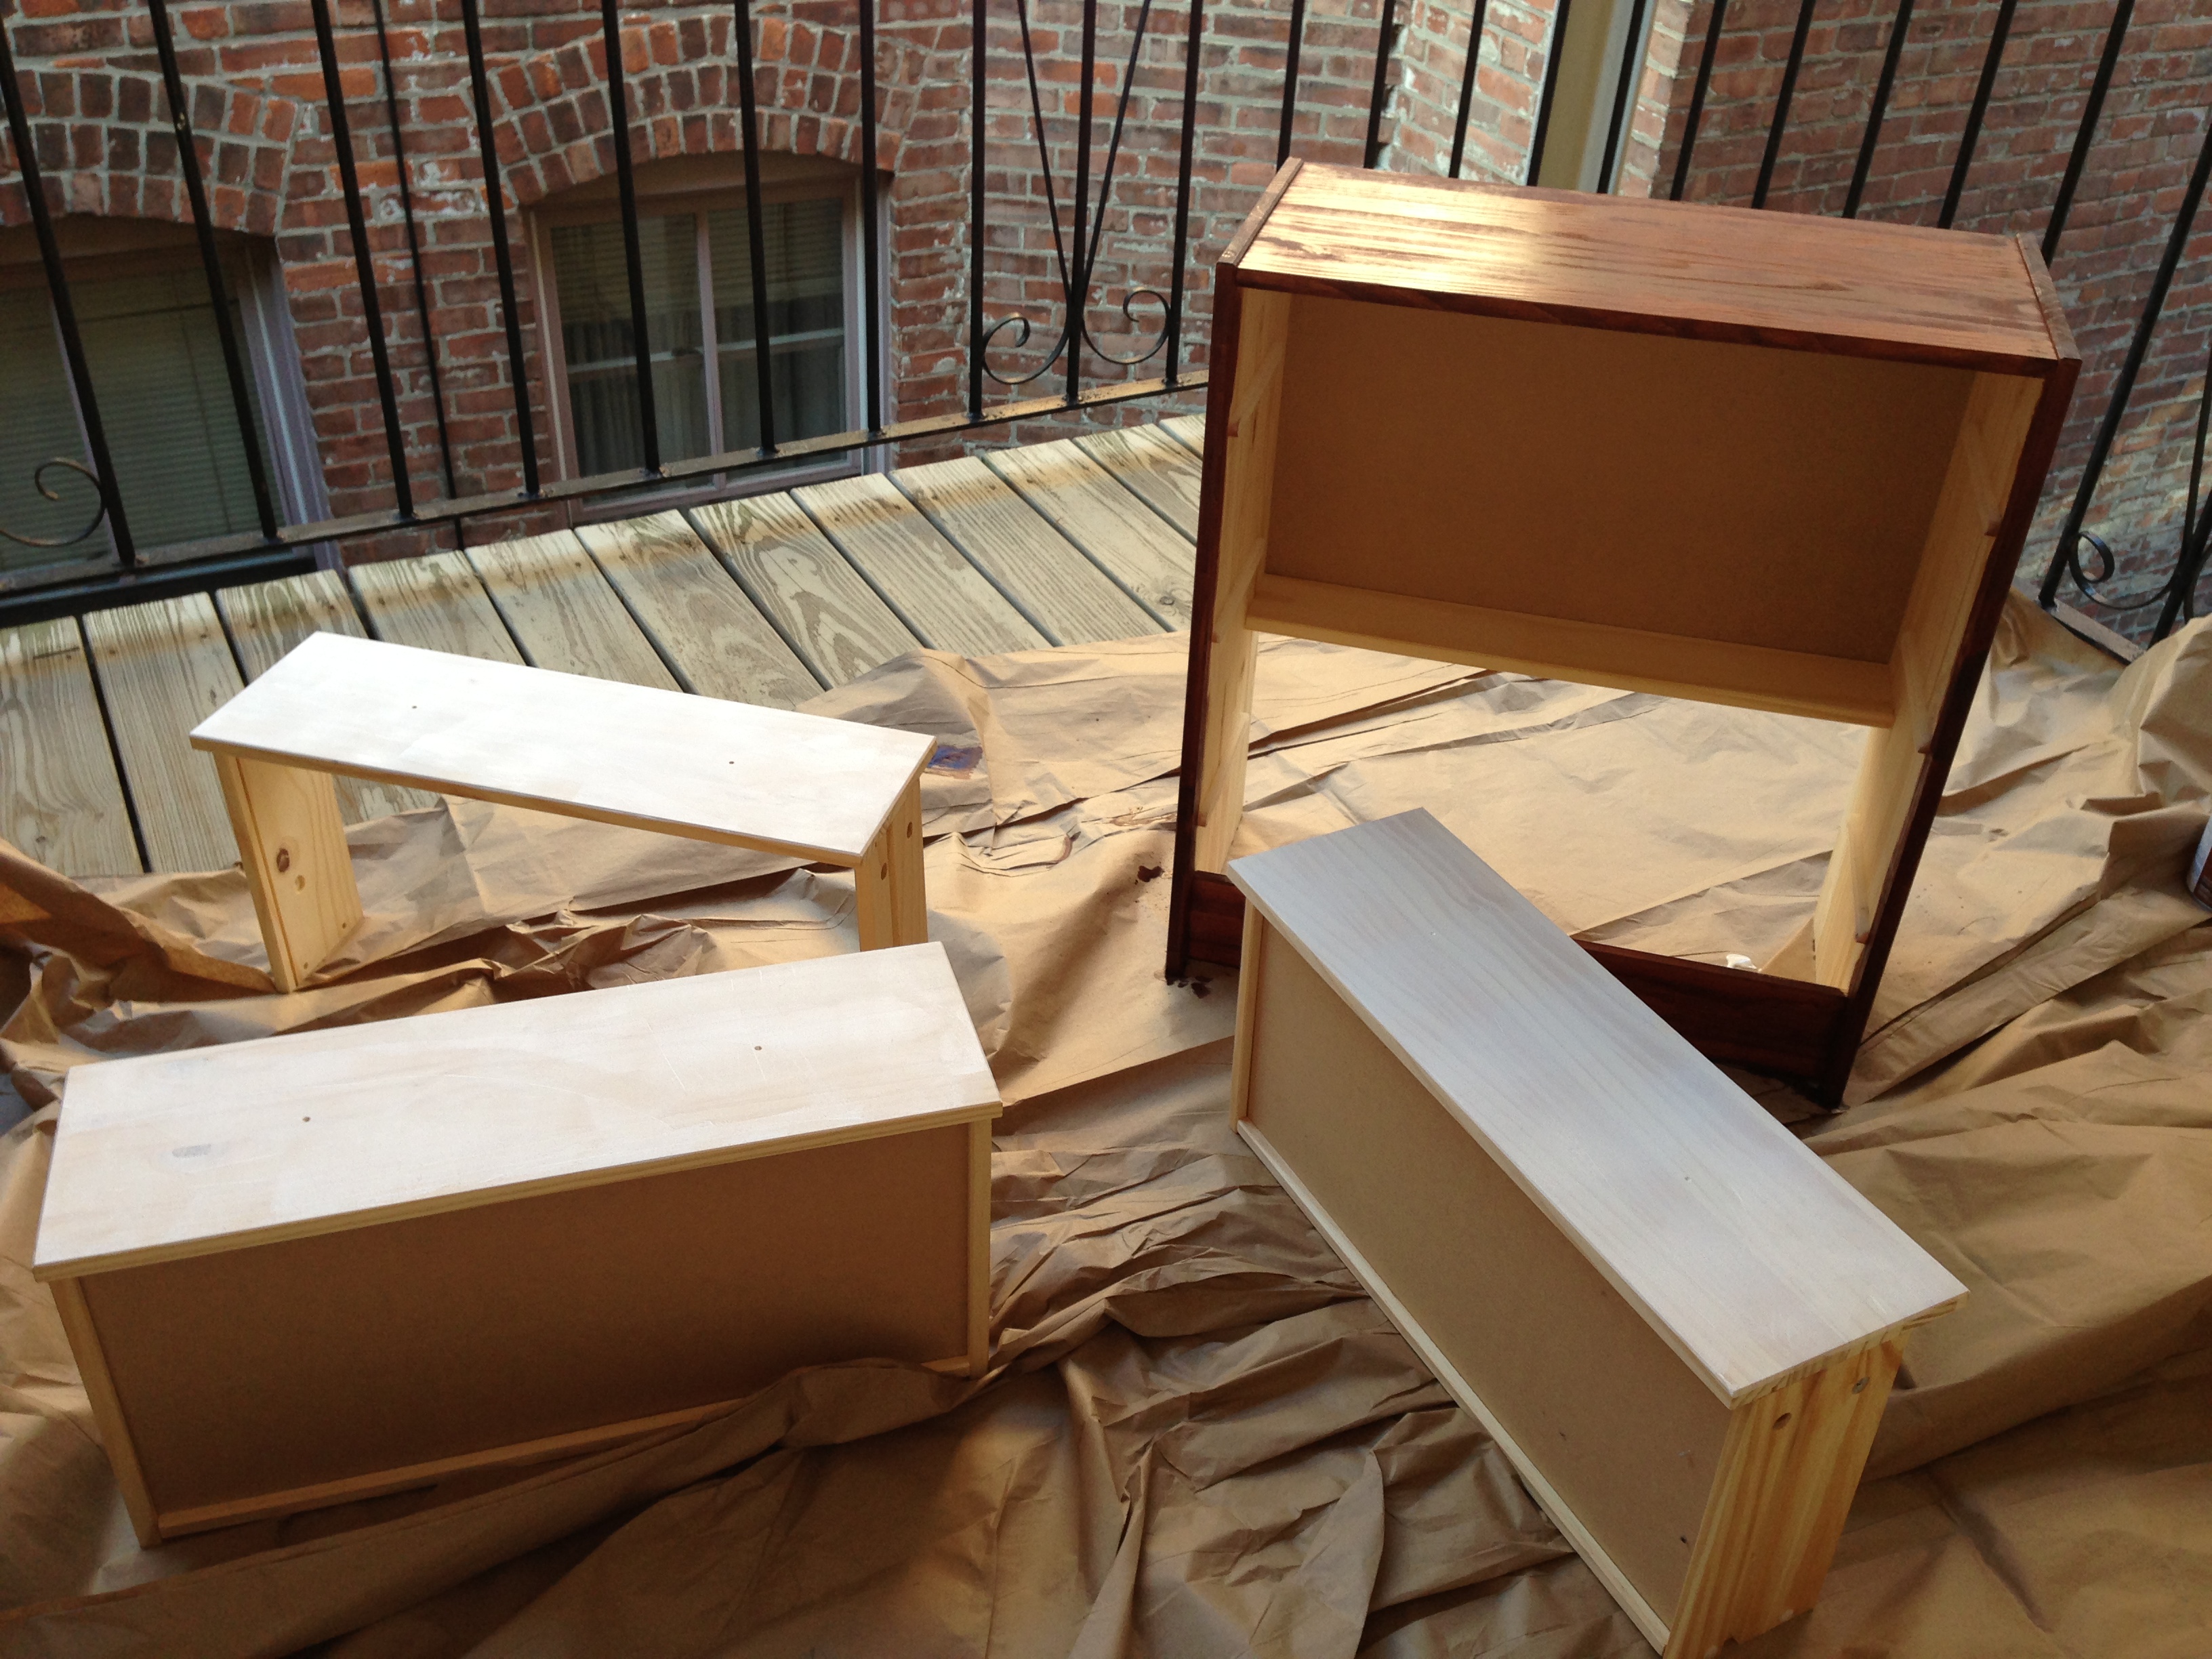

Buoyed by my success with the rast I braved the crowded maze that is Ikea again, determined to hack a matching dresser. I picked the “tarva” five-drawer chest. Things didn’t go as smoothly this time around. This piece really required a drill (which the instructions did not state, even if it did, I don’t own one), and after several hours I remembered why I stopped buying Ikea furniture: its assembly has the unique ability to make me feel stupid and weak at the same vulnerable moment. As an intelligent adult I should be able to follow the instructions that are laid out solely in pictures. But I couldn’t. After sitting on my floor crying for longer than I care to admit, I called in reinforcements in the form of my friend Chris, who saved me by putting the frame of the chest together. I had to be rescued again a few days later by my dad who brought his drill up from Philadelphia to help me assemble the drawers. Sometimes you just need a handyman…or handy men.
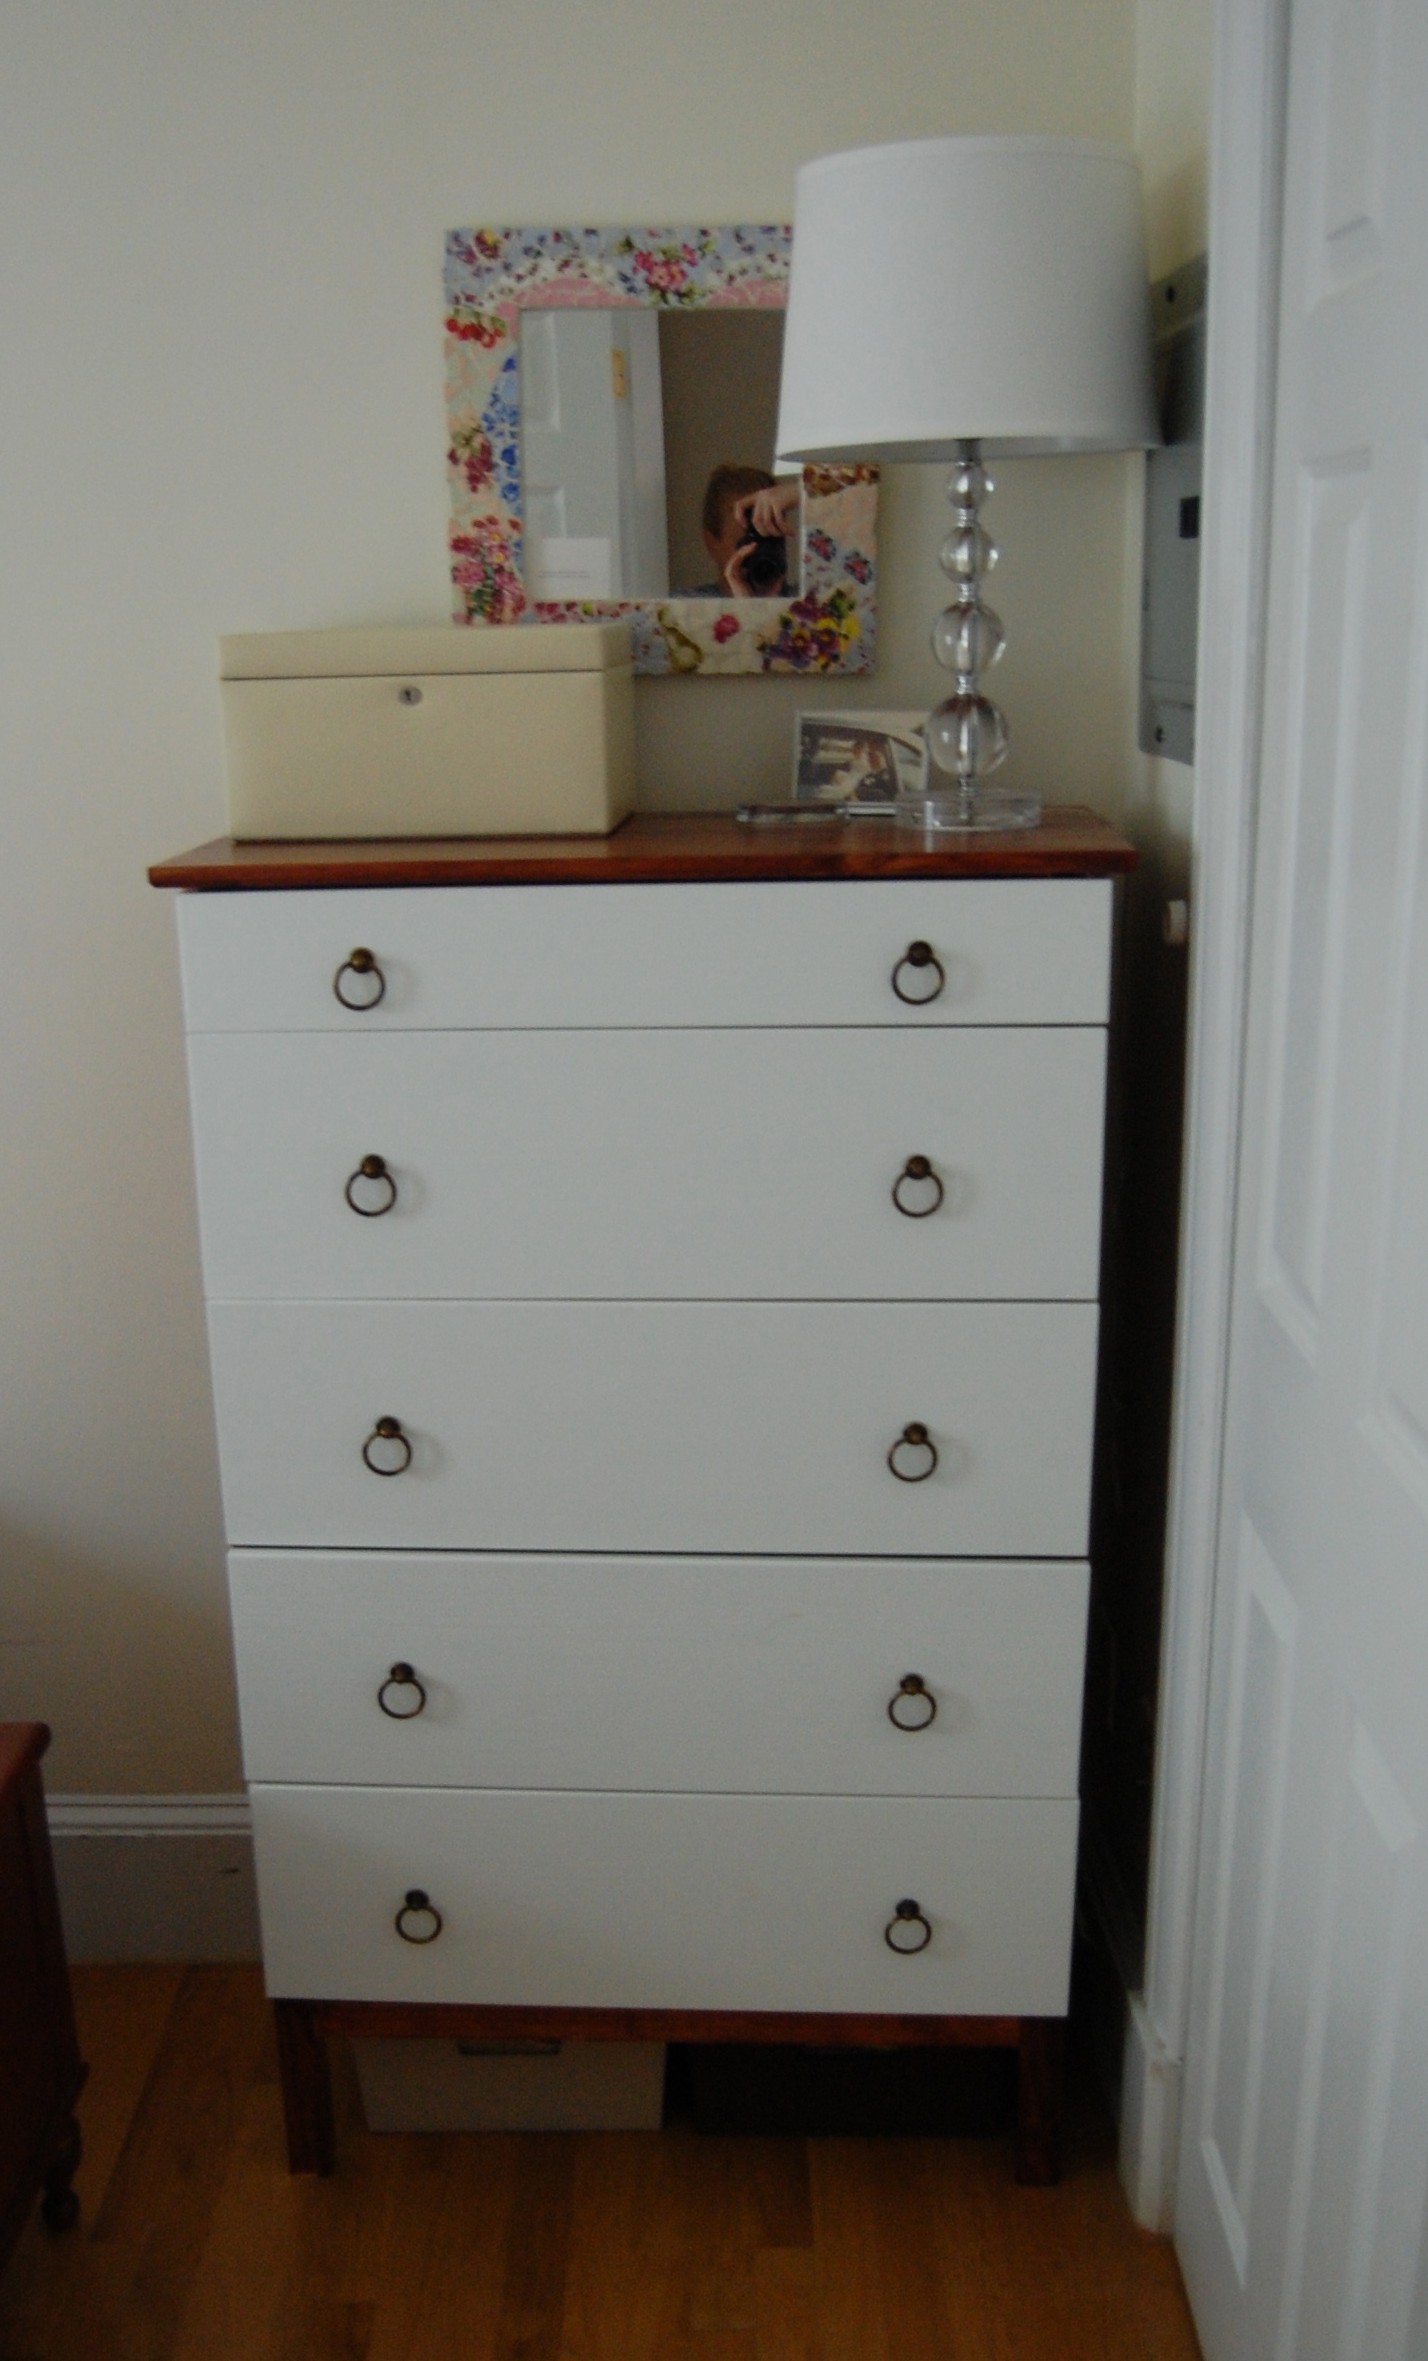
While the finished product does look good, if time is money than this dresser is worth a fortune.
With my Ikea hacking behind me (thank goodness), it was time to turn my attention to the walls and attempt to make my room look a little less like a padded cell. I was on the hunt for some vintage illustrations on the website of the New York Public Library (a great resource), but I abandoned that effort when two friends and I started planning a trip to the Brimfield Antique Show this past weekend.
For those of you who don’t know, Brimfield is a HUGE outdoor antique fair with hundreds of vendors. It’s held three times a year in the town of…you guessed it…Brimfield! I had stopped by a few years ago while driving from Boston to New York, but didn’t spend much time because it’s so enormous and I quickly got overwhelmed. This time we were strategic: we discussed what we all were looking for so that we could keep our eyes open for each other and stay on track.
Brimfield is an experience, to say the least. We went on the last day when many vendors had discounted their items and were willing to haggle. Walking around looking at all the treasures I wished I had been able to go before I picked out all the pieces that now populate my tiny place. There were so many unique pieces, and so many items that I would love to upholster!! It was so easy to get overwhelmed by all these beautiful—and in some cases odd—things in every direction. I was glad the three of us had set priorities; they helped me stay the course.
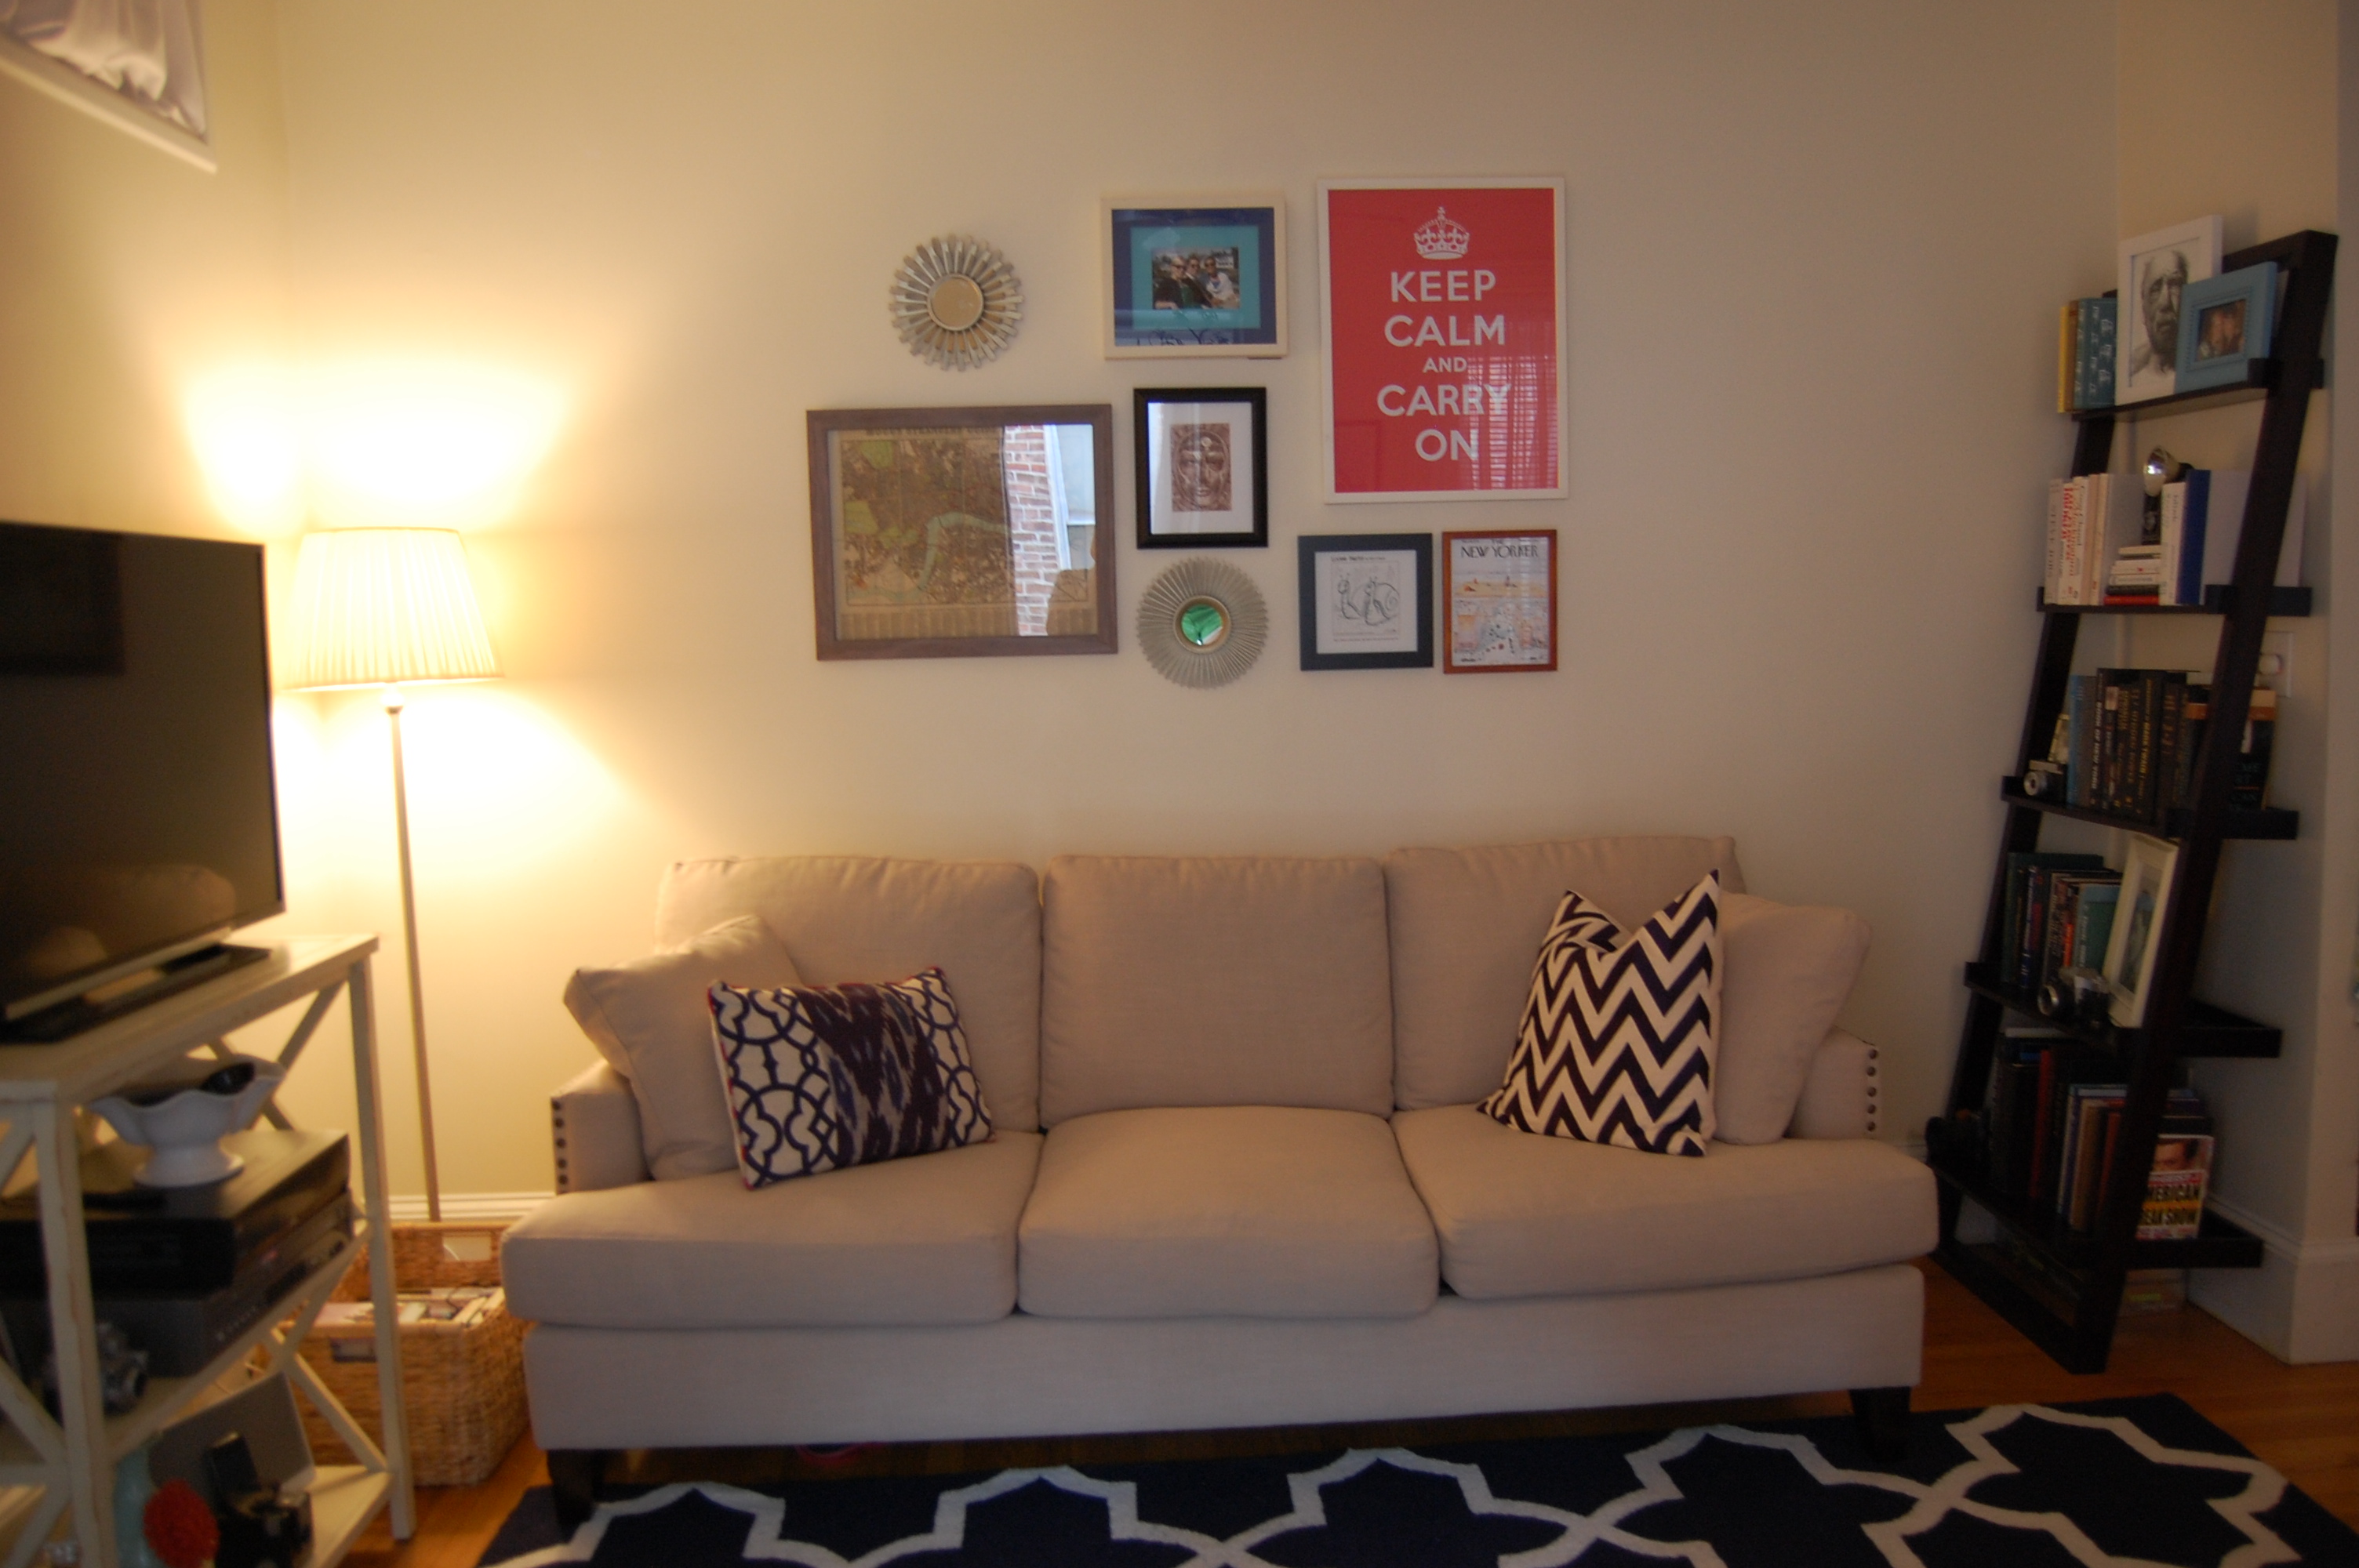
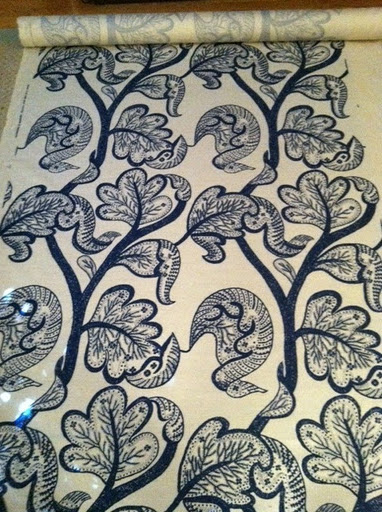
I found an old illustration of Columbia’s first campus (an ode to my J School days) in a goldish frame. After bartering its seller down, and re-stringing some twine for hanging, it has filled in the missing piece in my living room’s gallery wall. I also found four vintage bird illustrations, each had touches of pink so I hoped they would work well in my bedroom. They are an odd size so I got crafty late last night (nothing like a blog post deadline to end procrastination) to make them work in the frames I picked out. I used pop dots (my favorite crafty go-to) as spacers so the illustration appeared to hover above white textured construction paper I picked out. It makes them look more polished and makes my at-home framing job look more deliberate.
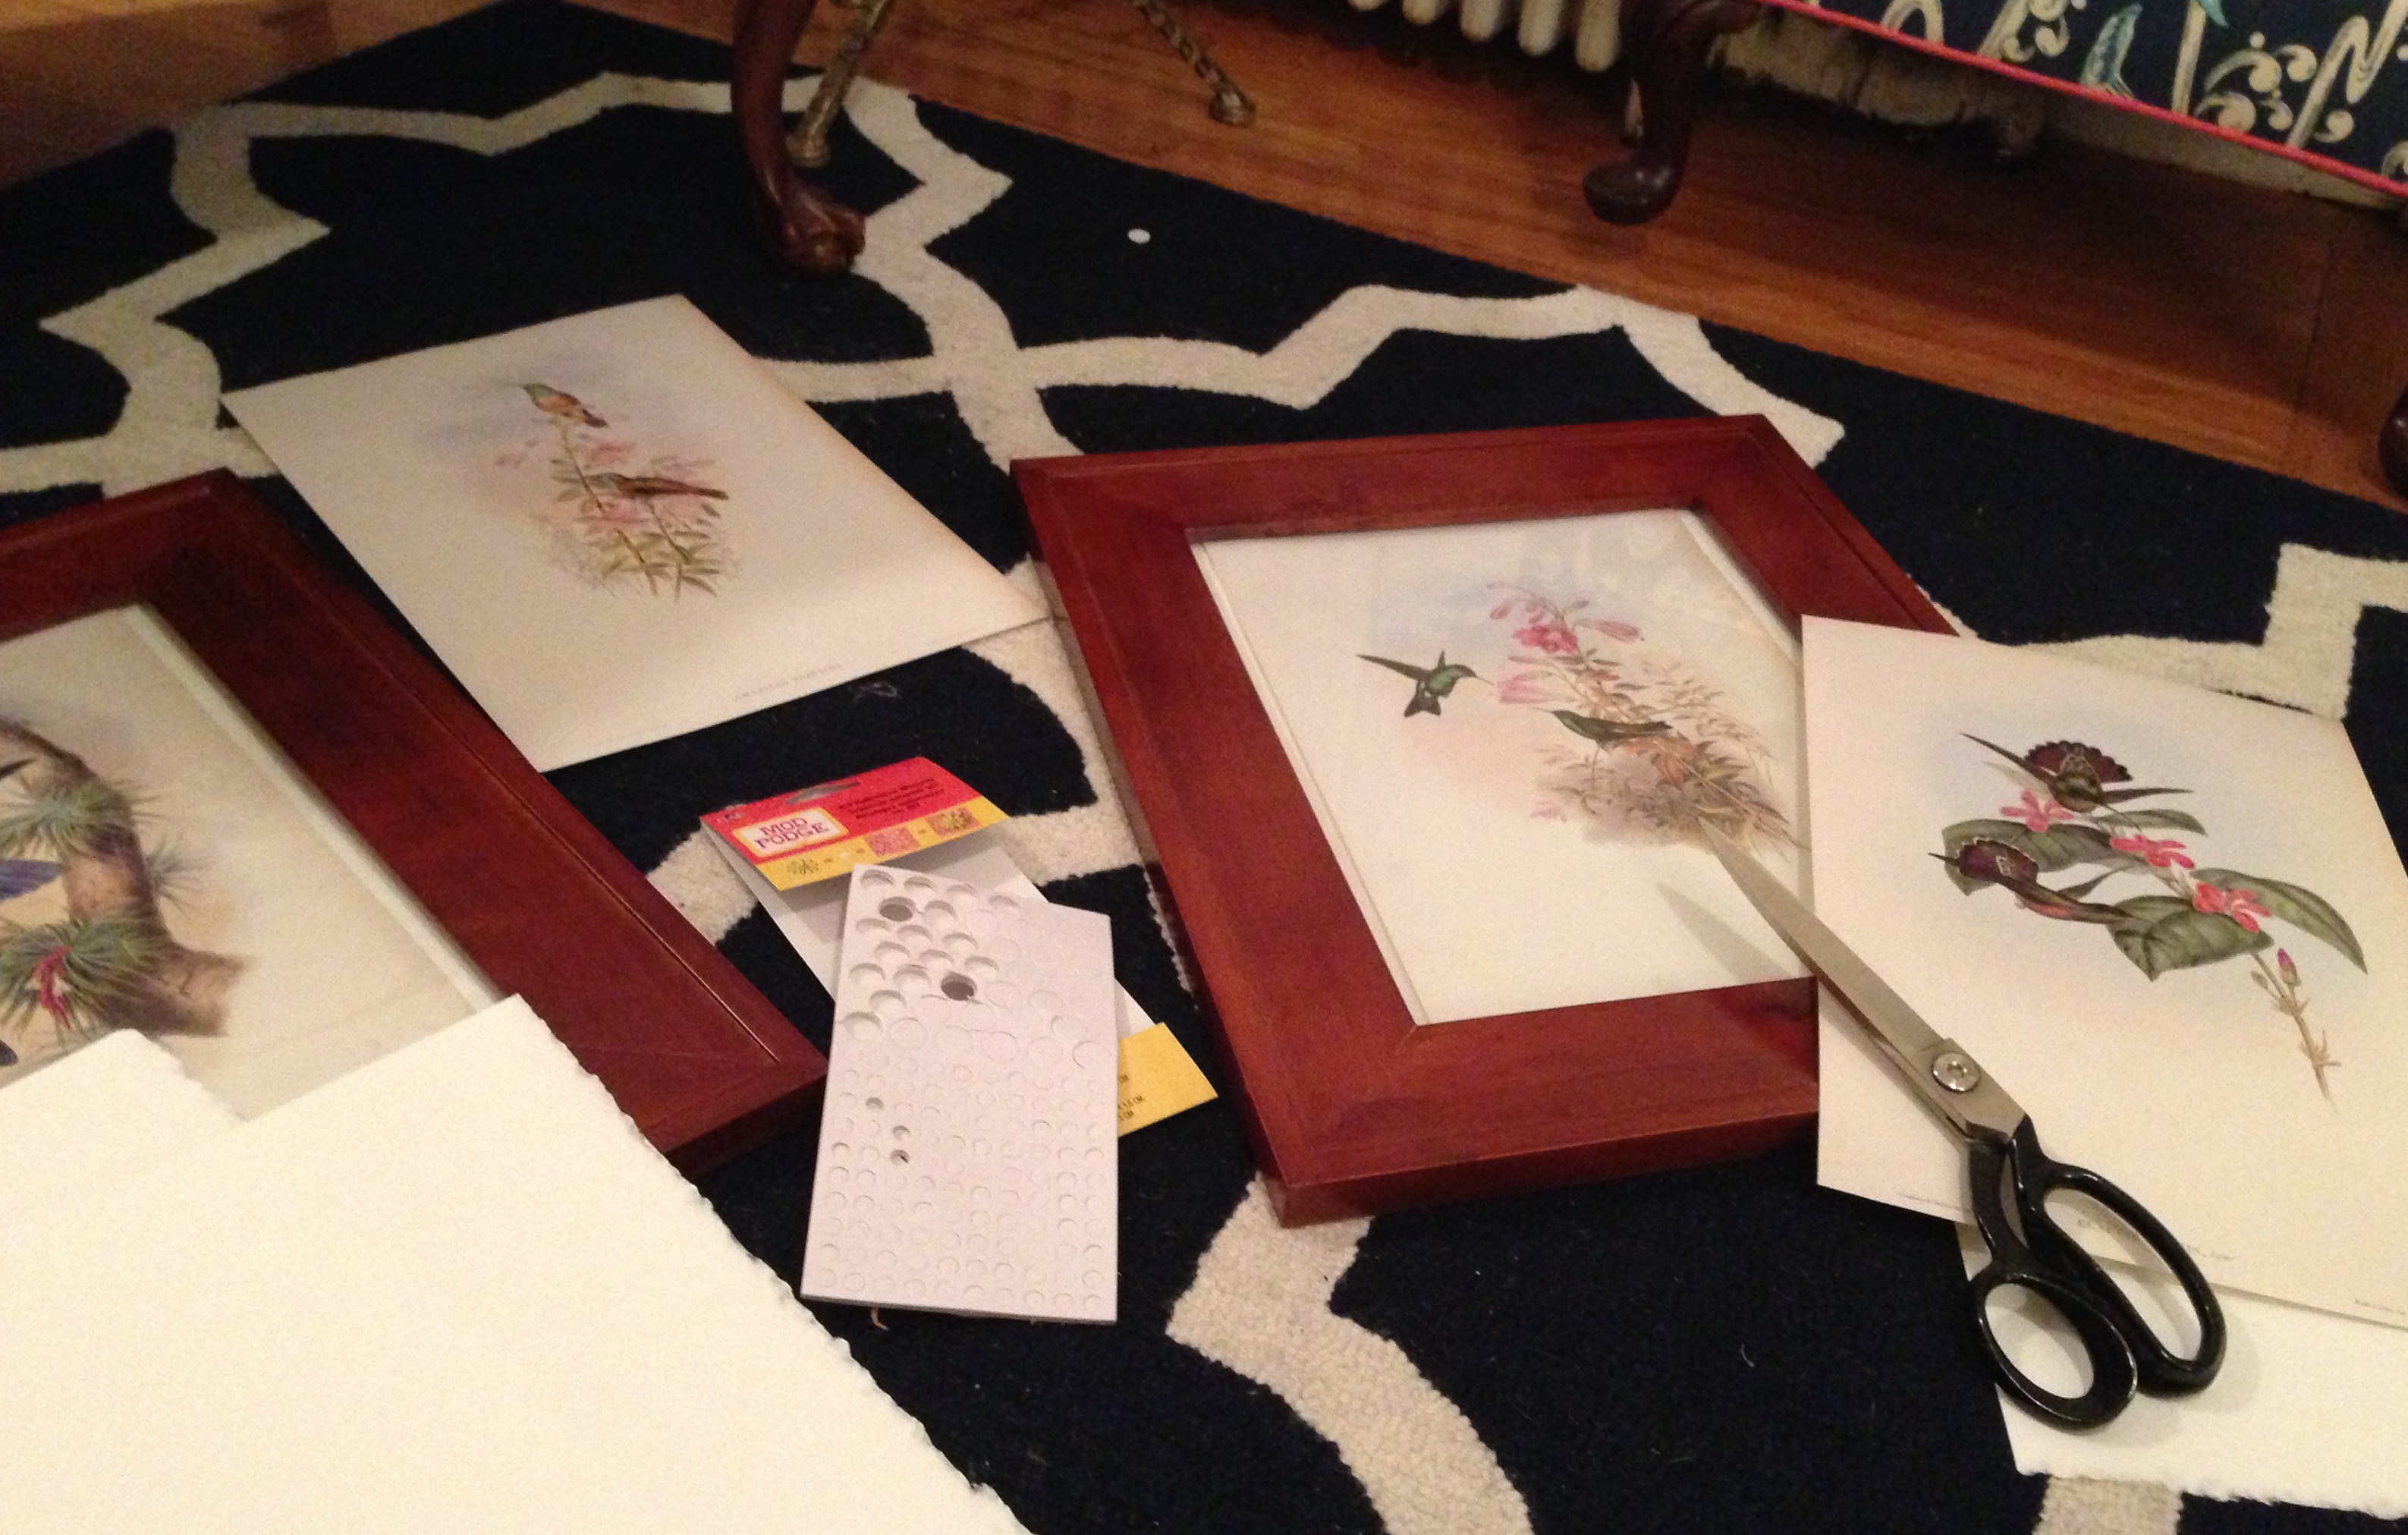
Late night crafts
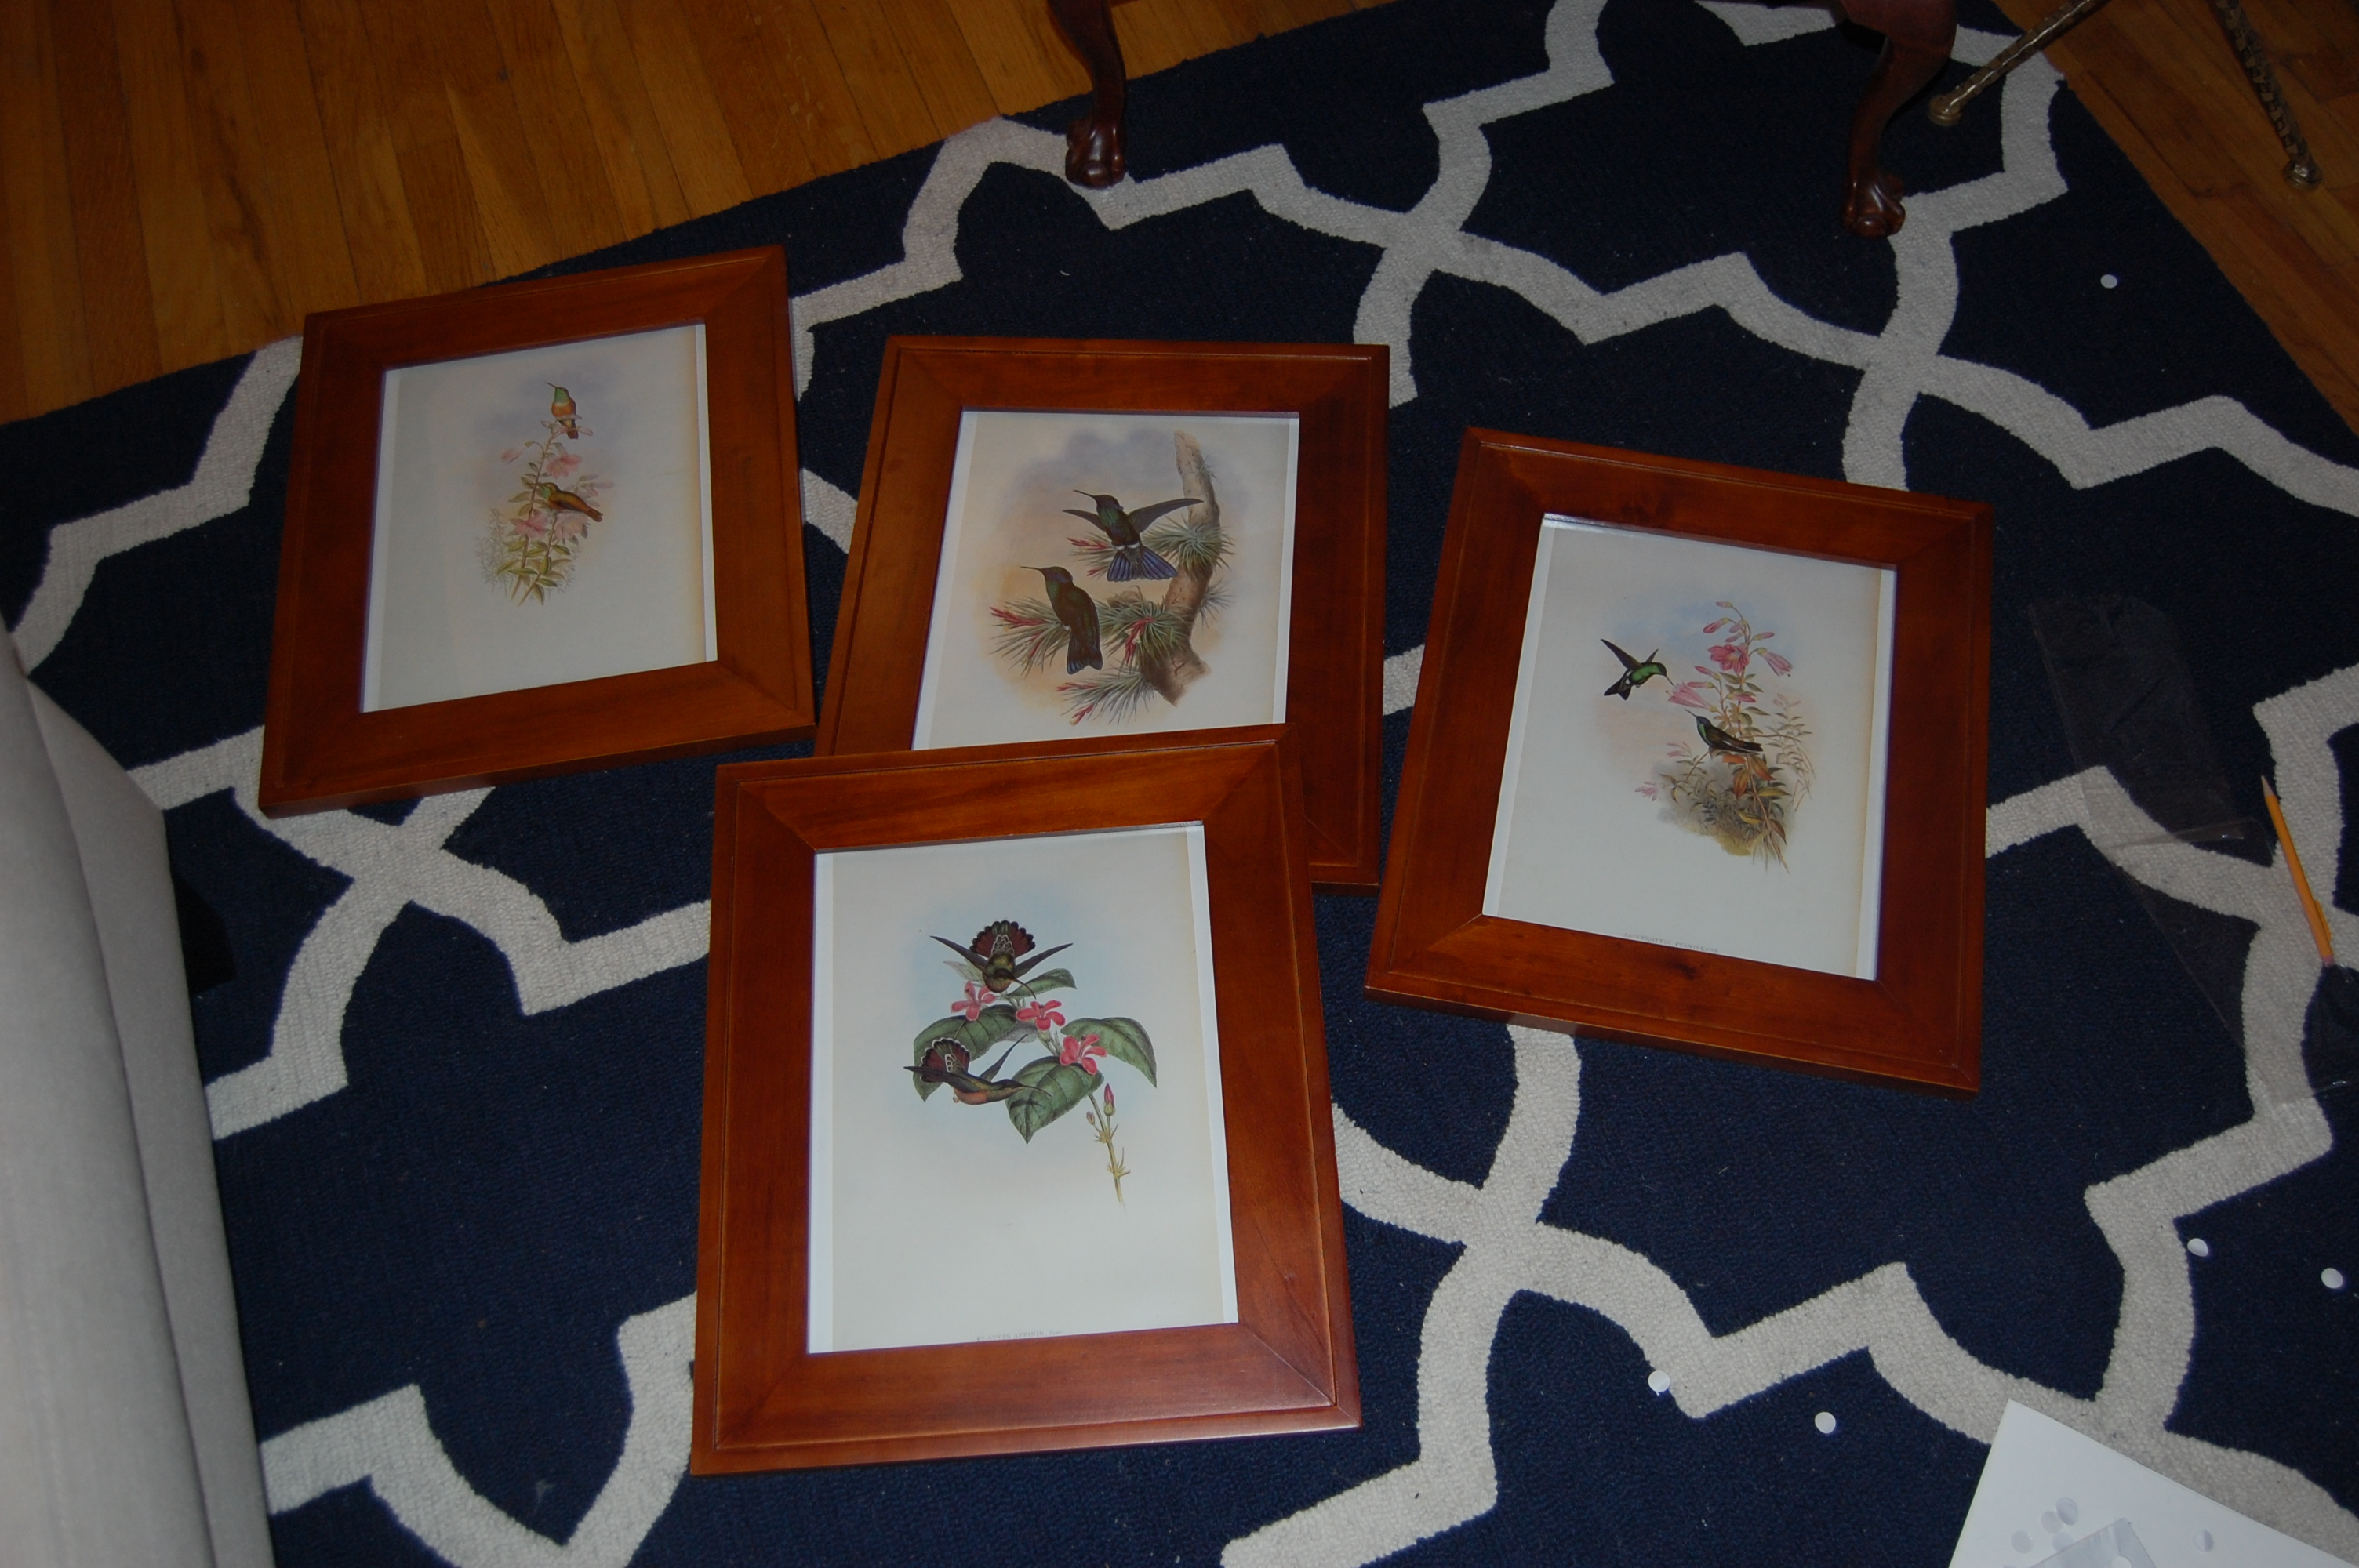
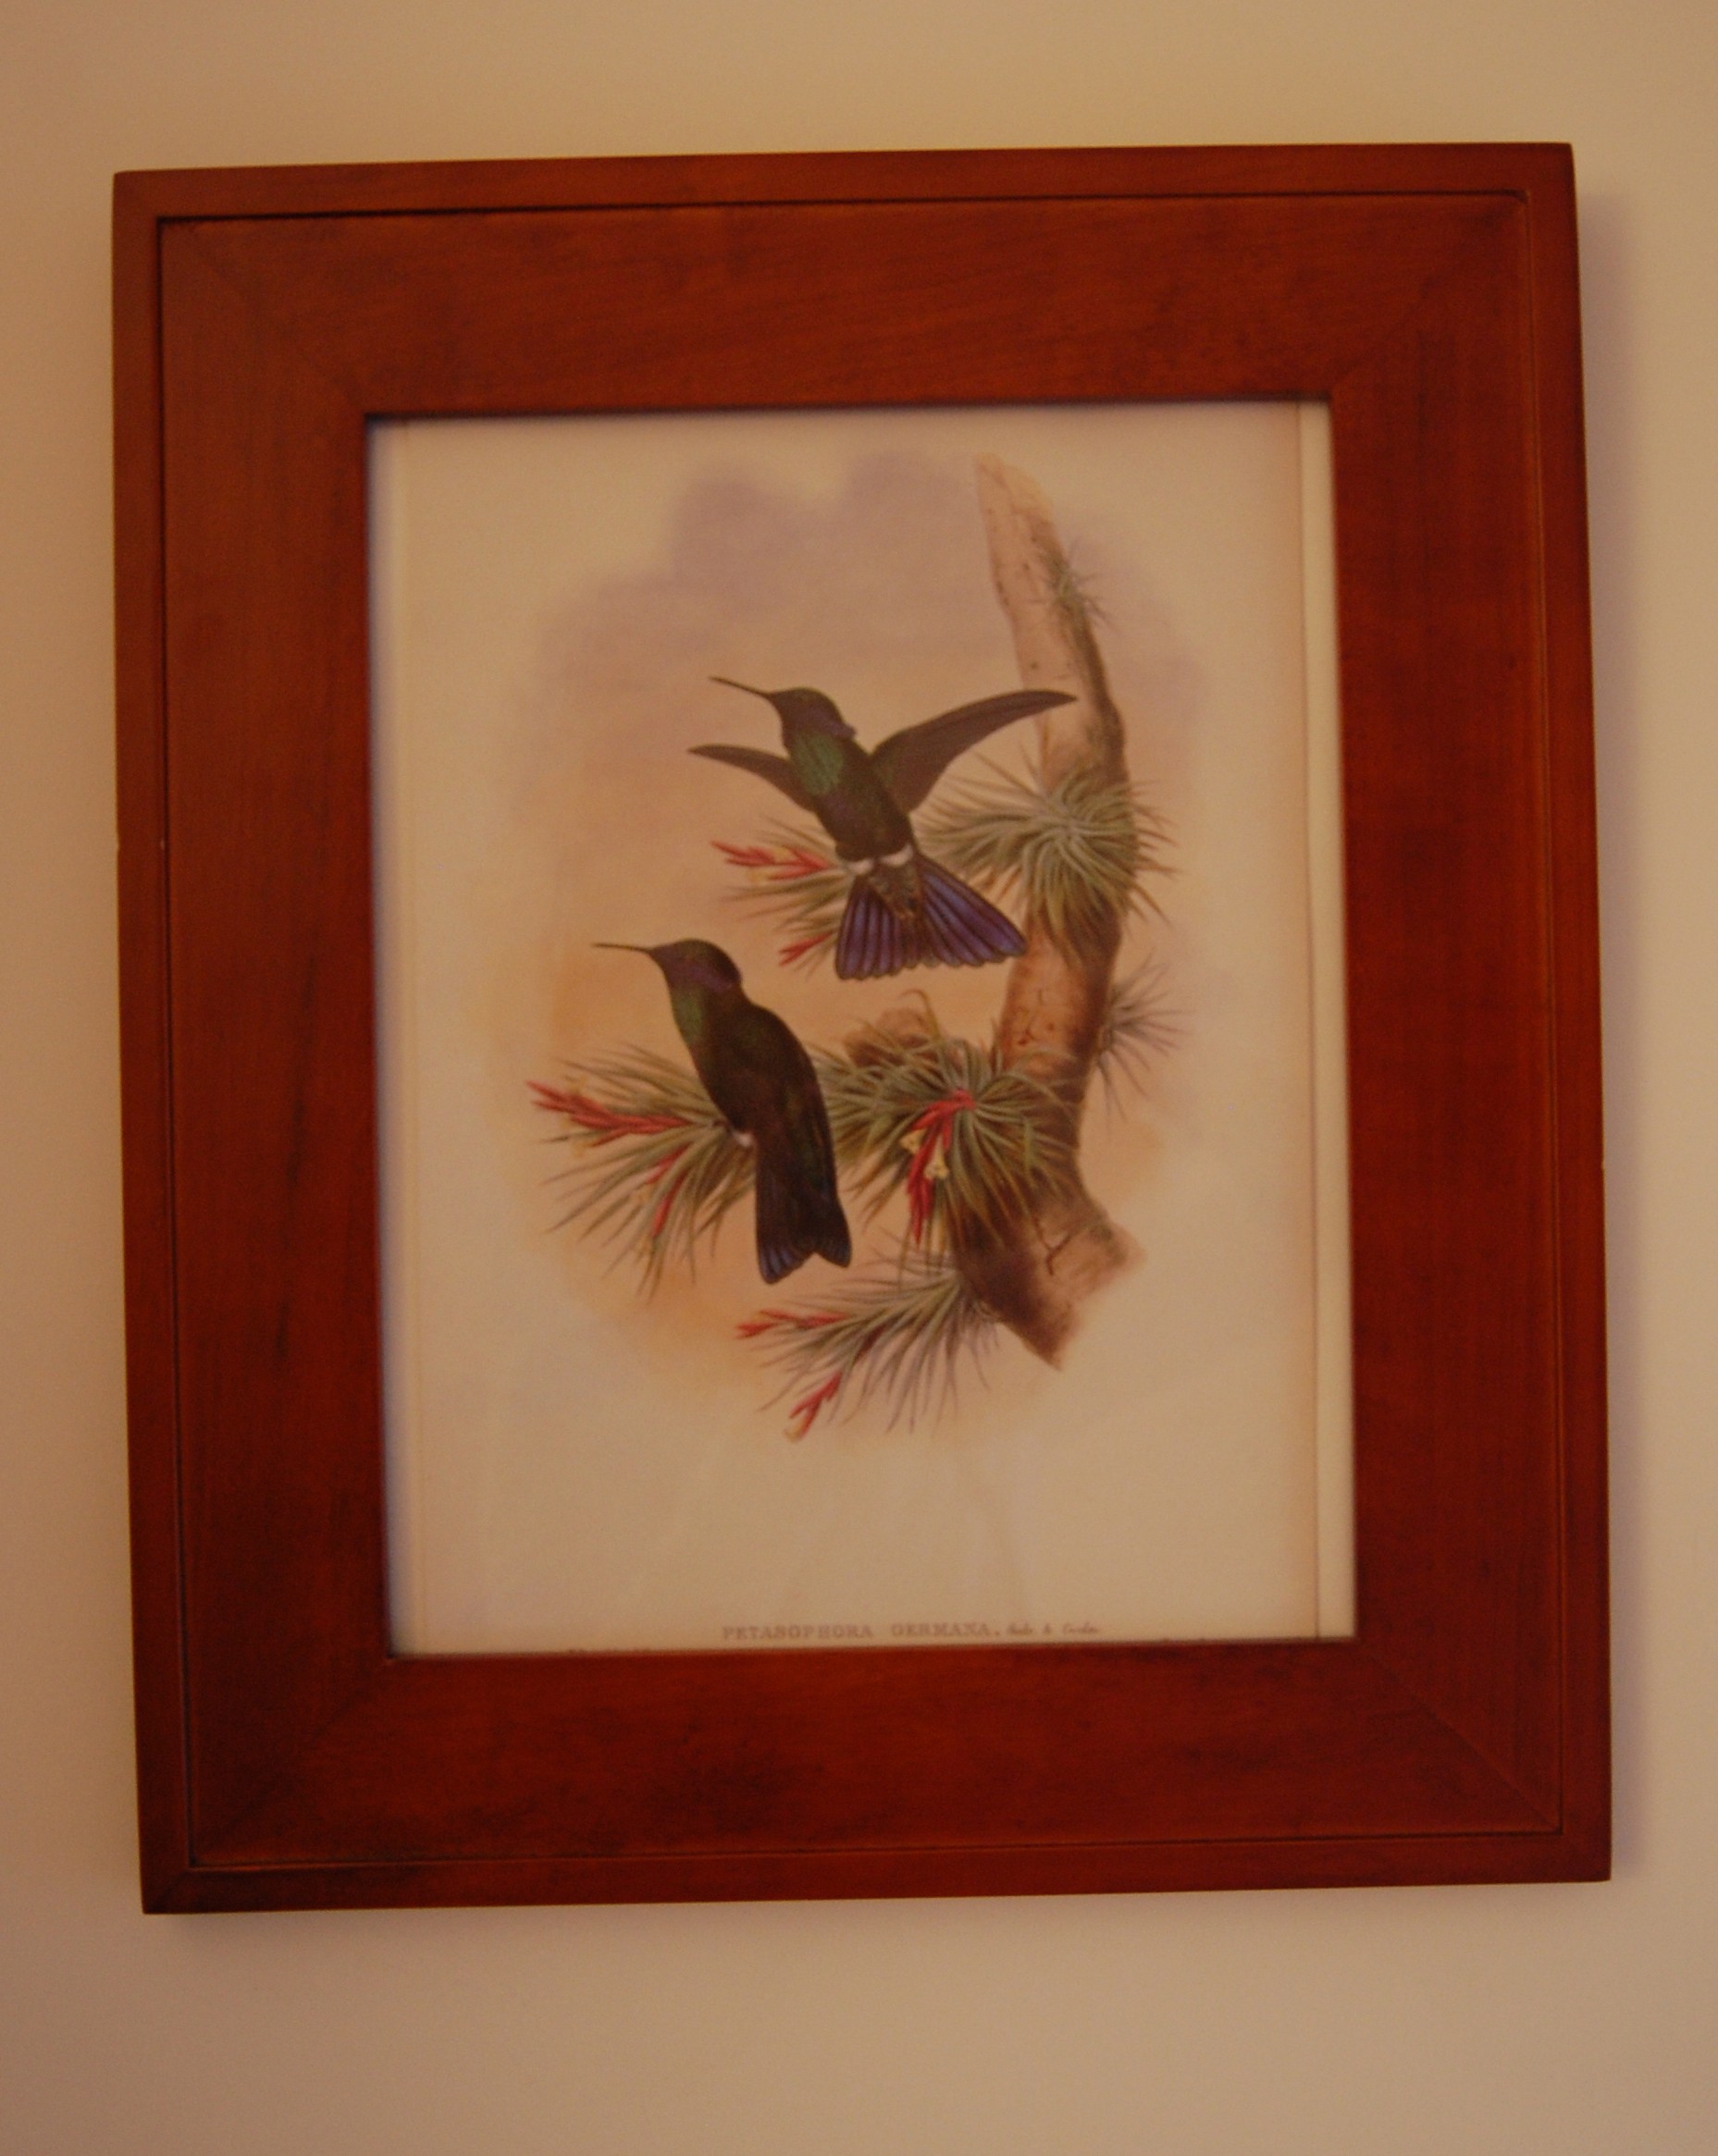
My vintage prints securely in their new frames
The shape of the room still makes it feel a little bit like a psych ward, but the walls certainly look better.
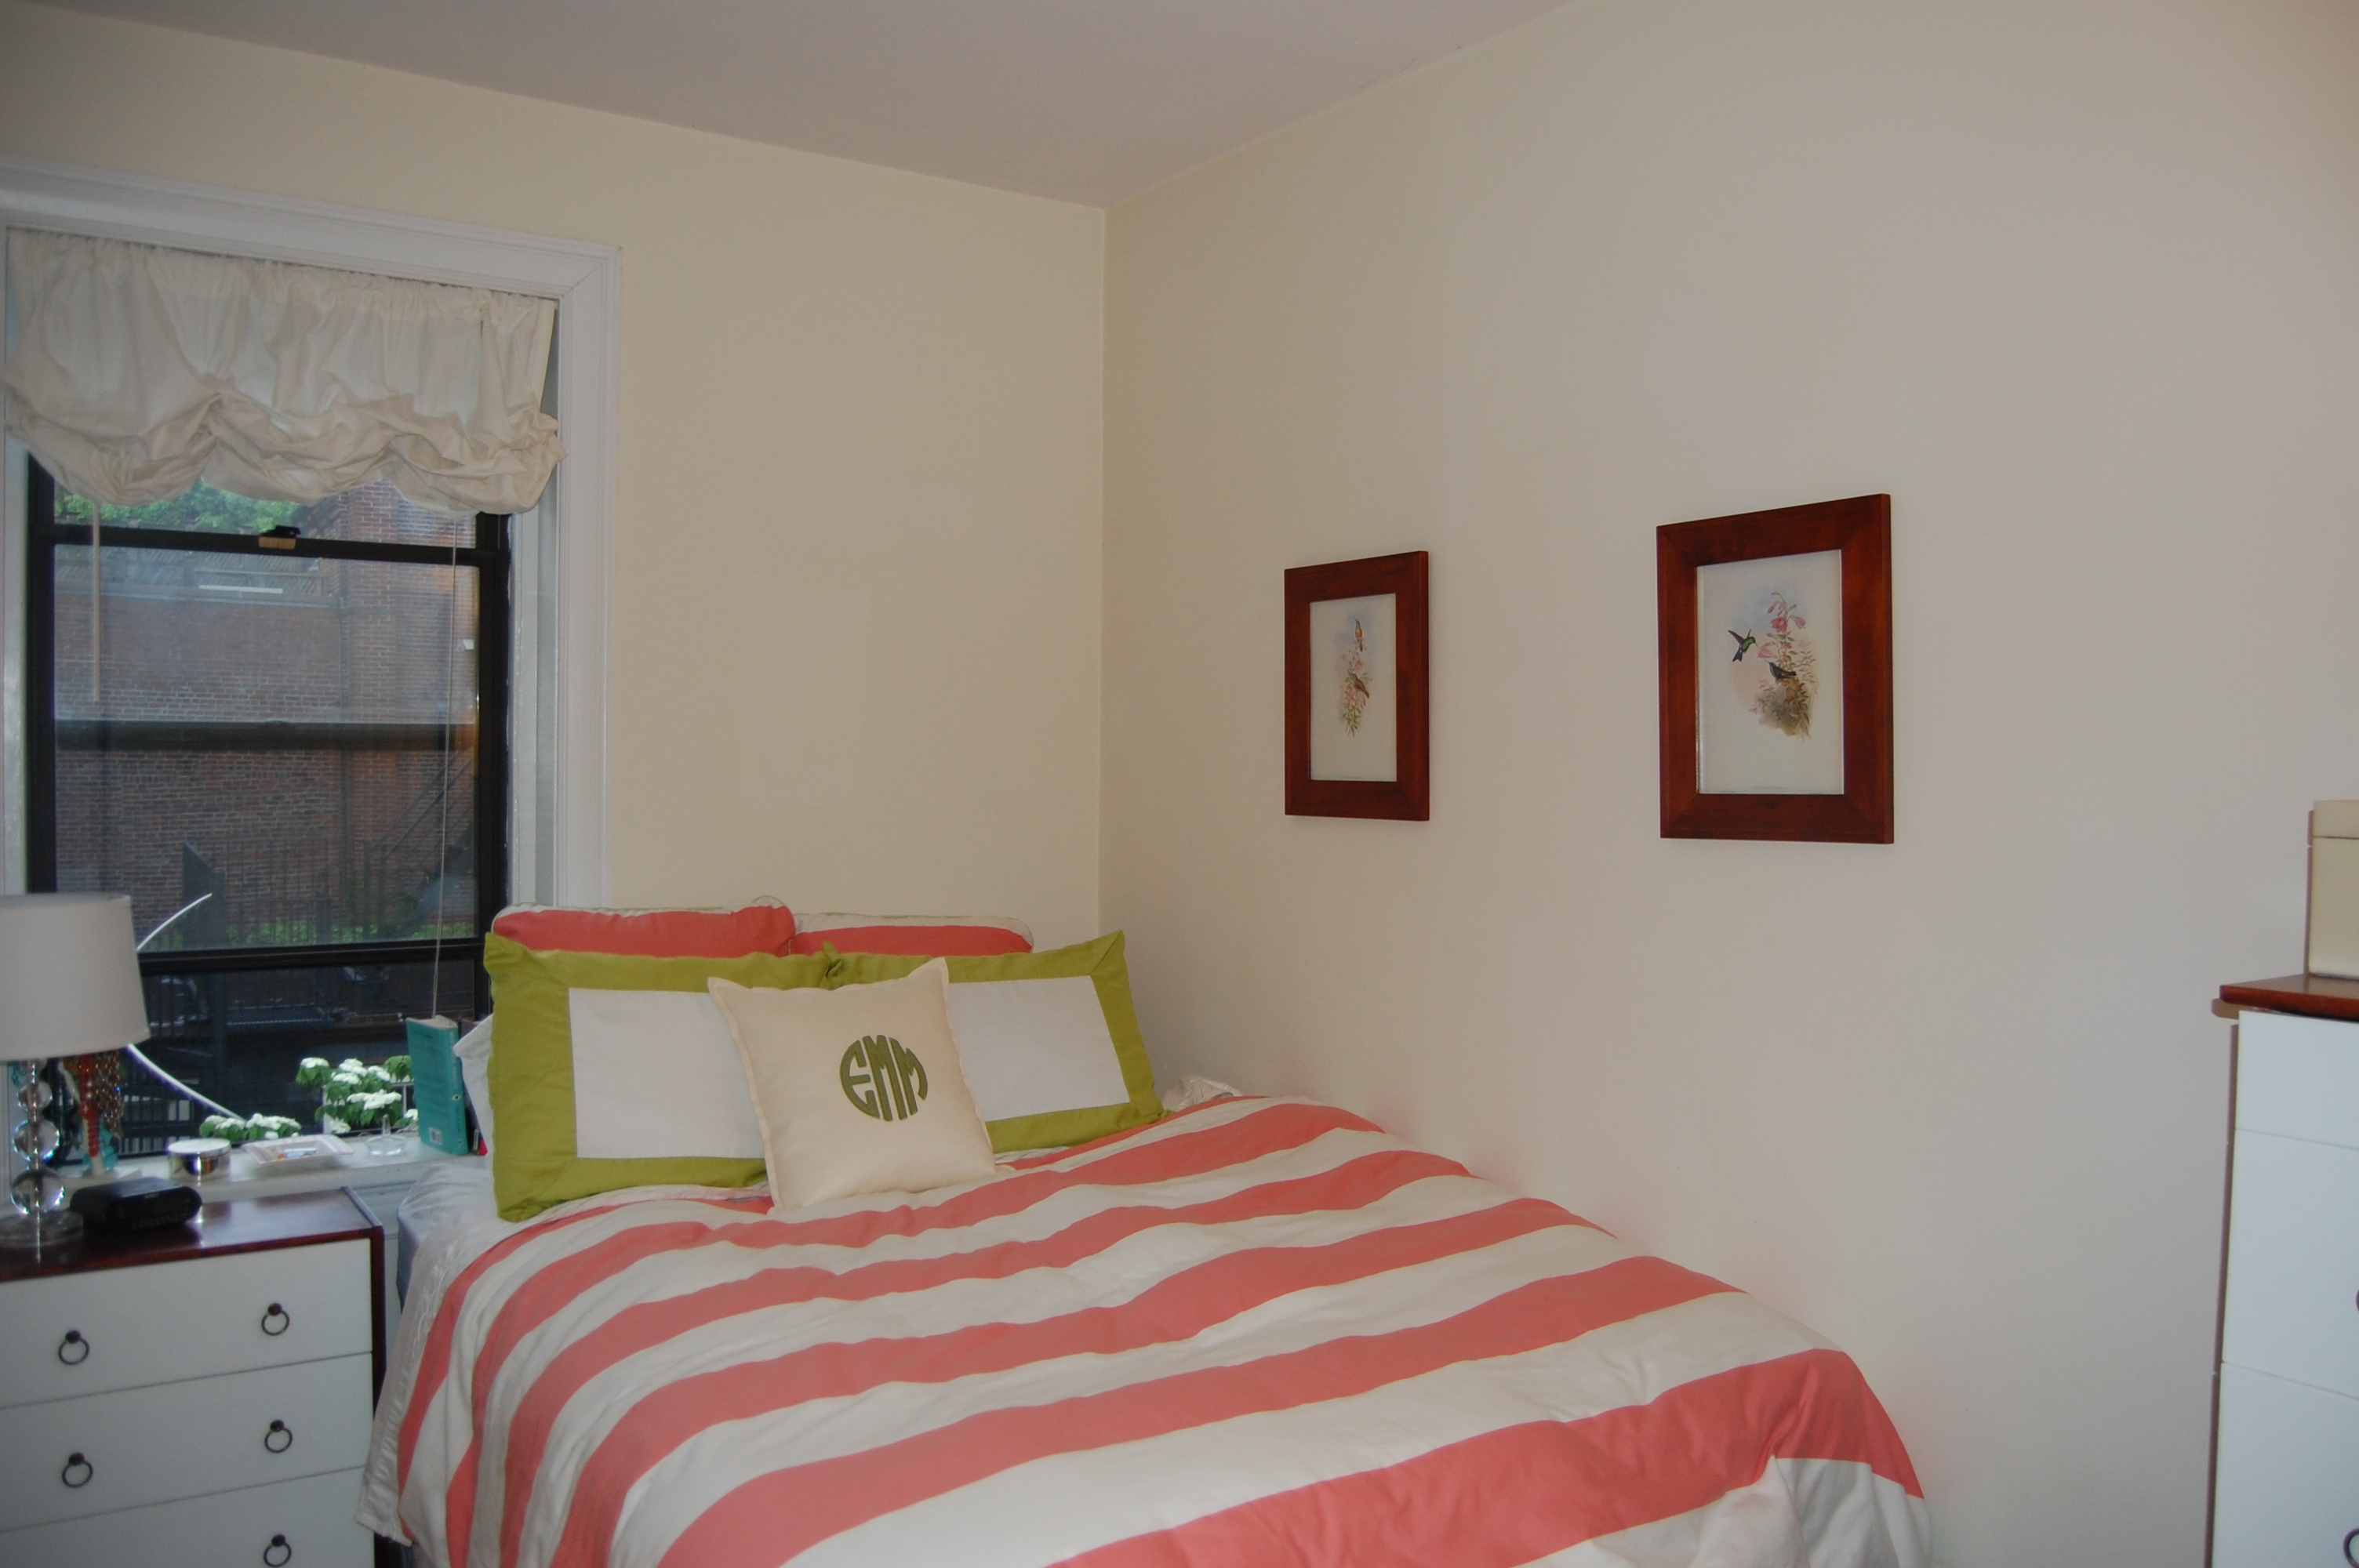
I wish I could fit the entire room in the frame, but that says a lot about the size and shape of the room.
 So now you have seen it; my new place! My adventure as an interior designer will continue, it’s a process and I still have some items to pick up (gradually, as my bank account replenishes itself I need to find a headboard, but the fact that my bed inches past the window is making my decision hard, I am thinking something like this) but I’m happy with it so far.
I have to thank you for all your wonderful comments, tweets and all the encouragement throughout this process. It was so nice to be able to share my handiwork with you!
I leave you now with some scenes from Brimfield:
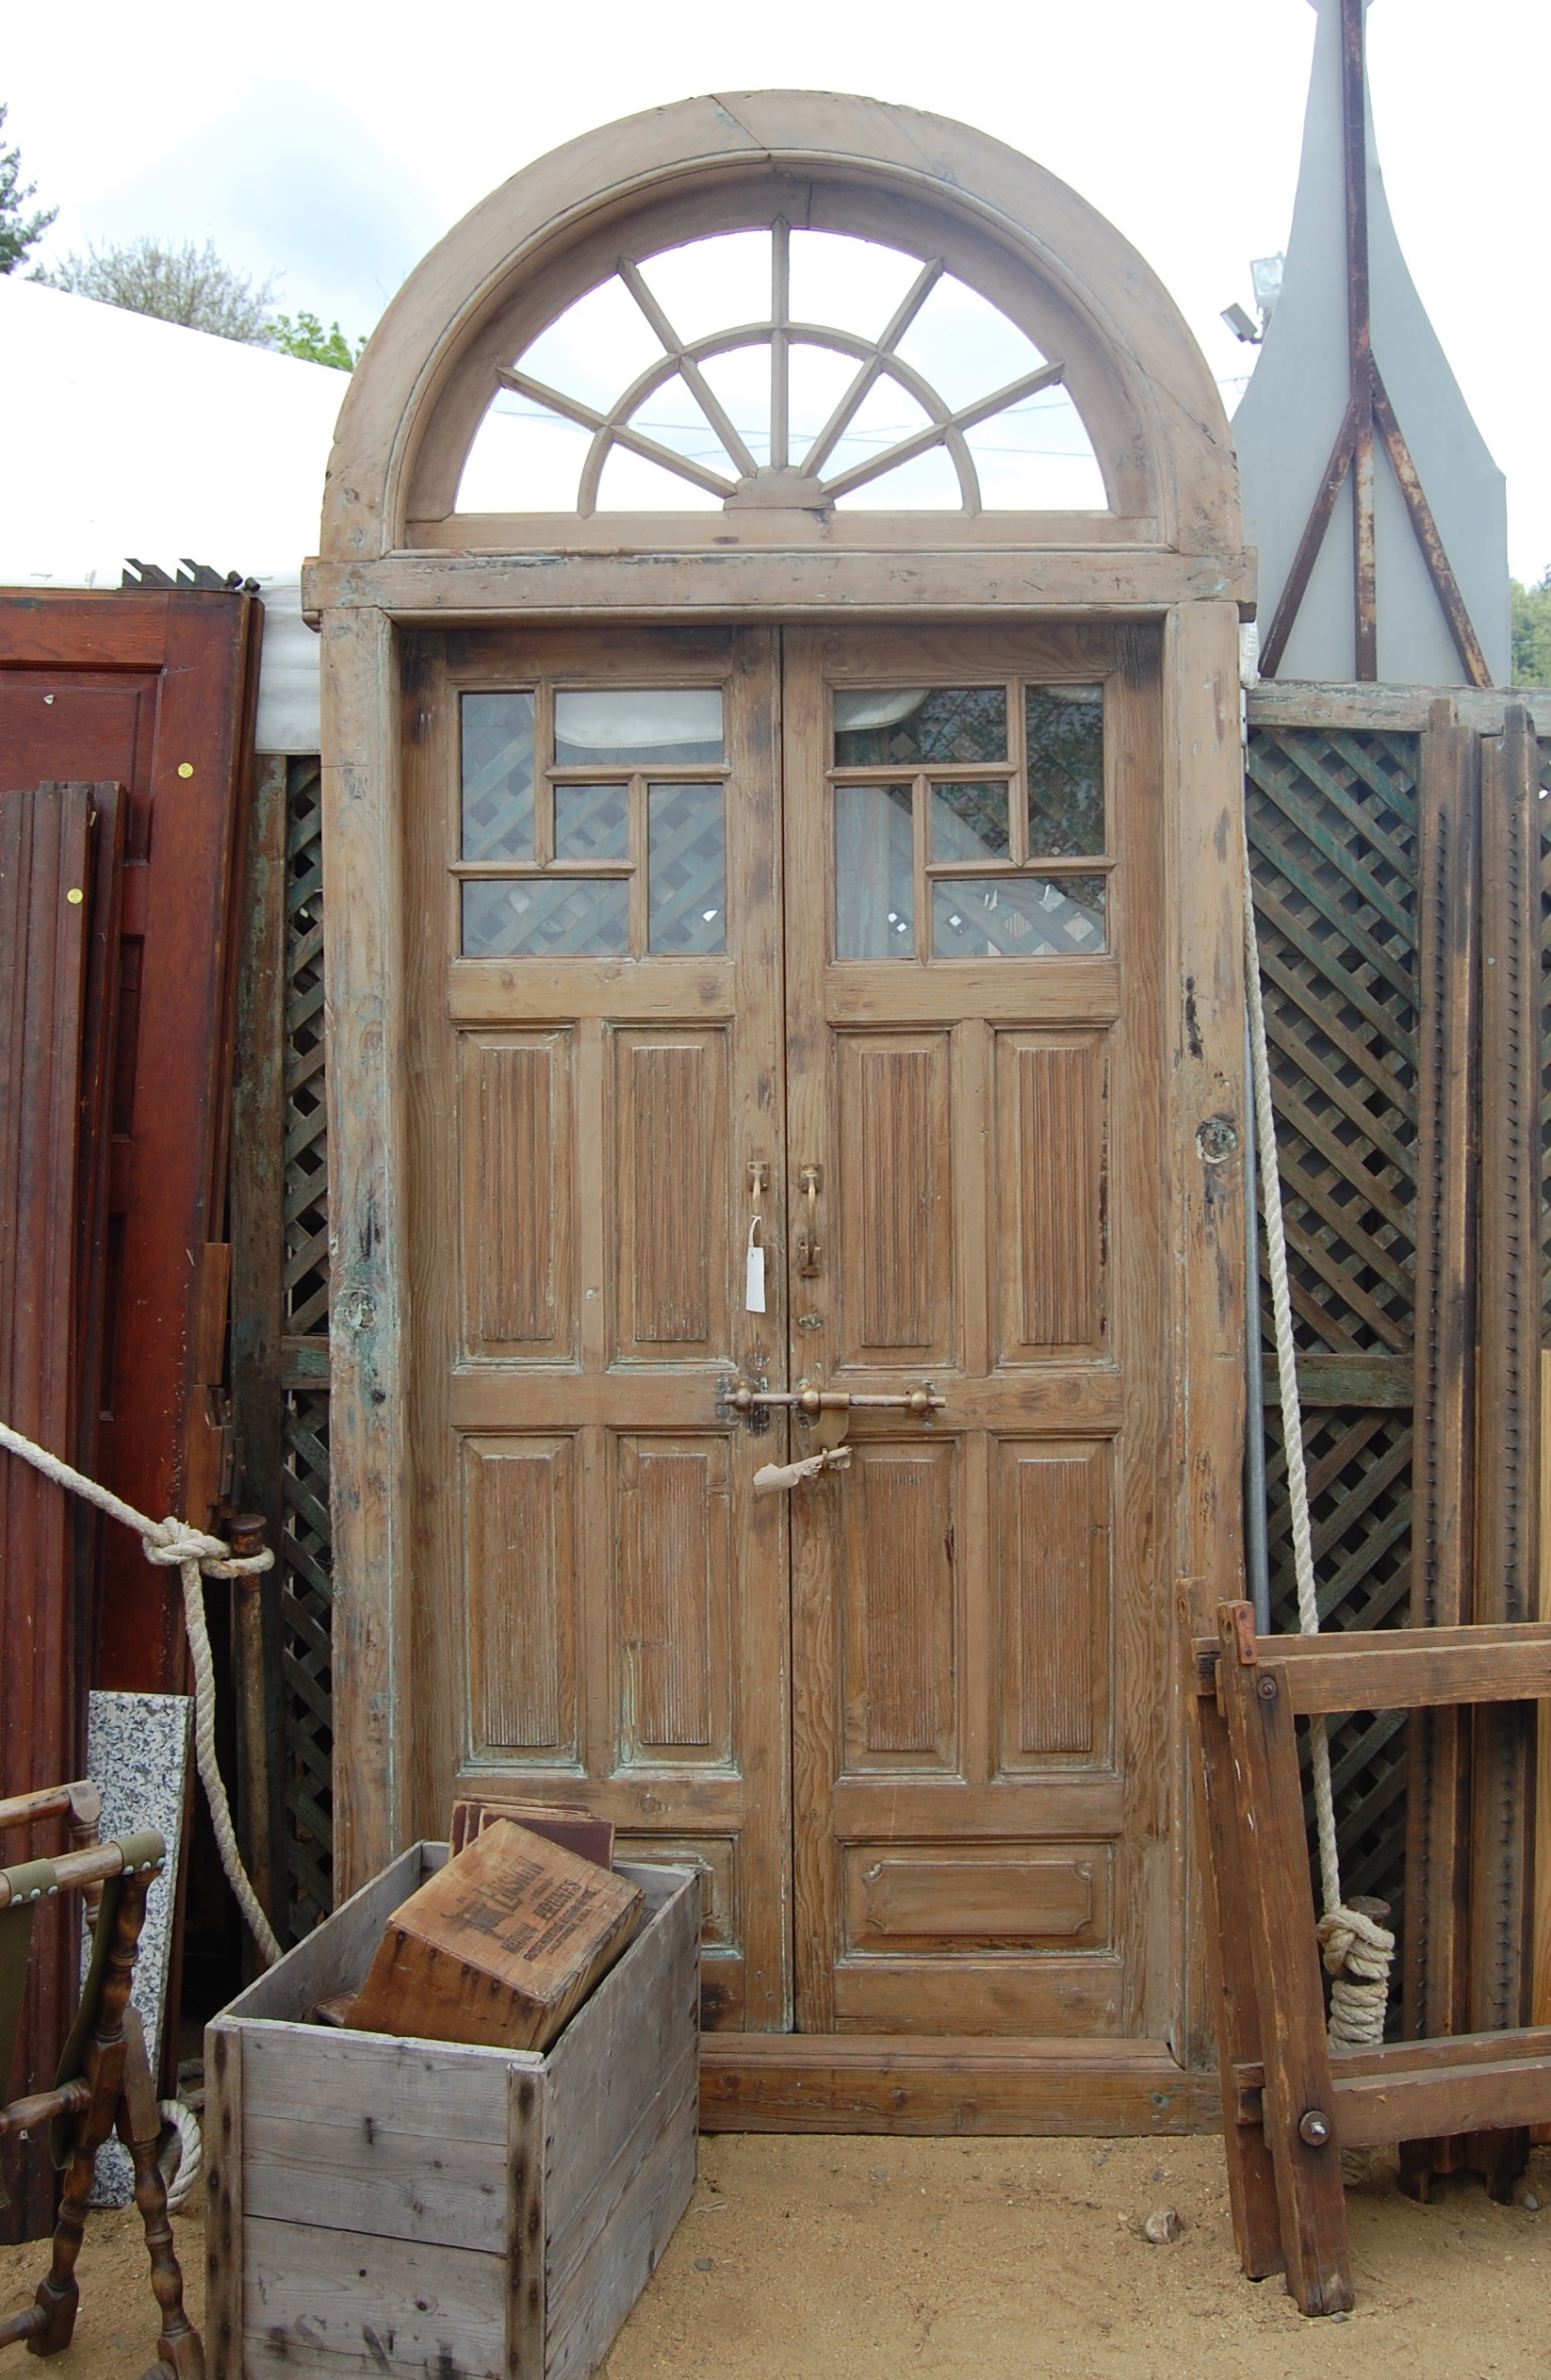
If only I needed a door…
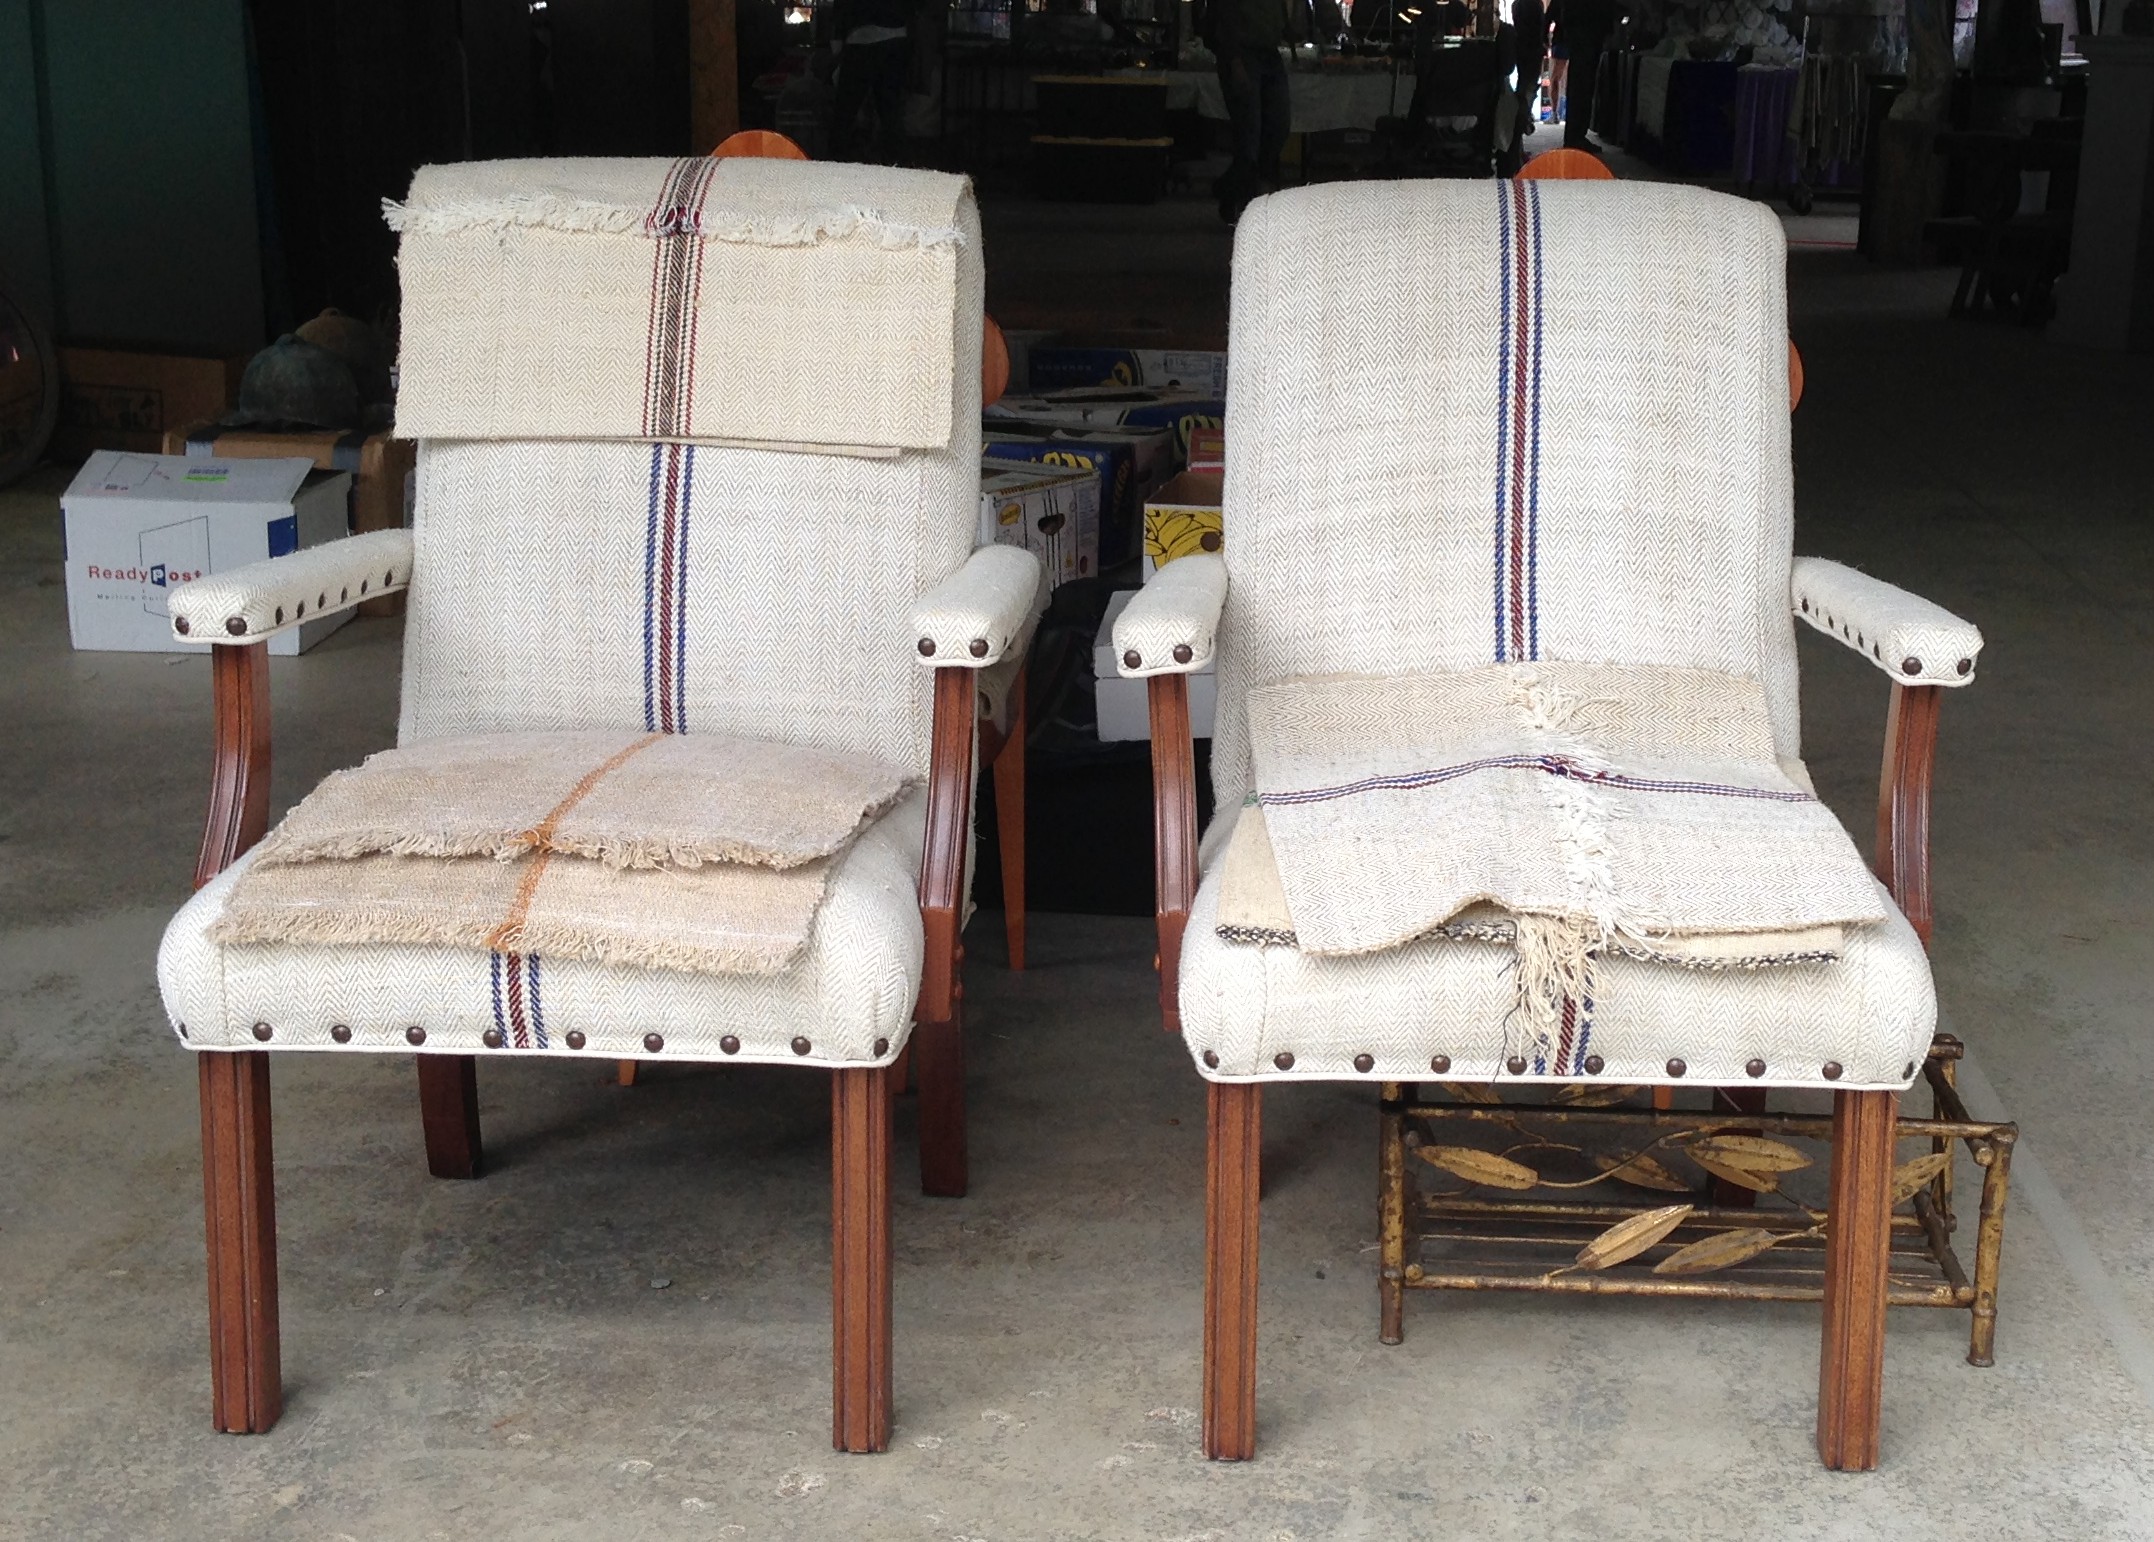
Inspiration for my next projects…
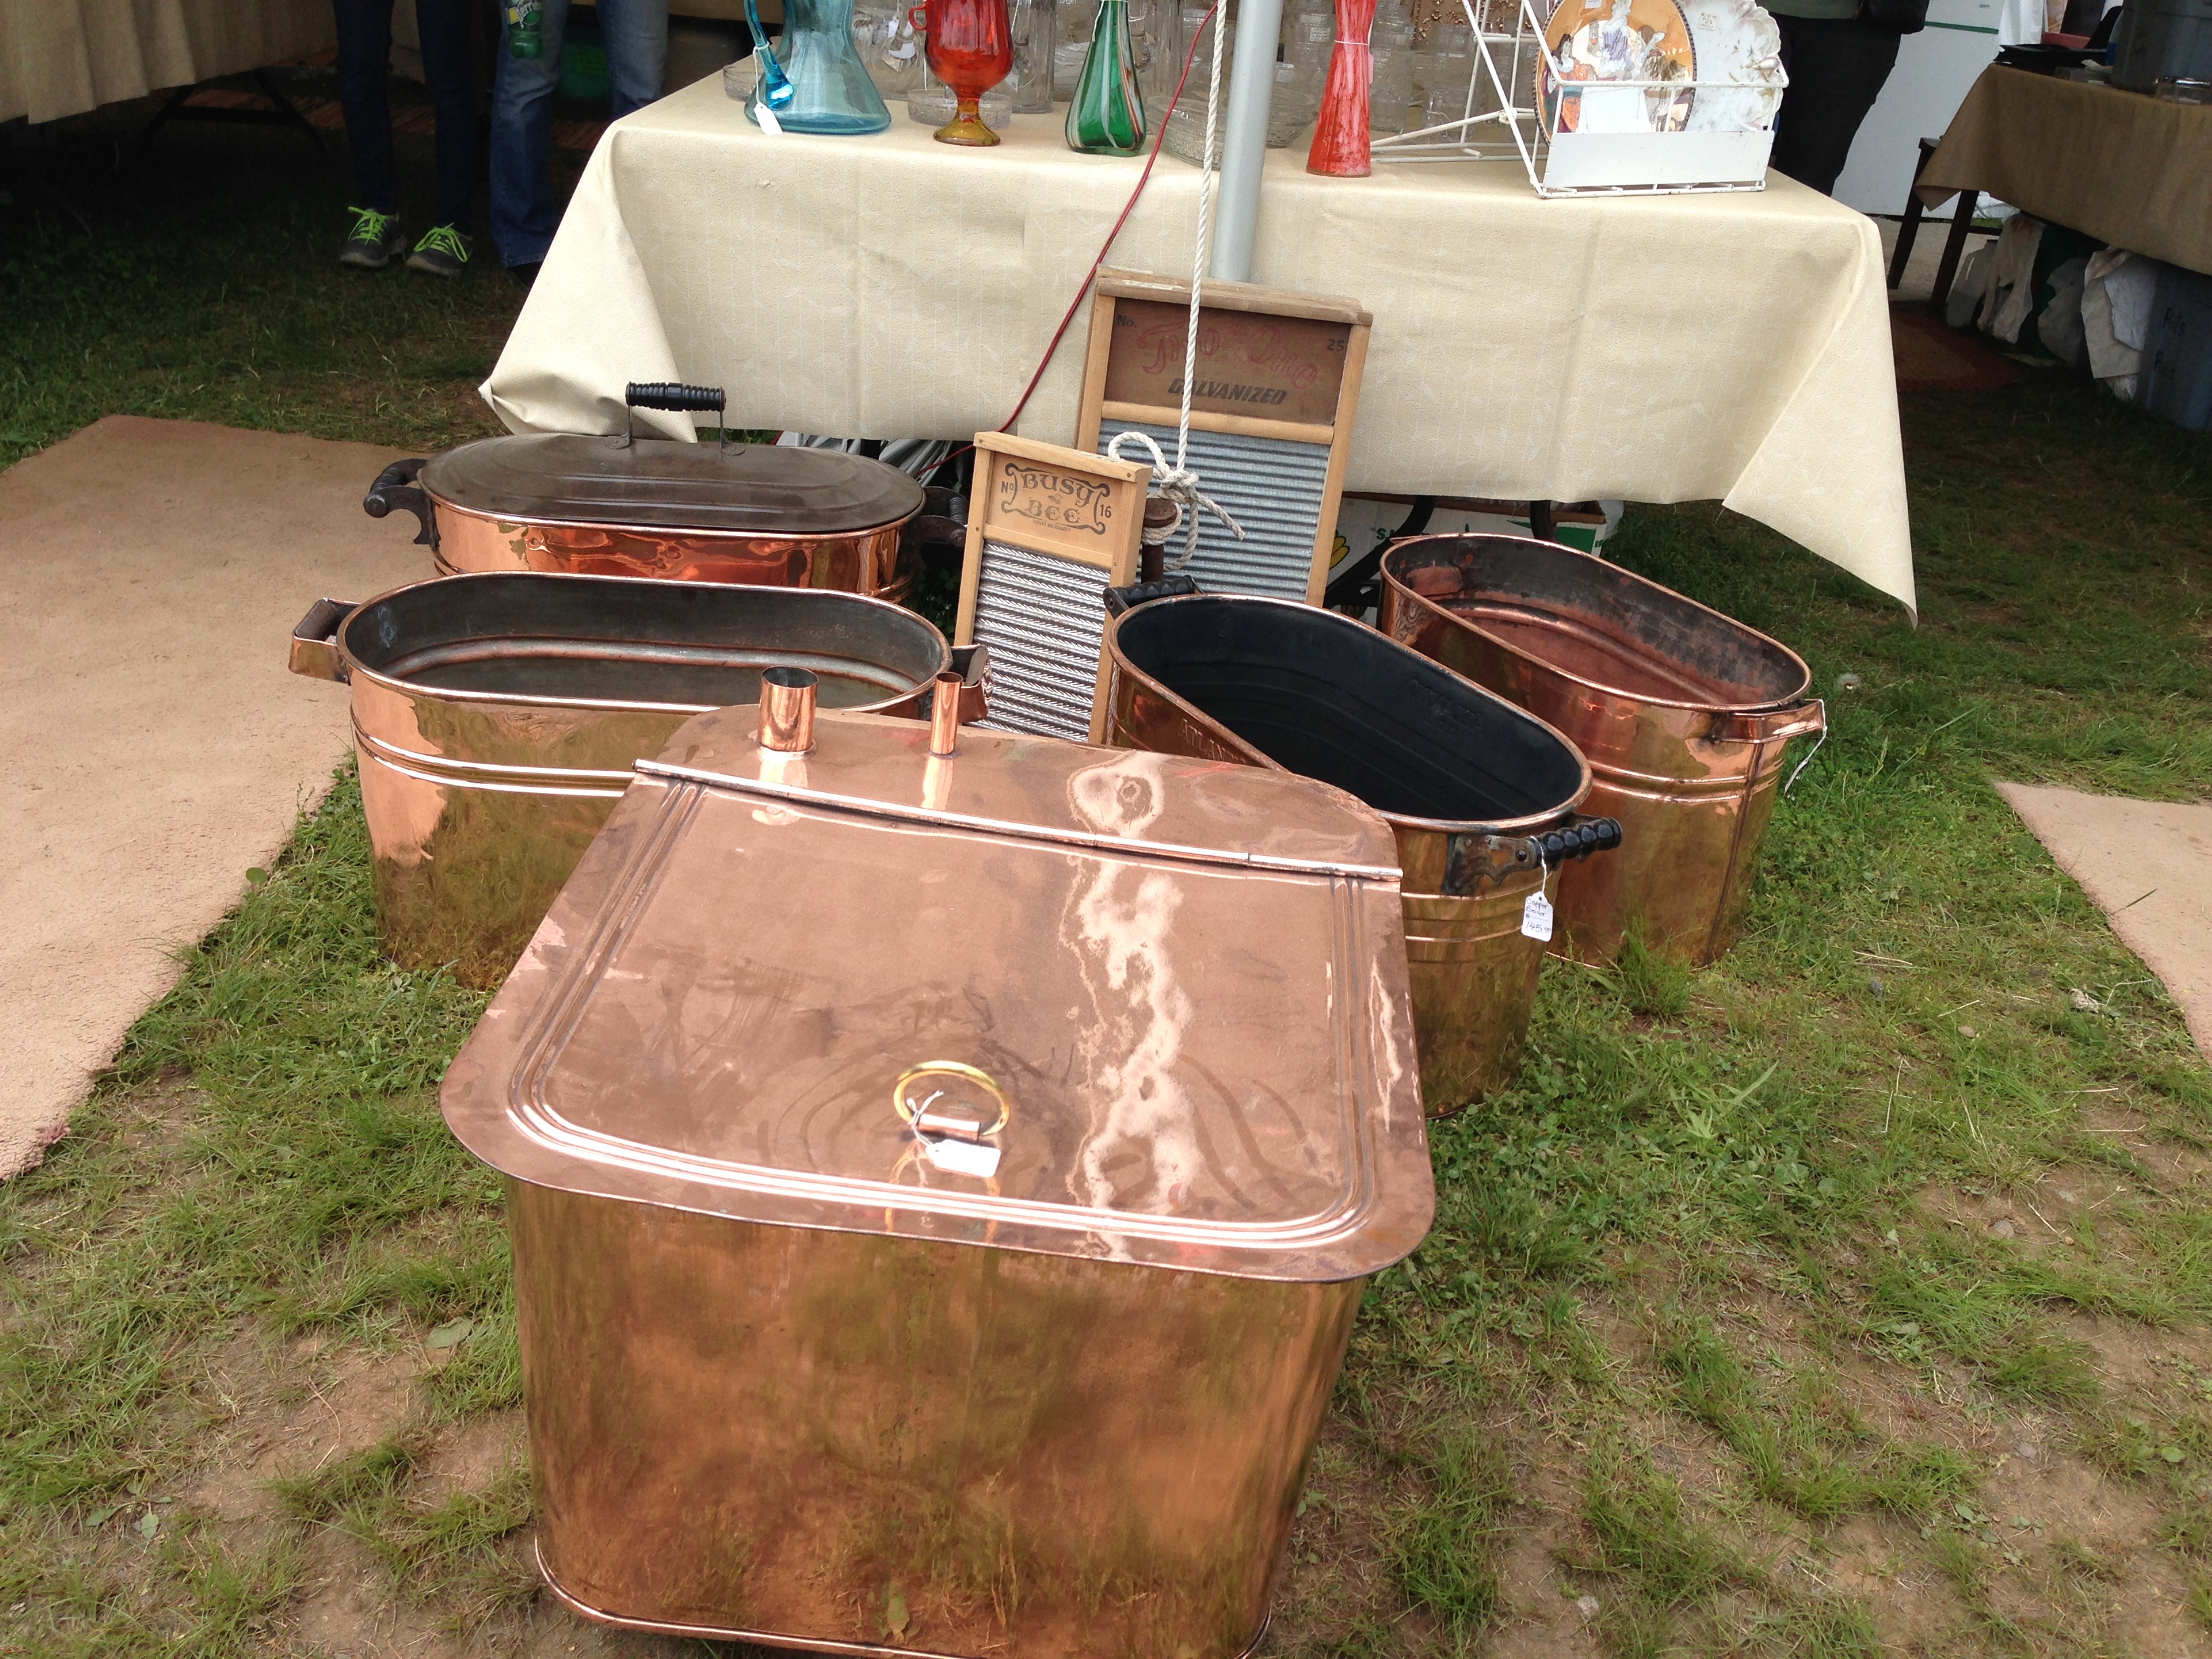
Clutter ceases to be clutter if it’s in gorgeous copper bins
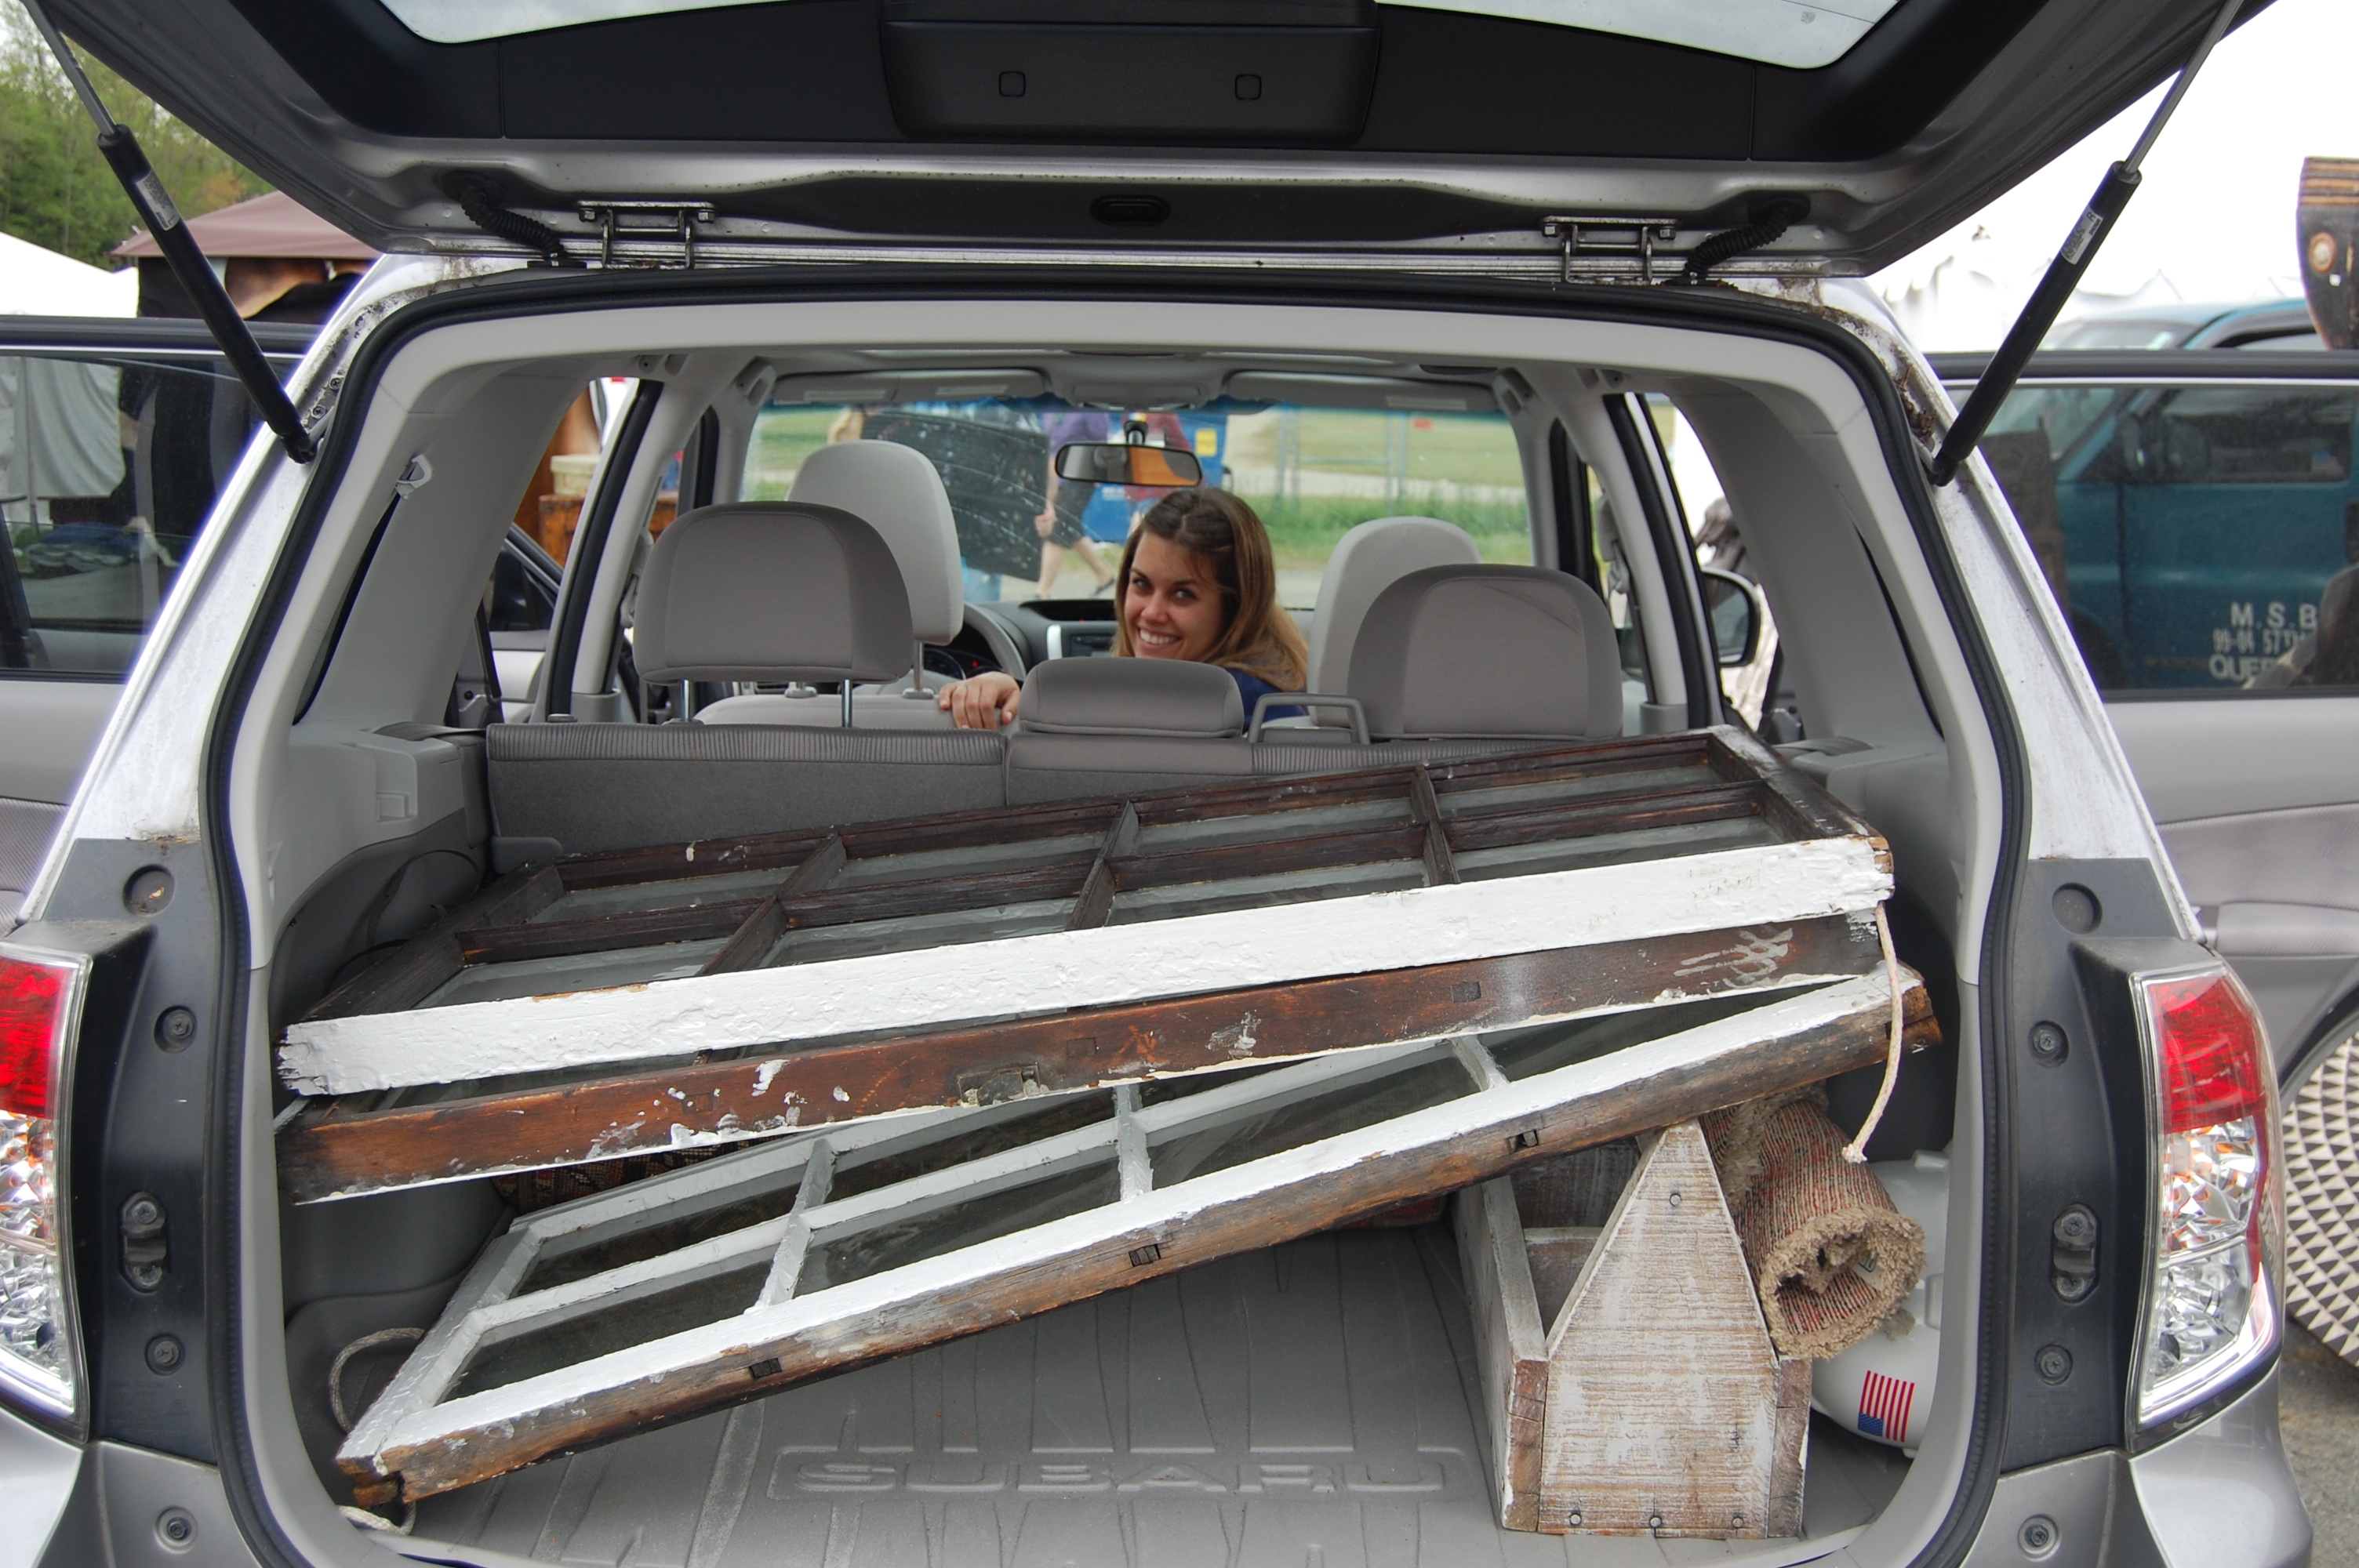
Ready to head back to Boston with our treasurers!