Spring is just a few days away, although it seems New England has not received the memo. Yesterday was blisteringly cold, with a wind chill in negative territory in some spots. It’s times like this that having a little green in your life—or home—provides some much-needed reassurance that spring is somewhere on the horizon.
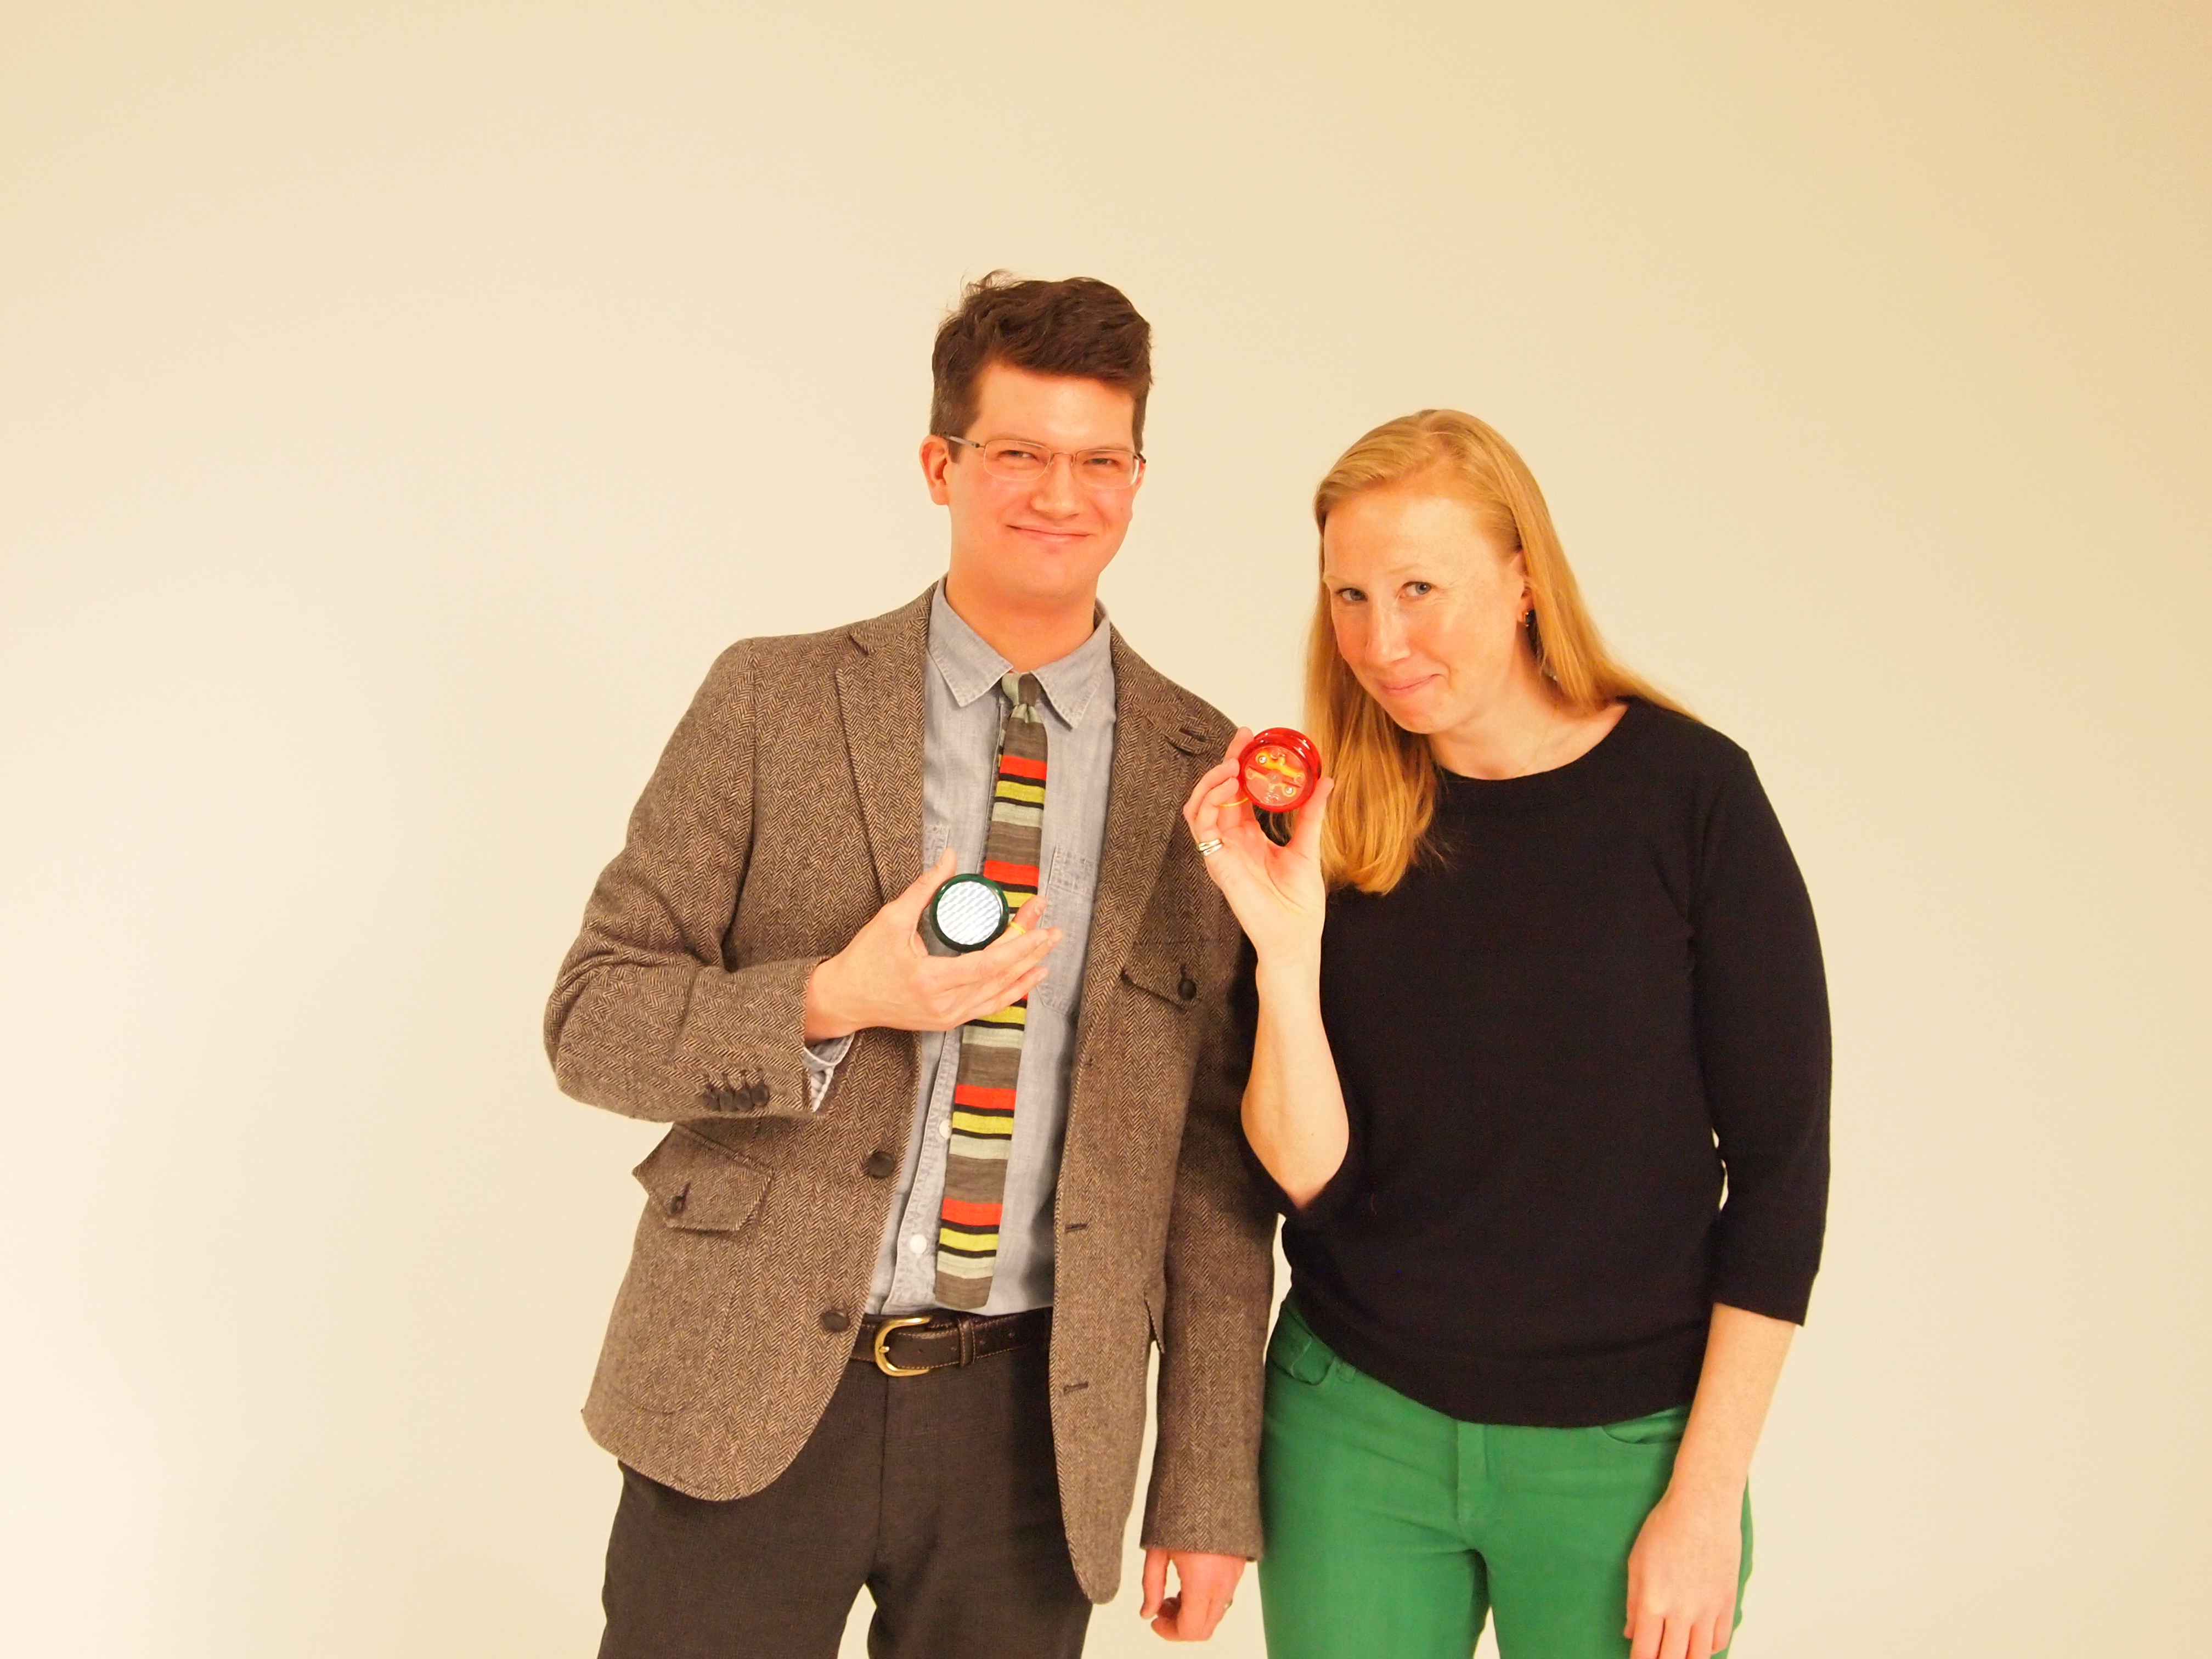
But if you’re like me, trying to keep a plant alive can been more difficulty than shoveling your car out from under three blizzards’ worth of snow. That’s why I sought out Lyndsay Maver, the creative mind, and hands, behind Lynzarium terrariums. Lyndsay’s been working at her art (and her process is definitely more that of an artist than a gardener) for years, and her work has even appeared on one of my favorite shows “CBS Sunday Morning” (no judgement).
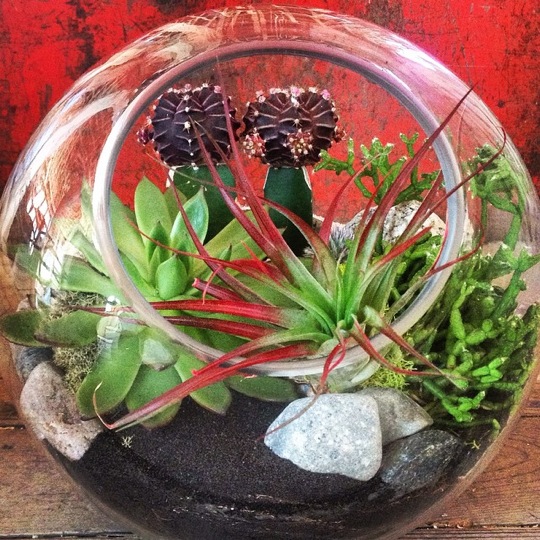
Photo courtesy of Lyndsay Maver
Lyndsay swears that terrariums “thrive on neglect,” (I feel that could be a metaphor for Bostonians this winter) and I took that not only as reassurance, but also a challenge. Could I possible kills this little natural piece of art? We will see.
Now, more about Lyndsay. The fact that she started her own line of sought-after terrariums almost seems predetermined. She grew up in Beverlt, MA with two gardening parents. She studied studio art in college and then like any smart New Englander, she headed to Cali. In the land where plans thrive outside all year round Lyndsay started planting flowers and plants wherever she could, even in coffee cups.
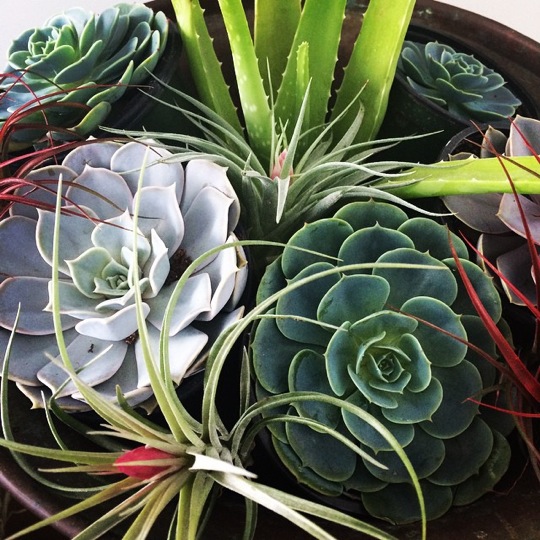
Photo courtesy of Lyndsay Maver
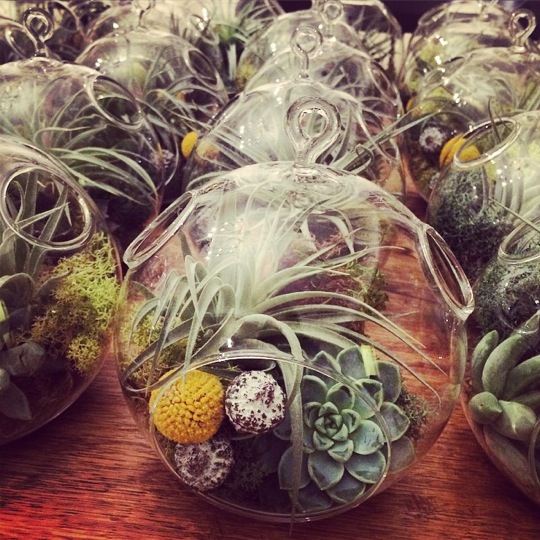
Lyndsay moved back east and Lynzariums were born. She now works out of a studio on the North Shore and takes orders for private clients, corporate events, and weddings (think how amazing it would be to take home a centerpiece that would last longer than two days. How brilliant!).
Courtesy of Lyndsay Maver
As Lyndsay described her working style to me it really sunk in that this is indeed an art form. Lyndsay uses a variety of elements: succulents, cacti, and air plans along with locally sourced drift wood, rocks and shells she finds on the beach. Then there’s the sand and dirt she arranges in patters and swirls at the base of her terrariums. Amazing. She chooses a vessel and then starts to create, placing items in the vessel, arranging and rearranging. I imagine a painter would have a similar approach, seeking different angles to admire (or criticize) their work. She described how after sometimes hours of tweaks and adjustments, everything seems to come together (or, she admits, she takes everything out and starts again).
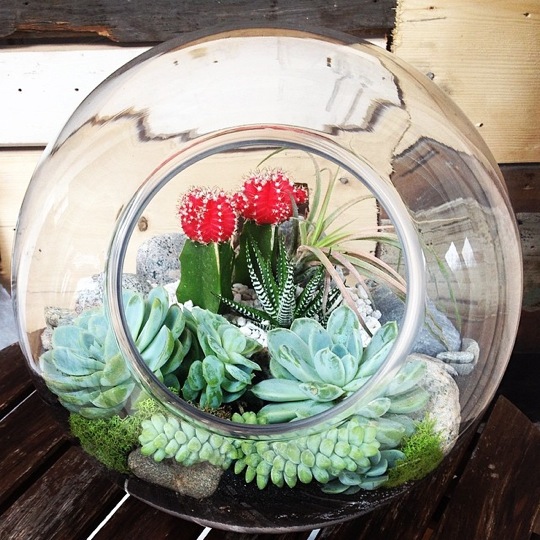
Photo courtesy of Lyndsay Maver
What I find amazing about her work is the balance that she finds, even when there may literally be no balance. Here’s what I mean: she finds a away to incorporate different textures (sand, rocks, shells, plastic mushrooms even), colors (a variety of greens, pinks, deep reds in some succulents) and sizes. If you saw them in any other setting you would think that they would not go together, or that you would need a pair of each to find “balance.” But Lyndsay’s creations are perfectly imperfect. It seems the elements were made to be together.
“Using the creative part of my brain and having fun with it is great,” she told me. “But then to have people appreciate is pretty cool too.” And appreciate it people do. In addition to her work’s appearance on TV, she has been featured in The Boston Globe, and bloggers like Erin Gates have featured Lynzariums on their Instagram feeds.
Like many of the talented folks I have interviewed, Lyndsay loves the fact that she is able to do what she loves. “I don’t mind work. It’s my escape.”
So now as the wind howls outside my window, and I worry that this winter of Boston’s discontent will never end, I have a beautiful terrarium sitting on my coffee table reminding me that spring will eventually arrive and things will be green again…just like my lovely Lynzarium.
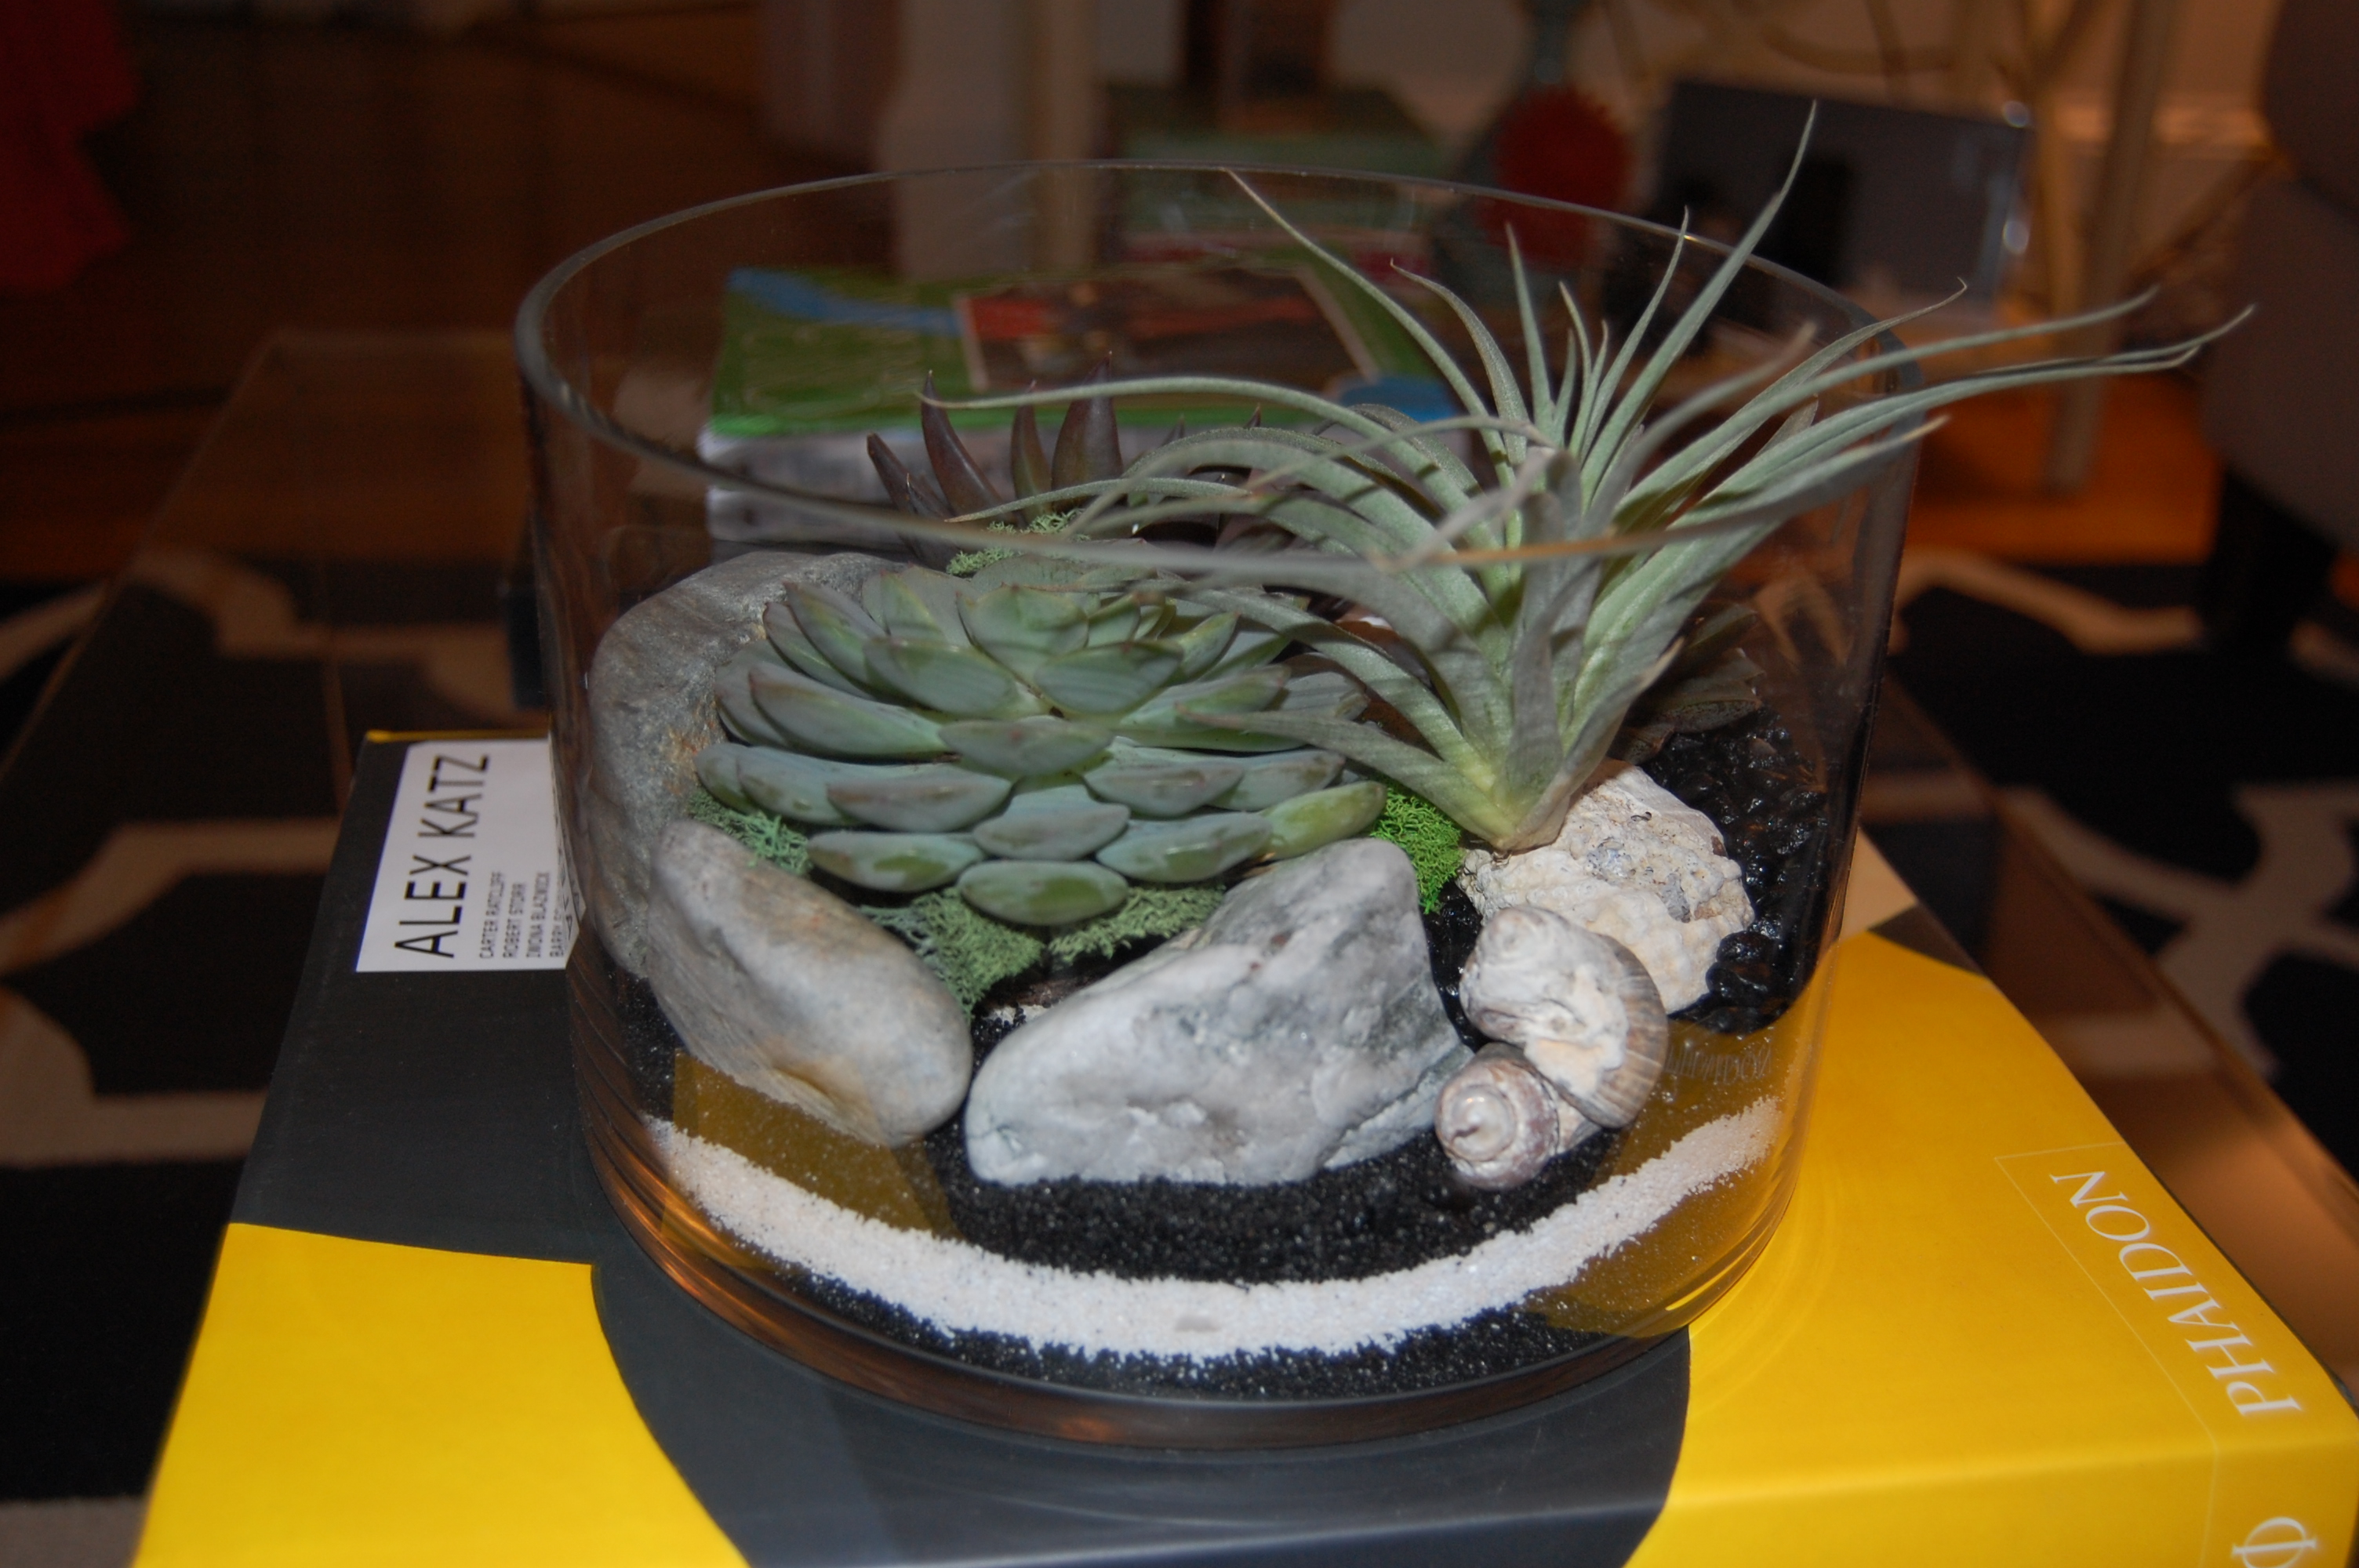
My very own Lynzarium. Look at that sand and dirt swirl!
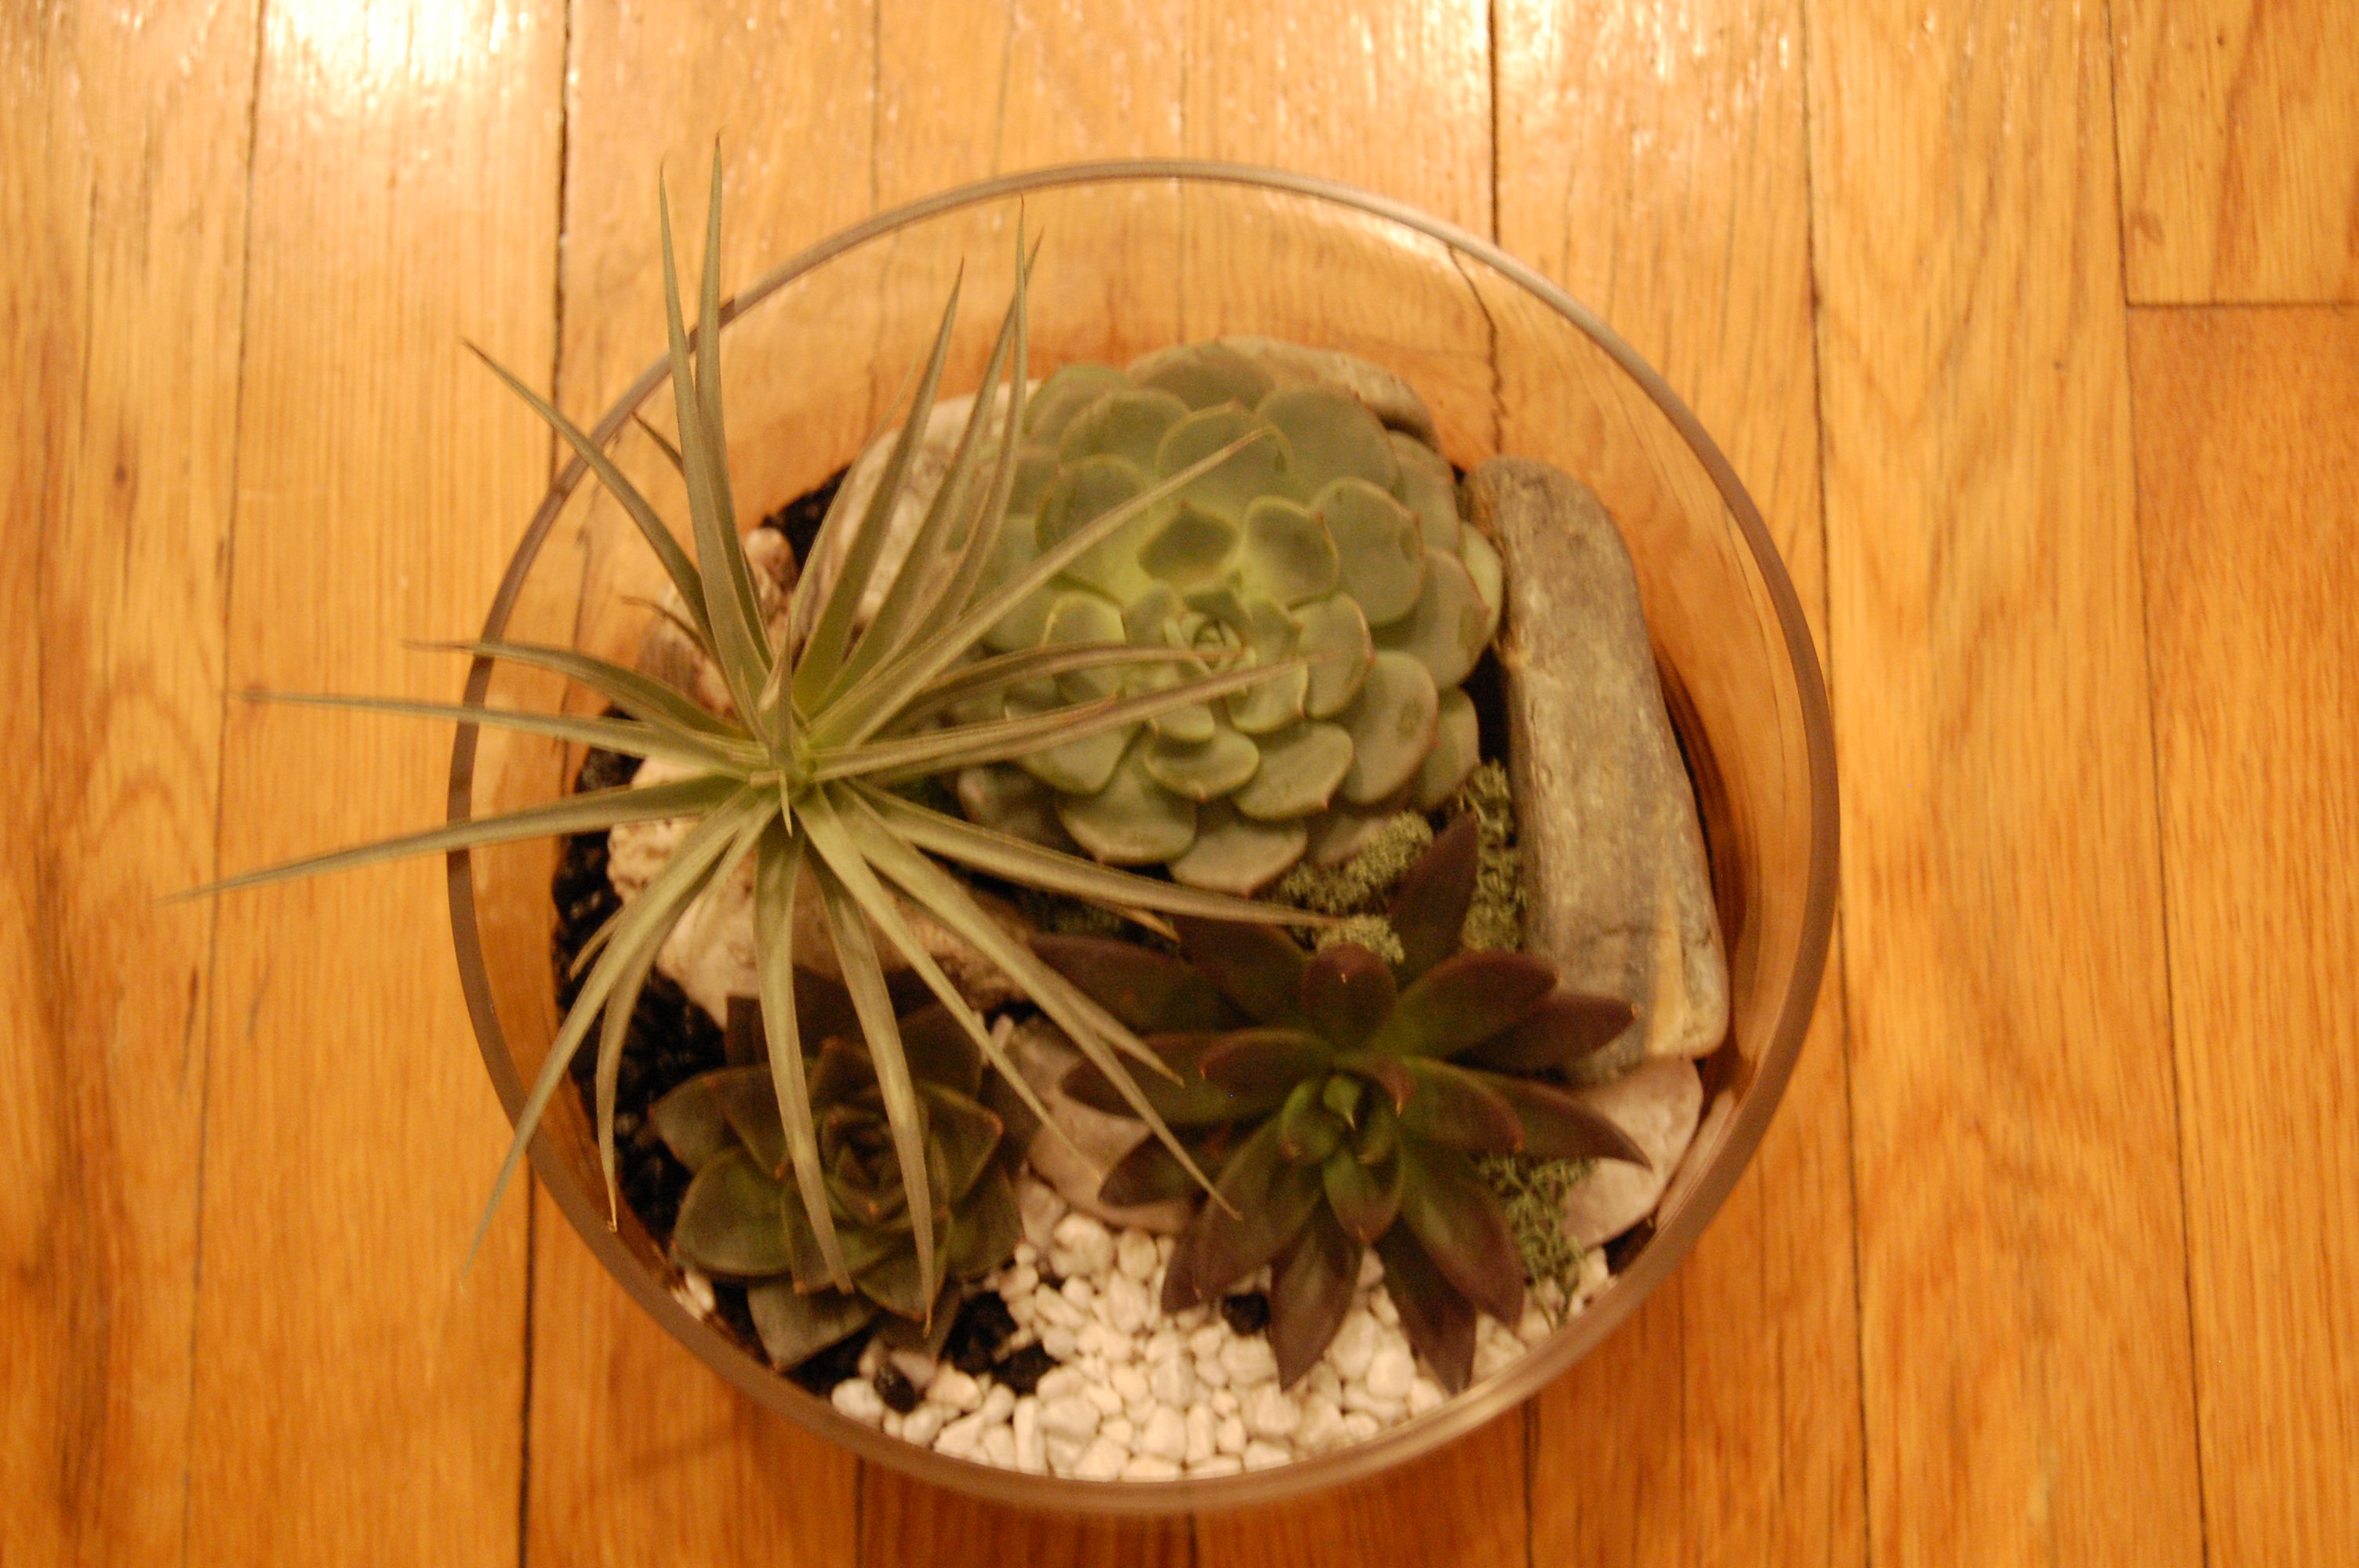
A view from above
Many thanks to Lyndsay Maver for sharing her story with me. I was not compensated for this post.