Child’s Play?

There are some things in life that we have all tried, don’t think too much about and quickly move on. And then there are those rare individuals who try those same activities, get incredibly interested, and then get incredibly good. When you see these people in action, and hear them talk about their passion, it makes you wonder why you lost interest so quickly.

I could be referring to a ton of things, but this week, specifically, I am referring to the lost art (as I learned it’s most apt categorization is as a performance art) of yo-yo!

At its core, a yo-yo is simply an axle between two disks, with a piece of string looped around the axle. I assumed it had lost favor about the same time as tiddlywinks and jacks, but then I met Adam Nelsen. Adam is a contemporary of mine who holds the distinction of being the second-runner-up in the Virginia State Yo-Yo championship circa 1997 (and one could say he was the best juvenile Virginian yo-yoer because not only did he invite the two boys who beat him to the competition, but they were also on vacation from South America).

I was fascinated that Adam has a talent that I associated with black and white TV shows like “Leave it to Beaver,” so I asked him if he would teach me how to yo-yo. He generously agreed, but as is the case with many of my adventures, what I assumed would be rather easy, turned into a herculean battle of woman versus yo-yo.
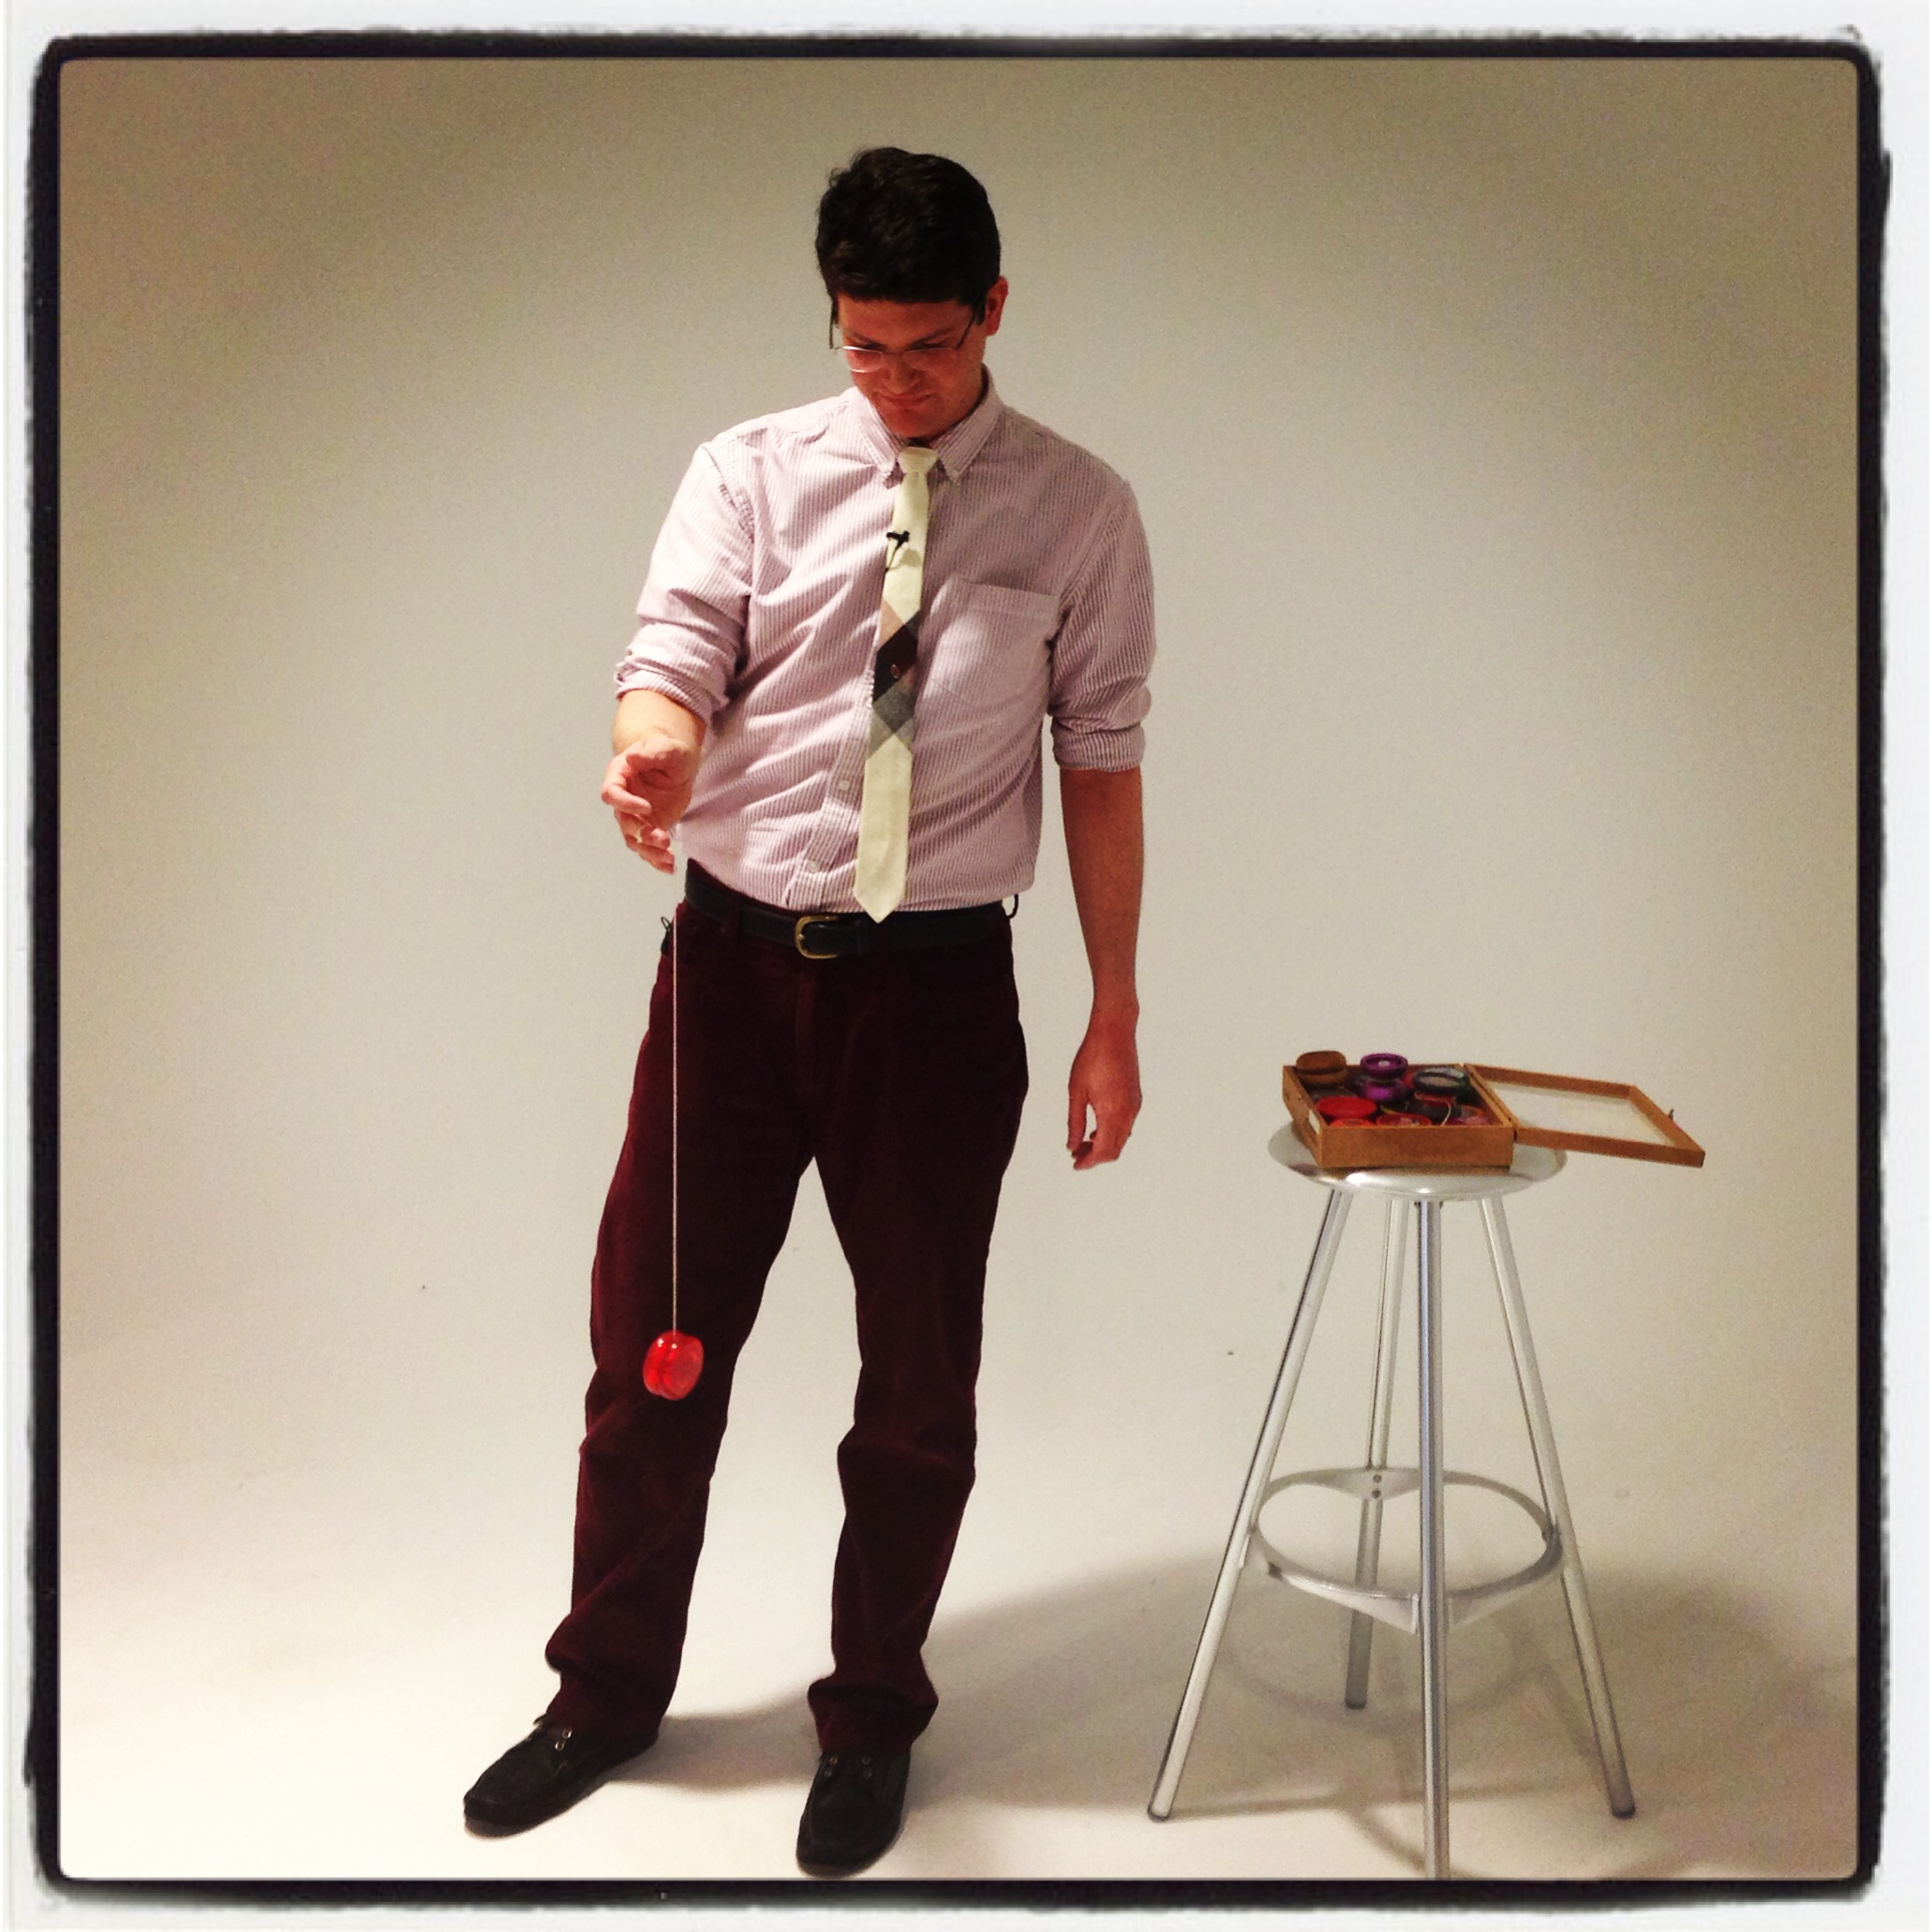
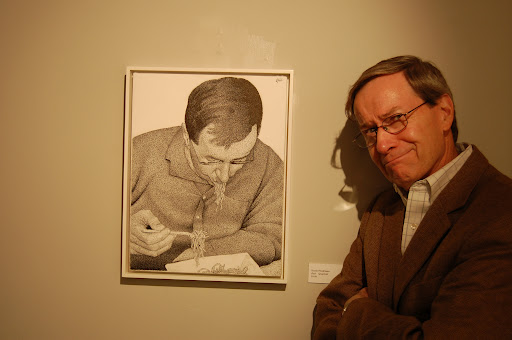
Adam and his yo-yo

Adam and his yo-yo

First more about Adam: He began yo-yoing as a child, but he took his skills to the next level when he got a holiday-season job yo-yoing next to a yo-yo kiosk at a local mall. That seasonal job grew and soon he was impressing passers-by for eight hours a day. That’s when things got serious. With dreams of fame and fortune—or at least dreams of an appearance on the local news—he entered the state championship being held at the local science museum. Right before the competition, two boys stopped by the mall kiosk (this is how all good stories begin) and Adam says he had never seen better yo-yoers in his life. So in a moment of generosity (he has a lot of those), which he may now regret, he told them about the competition. Those two boys not only entered, but they came in first and second. While young Adam was disappointed, he was not deterred. He continued to yo-yo throughout his adolescence, and today he is teaching his three-year-old.

Seeing that Adam’s son likely has more yo-yo skills than I do, this provides a nice segue to our lesson. Adam began by showing me some if the easy tricks that he knows. And as any expert is bound to do, he made it look easy.  As Adam explained, yo-yoing is all about the sleeper. The yo-yo is “sleeping” when it is spinning at the end of the string. The longer it spins, the more time you have to accomplish a trick. Some of the easier tricks he showed me included “Rock the Baby,” which I mistakenly called shake the baby. Oops! Not the most auspicious beginning to my yo-yo adventure. Adam’s yo-yo was flying all over the place, towards the floor, towards the ceiling, towards me. He even got on his back laying on the ground, with the yo-yo flying above him.

In addition to attempting to teach me to yo-yo, Adam also provided me with a new outlook on this toy: that of performance art. Sometimes Adam yo-yo’s out of boredom (waiting for something to print at work), but just as he did at the kiosk in the mall years ago, he yo-yo’s to entertain. “I don’t ever just show somebody my best trick right out of the gate,” Adam explained to me. “I take them on a little journey to maximize the entertainment value. I gauge their level of interest with a little chatter. I try to read the crowd. I make some quick decisions based on what they’re saying about their experiences yo-yoing, what tricks they’re asking to see, and how much time they’ve got. Then, I take them through a performance. I try to make them smile or say, ‘wow.’”

After watching some of Adam’s cool tricks, I wanted to get in on the action. I grabbed one of the dozens of yo-yos that Adam brought to our lesson (ranging in price from $5 – $90), wanting to give it a try, but while I could release the yo-yo and send it falling towards the floor, I could not summon it back up to my hand. I had to stop and manually wrap the string back around the axle. This happened again and again; I could not hurl the yo-yo down with enough force and spin for it to make it back up to me. Without making me feel like a child, Adam downgraded me to the yo-yo that he is using to teach his child, and sent me home to practice. And that is what I am doing, every night (just about). I hope to get good enough not to embarrass myself in my follow-up post, which with include a video so you can get the full yo-yo expereince. Stay Tuned!

I must thank Adam Nelsen for taking the time to share his passion for yo-yoing with me. He does a lot of other cool things that you can check out on his website, plus Twitter and Instagram.

The Perfect Pour

Coffee is hot…literally as well as figuratively. As The New York Times reported just days ago, coffee lovers are seeking out coffee boot camps and training so that they too can brew like a barista.  While I don’t drink coffee (I am a recovering diet coke addict, happily supplement with green tea), I am fascinated with people’s relationships with it. Individuals feel strongly about their java preferences, and when you think about the simplicity of its origins (a bean) the proliferation of its incarnations and varieties is mind-boggling. And as if the type of coffee was not enough, your espresso, latte or iced coffee is also expected to look pretty.

Latte art, the act of creating intricate designs in the steamed milk atop a latte, is growing in popularity and competitiveness. Across the country there are regional and national “throw-downs” where baristas challenge each other to create the most beautiful foamy patterns. As we have learned through my previous artistic adventures, I was not blessed with much technical artistic skill (that all went to my brother), but I hoped that maybe the edible medium – not to mention learning from a patient expert – would be a recipe (pun intended) for success.  So just before the holidays I set out to become a latte artist!

Enter Shane White, barista extraordinaire from Boston-based Flat Black Coffee. Everyday Shane keeps hundreds of Mullen employees happy and well-caffeinated, and he was generous enough to teach me my way around an espresso machine.

Shane at work

Shane at work

Shane has worked at Flat Black for five years and is a self-taught latte artist, most baristas are. It took Shane six months, tons of practice and some YouTube videos, to master the three basic designs of latte art: a heart, rosetta and a tulip. At this point in his career, Shane estimates that he has made tens of thousands of lattes – not to mention participated in Boston’s “Thursday Night Throw-down” competitions — so I was in very good hands.

DSC_0007

My coffee naiveté may stem from my lack of drinking experience, but I was totally surprised by all the variables that can impact one’s latte creations: The type of milk (the foam from steamed skim and soy milk don’t lend themselves to latte art, 2% and whole milk are far superior), the size of coffee ordered (the larger the cup, the more milk and therefore the more foam you need to control), even the age of the espresso can affect how it behaves.

We started our lesson with Shane demonstrating his technique for a heart (the easiest of the three basic designs): he steamed 2% milk, prepared the shot of espresso, held the cup at a slight angle, started to pour the steamed milk in at a surprisingly (to me) fast pace, then as the cup filled, he straightened the cup while moving the steel pitcher containing the milk in a slow, steady semi-circle. Then at the very last moment he pulled the lingering drip of milk through the center of the cup as if to cut it in half. As he began to pour the foam disappeared into the espresso, but eventually it re-emerged at the surface of the cup, ready to take on whatever incarnation Shane told it to.

A rosetta by Shane. Courtesy of Kara Feigenbaum

A rosetta by Shane. Courtesy of Kara Feigenbaum

While Shane talked me through each of these steps as he did them, a great deal of what he does clearly comes from a place of experience and instinct. Having made so many thousands of lattes, he could see and feel how the milk was behaving and could make adjustments — to the pace at which he poured, the point at which he straightened the cup or the touch he applied — to keep his creation on track.

Charley's heart

Courtesy of Charley Perkins

You know sometimes someone will explain or show you how to do something and you think to yourself, “Hey, that doesn’t look too bad. I may be able to pull that off.” Well, this was not one of those times. It was clear that latte art takes much more skill and finesse than I had expected. But, I was already behind the coffee bar, so I couldn’t quit now.

Shane made the espresso and steamed the milk for me (no need to set myself up for failure right out of the gate), then I took over. Double-fisting the cup and milk pitcher, I started to pour. Shane was right over my shoulder quietly directing and encouraging me, but there were a lot of small things I had to do all at the same time. While I did everything he said, my pour was slow and unsteady, I don’t think my semicircle was wide enough and my entire effort was too hesitant. I ended up with a large blob in the middle of my cup. Shane and I decided it looked like a strawberry, so he did a little accessorizing (foam dots for seeds) and we made the most of it:

A perfect frothy strawberry

A perfectly frothy strawberry

My first attempt would turn out to be my strongest. After the strawberry, I created what we decided was an egret. Yeah, I know it’s a stretch, but look closely and you can clearly see my bird’s long legs and neck:

DSC_0013

Then I hit rock bottom with this indistinguishable blob:

If you can see something in this blob, please let me know

If you can see something in this blob, please let me know

While my work was not that impressive, what I was impressed with was the fact that even when I had an audience — in the form of a thirsty colleague waiting for his latte — I did not get frustrated or impatient with myself. And while I was slightly embarrassed to hand my blob over the counter, I did so with a smile and a giggle. And hey, the good-natured Tim Connor said it still tasted good!

My satisfied customer

My satisfied customer

While I did have fun, I have come to the realization that I can never ever be a barista. Or like Shane, maybe I have to be persistent and take the time to learn this skill, which I now realize is very much a form of art. A tasty one at that! Check out more of Shane’s creations:

louise

Courtesy of Louise Lloyd Owen

louise heart

Courtesy of Louise Lloyd Owen

Shane can even make iced coffee pretty

Shane can even make iced coffee pretty. Courtesy of Charley Perkins

I’d like to thank the very talented Shane White for his patient instruction. He helped me appreciate that a barista’s creations are not just a simple cup of Joe. Thanks also go out to Kara Feigenbaum, Louise Lloyd Owen and Charley Perkins, three Mullenites who provided instagram images of Shane’s impressive work. I was not compensated in any way for this post.

An Illuminating Evening

I love photography. I took photography classes in high school, and in journalism school where I had the privileged of learning from Pulitzer Prize winning former New York Times photographer, Vincent Laforet. So I have some experience with a camera, but I take photos for fun. Its been years since I’ve been under any pressure to capture a well-composed, compelling image. So when I was asked to play photographer and take pictures at an event to celebrate a deserving Boston-area charity (more on that in a bit), I immediately accepted, but it took mere moments for that excitement to turn to panic. The charity would be counting on me, and the photos would be offered to journalists to include in their coverage, so they could end up in newspapers. So the pictures would have to be good.

That’s when I called on an expert: lifestyle and portrait photographer Jeff Allen. If you follow me on instagram, then you have likely seen Jeff at work; climbing ropes, getting dirty and kayaking. He’ll do almost anything to get the perfect shot. Jeff’s work is diverse: from BMX, to celebrities, to commercial campaigns. He has worked with the best in the business such as Ben Watts (Naomi’s brother) and has photographed the likes of the Kardashians and Adam Levine. He also gets to travel around the country and work with me, which is surely the best part of his job. Here’s a sample of his work:

Photo Courtesy of Jeff Allen

Photo Courtesy of Jeff Allen

Photo courtesy of Jeff Allen

Photo courtesy of Jeff Allen

On one of our recent trips Jeff offered me his expert advice on how to capture some great images under tricky conditions (five in the evening, both outside in the dark and potentially inside the adorable shops along Charles Street in the Beacon Hill neighborhood of Boston). Jeff suggested I rent a more powerful lens for the project. I was taking pictures in the dark, he explained, and I would need a lens that has a wide aperture that would let more light in, while maintaining a fast shutter speed to avoid blurry images caused by my own body movements. His instruction sparked a flood of memories of the photography classes from my past. This made me even more nervous because in the last five years my Nikon SLR has been locked on its “auto” setting. What had I gotten myself into?

My very important photography lesson with Jeff Allen

My very important photography lesson with Jeff (photo courtesy of Heather Pope)

I rented the type of lens that Jeff recommended, a 17-50mm, and the night before the big event I set out in my neighborhood to practice under the same lighting conditions. Of course, Mother Nature was not cooperating with my photo cram session. It had snowed all day, and by 5:00 Boston was experiencing what meteorologist lovingly refer to as a “wintery mix”. So much for practicing in similar conditions.

On Sunday night, I arrived on Charles Street for Birthday Wishes Luminary Evening. Birthday Wishes is an amazing charity that throws birthday parties for homeless children. The organization believes that every child, regardless of living situation, deserves to celebrate their birthday joyfully. It’s an amazing charity. Many of the shops on Charles Street agreed to display candles outside their shops to celebrate Birthday Wishes’ tenth birthday.

As I approached the first shop that was displaying the Birthday Wishes illuminated installations, I thought W.W.J.D.: What Would Jeff Do! I moved all around the sidewalk in front of Upstairs Downstairs, looking through the viewfinder to find the best angle. I leaned against a lamp-post, stood on my tippy-toes, moved forward, moved back and crouched down low…there…I found the perfect angle.

The perfect angle

The perfect angle

I moved up and down Charles Street stopping at each of the stores that were participating, feeling more and more confident with each picture I took. I shot many more pictures than I needed (I learned that from Jeff as well), and  I even felt comfortable enough to experiment with using the added flash that I rented. It turns out the lens was all I needed. I was having fun as my old photography skills came flooding back, and I was suddenly reminded why I have loved photography for so long. Here are a few of my favorites from the Birthday Wishes event:

Outside The Red Wagon

Outside The Red Wagon

Upstairs Downstairs

Upstairs Downstairs

Outside the Beauty Mark

Outside the Beauty Mark

I even got a little artsy

I even got a little artsy-fartsy

I have to remember that when I take on these adventures I am usually learning from an expert in whatever field or activity I try. I need to have as much confidence in myself has they have in me. At the end if the night I felt great; I had done a good deed for a very good cause, and the pictures turned out really well. Best of all, my photos were included in the Boston Globe’s coverage of the event, so now I can say I am a published photographer! Not bad for a Sunday night. Anyone in need of a wedding photographer?

Boston dot come

Thanks go out to the talented Jeff Allen. I would have been lost without his advice and guidance. I was not compensated in any way for this post

Me Write Pretty One Day

I am one of the millions of people who are making cursive the endangered species of writing.  As The New York Times observed over a year ago, for many Americans especially those currently in school, cursive is less than common, it can be a downright mysterious. Let’s face it, more and more we like to print. And if cursive is dwindling in popularity, then calligraphy (a style of highly decorative handwriting with many flourishes) is truly a lost art.

I walked into a calligraphy lesson with the lovely and talented Mindy Barber not realizing how much of an art calligraphy actually is. Mindy has always loved handwriting and had a calligraphy set as a child. She taught herself some techniques, and then, as an adult, built upon that foundation through lessons with accomplished calligraphers, including a “Master Penman” (how’s that for a title?). Mindy now practices for her own enjoyment, and also creates beautiful wedding invitations and envelopes for family, friends and those lucky enough to fit into her busy schedule (she has a wildly successful full-time career as well). Her calligraphy has appeared in Town & Country Weddings and the wedding website The Knot.

Mindy hard at work

First Mindy introduced me to all the tools we would use during our afternoon of practicing calligraphy, including the pen holder; the long cylinder that a calligrapher holds in their hand (and that the rest of us would likely think was the actual pen). On the tip of the holder is the pen, which is removable and holds the ink until it is pressed to paper and the ink is released from the tip of the pen, or the nib. For our lesson we used an oblique pen, which Mindy said would allow me to better see the letters I was writing.

Oblique pen holder and pen

Mindy patiently explained the two basics of calligraphy: thick and thin lines. The downstrokes should be thick and the upstrokes thin. Lines are made thick by pressing down hard with the nib. A lighter touch will result in thinner lines. Sounds simple enough, right? Weeeeellllll, easier said that done.

Before we got started, Mindy’s wisely suggested we warm up. Just like stretching before a run, this would get us ready for our activity…or at least it was supposed to. We started by drawing circles over and over again; this would form the basis for many letters and their embellishments. Mindy’s circles were perfectly circular. Mine were irregular and lopsided. This exercise proved to be my first hint that this was not going to be as easy as I first thought. Then, as if ripped from the aforementioned Times article, I had to review cursive letters after I forgot how to form an “f” and struggled with a “b.”

Working very hard at drawing beautiful letters

My light-bulb moment came when Mindy explained that many master penmen consider calligraphy an art form; in this vein we would be drawing letters, not writing them. This made me feel much better about struggling with an act that I do every day of my life. If calligraphy is an art, then it’s only logical that it requires instruction, talent and a great deal of practice. I watched Mindy elegantly move her pen across the paper. She briefly picked it up off the paper over parts of certain letters that serve as contact points of multiple pen strokes (like the middle of an “f”) so that there would not be a blob of extra ink to mar the letter. This is just one example of the subtle skill needed to draw beautiful letters. Mindy has been practicing for years, making me feel silly to think I would be able to succeed after just one lesson.

But luckily I did not succeed at all, so I didn’t have to ruminate on that for long. Proof can be found in my alphabet, doodles, wobbly circles and name below.

And here’s Mindy’s beautiful version of her name (notice the thickness and thinness of the pen strokes):

While I may not have gained a great deal of calligraphy skill during my afternoon with Mindy, I did gain a new and powerful appreciation for the art of calligraphy and for calligraphers, like my dear friend. Like a painting hanging in a museum, calligraphy should be appreciated as the art that it is. So next time you receive a wedding invitation in the mail, after you rip it open, take a moment to pause and appreciate the effort and skill that it took to draw such beautiful letters. I know I will.

Many thanks to my friend, Mindy Barber, not only for taking the time to try to teach me the art of calligraphy, but also for creating the beautiful header at the top of this post. Her patience and good humor are always appreciated. I was not compensated in any way for this post.

Picture Perfect

Last month I went on and on about what a talented artist my brother is. And he is. But as an older sister it was just a matter of time before I challenged myself to see what kind of artist I am. I realized I was setting myself up for relative failure; anything I would create would pale in comparison to the work of Daniel Mahlman, but I thought this exercise would help me become more comfortable with doing something just to do it, not to perfect it.

Last week I attended “So You Think You Can Paint,” an event held at the Copley Society of Art, the oldest art non-profit in America. The gallery’s Circle Board (I am a member) sponsored the event where the very talented artist Rosalie Shane inspired a group of us to flex our artistic muscle. Rosalie is well known for her oil paintings of cupcakes with a heavy application of paint creating very realistic frosting. It all started when she painted one for her granddaughter’s first birthday. Eight years on she has painted hundreds of cupcakes, and last week she attempted to teach a roomful of would-be artists to do the same.

I am a better painter than sketcher

I sat down with a small canvas and my model, a Pepto-Bismol pink topped cupcake, which Rosalie was so kind to make for the occasion, and set out to prove that the artistic family genes had not gone exclusively to my little brother. I started out by drawing a cupcake on the canvas. It looked more like the mushroom cloud over Nagasaki than a cupcake, but I convinced myself that I could improve its shape with paint.

I mixed a bright (imagine that, me utilizing a bright color) shade of teal to create the background for my cupcake, then I used a light gray for the table on which it would sit. But when it came time to paint the actual cupcake I was paralyzed. I was worried about messing up. I called Rosalie over several times to discuss technique and approach. I went over and over every detail with her. I looked at the white silhouette where my cupcake should be with my paint brush poised to paint, but unable to begin.

After several more minutes, Rosalie moseyed over again, put her hand gently on my shoulder and said, “This is art. There is no right or wrong. It’s supposed to be fun.” That was exactly what I needed. I felt my old perfectionist instincts melting away.  I told myself that I was painting a cupcake, not finding the cure for cancer. Plus, it was paint! I could always cover any mistakes with…yes, more paint.

Applying the frosting

It was at that point that I rolled up my sleeves and got dirty, literally. I started with the base of the cupcake. My model cupcake was chocolate, but because I am allergic to chocolate I took some artistic liberties and made mine vanilla. I mixed a light yellow to bring the cake to life. I then heaped a generous dollop of pink oil paint on top with a pallet knife. Rosalie encouraged us to slather the paint as if it was actual frosting and the technique proved effective…and appetizing.

Rosalie helping a fellow painter

When it came time to add the sprinkles to my cupcake I took a tiny brush and dotted the top of the cupcake using a quick up and down motion, as if my hand was the needle of a sewing machine. This technique proved so effective that a fellow-painter sitting across from me asked how I was creating such perfect sprinkles. I told her and then she used the same technique. Not only was I an o.k. painter, someone else thought I was even better than o.k.! I put the finishing touches on my painting (a dab of brown on top to create a Hershey’s Kiss and a few stray sprinkles littering the table so the scene wouldn’t appear too perfect) with a sense of reckless joy, unafraid that I would “mess up” my little work of art. This was what the event was supposed to be about: non-artists enjoying making art. Once again, when I stopped worrying about failing, I succeeded.

My final product was cute and fun, and perfectly imperfect. Just like me, and that’s pretty darn good!

My model and finished product

As I mentioned, I am involved with the Copley Society of Art, but I was not compensated in any way for this post.

Little Brother, Big Talent

In this blog I chronicle my search for something – an activity, an idea – that I am passionate about.  Recently I have been thinking about what I will do when I find this illusive interest.  Will I devote myself to this newfound passion full time?  I would like to be able to say yes with confidence, but knowing my personality, I am not certain I can.

But if I want a role model for following one’s passion in life I need look no further than my brother, Daniel.  Dan is an incredibly talented artist.  It is his passion.  He is an inspiration in how and why it is critical to follow your heart.  A few years ago he quit his job to devote himself to art full time.  He is currently studying under the great American portrait artist Nelson Shanks at Studio Incamminati in Philadelphia.

A self portrait

Last Friday his first solo exhibition “Deconstructing Forms” opened at the Banana Factory in Bethlehem, Pennsylvania.  It is a retrospective of his pen and ink collection.  I admit that I am completely biased, but they are incredible.  From a distance they look as if they could be photographs, but close-up you can see the amazing detail of every tiny pen stroke. The judge in one art competition compared his technique to that of the French Impressionist George Seurat.

One of the artist’s models, our Dad

It was such a pleasure to be able to see his body of work hanging on the walls and to watch others examine the pieces.  Each time a stranger took a few steps back to get a different perspective on a particular piece, my smile grew wider.  I am so proud of my little brother, both for his talent and the bravery it took to devote himself to a “job” that has no guarantee of success no matter how talented you are, and certainly no guarantee of a steady income.  I am not sure I would be able to do the same thing.

“Uyghur Man”
The artist

The highlight of the night for me was to see Dan — surrounded by his work — greeting friends, family and admirers and receiving the accolades that he so richly deserves.  It was such a wonderful evening and it will continue to inspire me and remind me why I set out on this journey of mine.

A very proud sister

“Deconstructing Forms” runs though March 18, 2012.  To see more of Daniel Mahlman’s work please visit his website. You can see more pictures from the opening on my Facebook page.