@font-face { font-family: “Times New Roman”;}p.MsoNormal, li.MsoNormal, div.MsoNormal { margin: 0in 0in 0.0001pt; font-size: 12pt; font-family: “Times New Roman”; }p { margin-right: 0in; margin-left: 0in; font-size: 10pt; font-family: Times; }table.MsoNormalTable { font-size: 10pt; font-family: “Times New Roman”; }div.Section1 { page: Section1; }
The few, the proud, no, not the Marines — my blog followers! I am sorry I have been so derelict as of late, but I am back and I have some amazing adventures in the pipeline. I have been exploring lots of options that would allow me to dip my toes into the world of interior design. But then I decided to go big or go home: instead of just dipping my toes, I am rolling up my sleeves and getting my hands dirty – or more accurately gluey.
 @font-face { font-family: “Times New Roman”;}p.MsoNormal, li.MsoNormal, div.MsoNormal { margin: 0in 0in 0.0001pt; font-size: 12pt; font-family: “Times New Roman”; }a:link, span.MsoHyperlink { color: blue; text-decoration: underline; }a:visited, span.MsoHyperlinkFollowed { color: purple; text-decoration: underline; }p { margin-right: 0in; margin-left: 0in; font-size: 10pt; font-family: Times; }table.MsoNormalTable { font-size: 10pt; font-family: “Times New Roman”; }div.Section1 { page: Section1; }
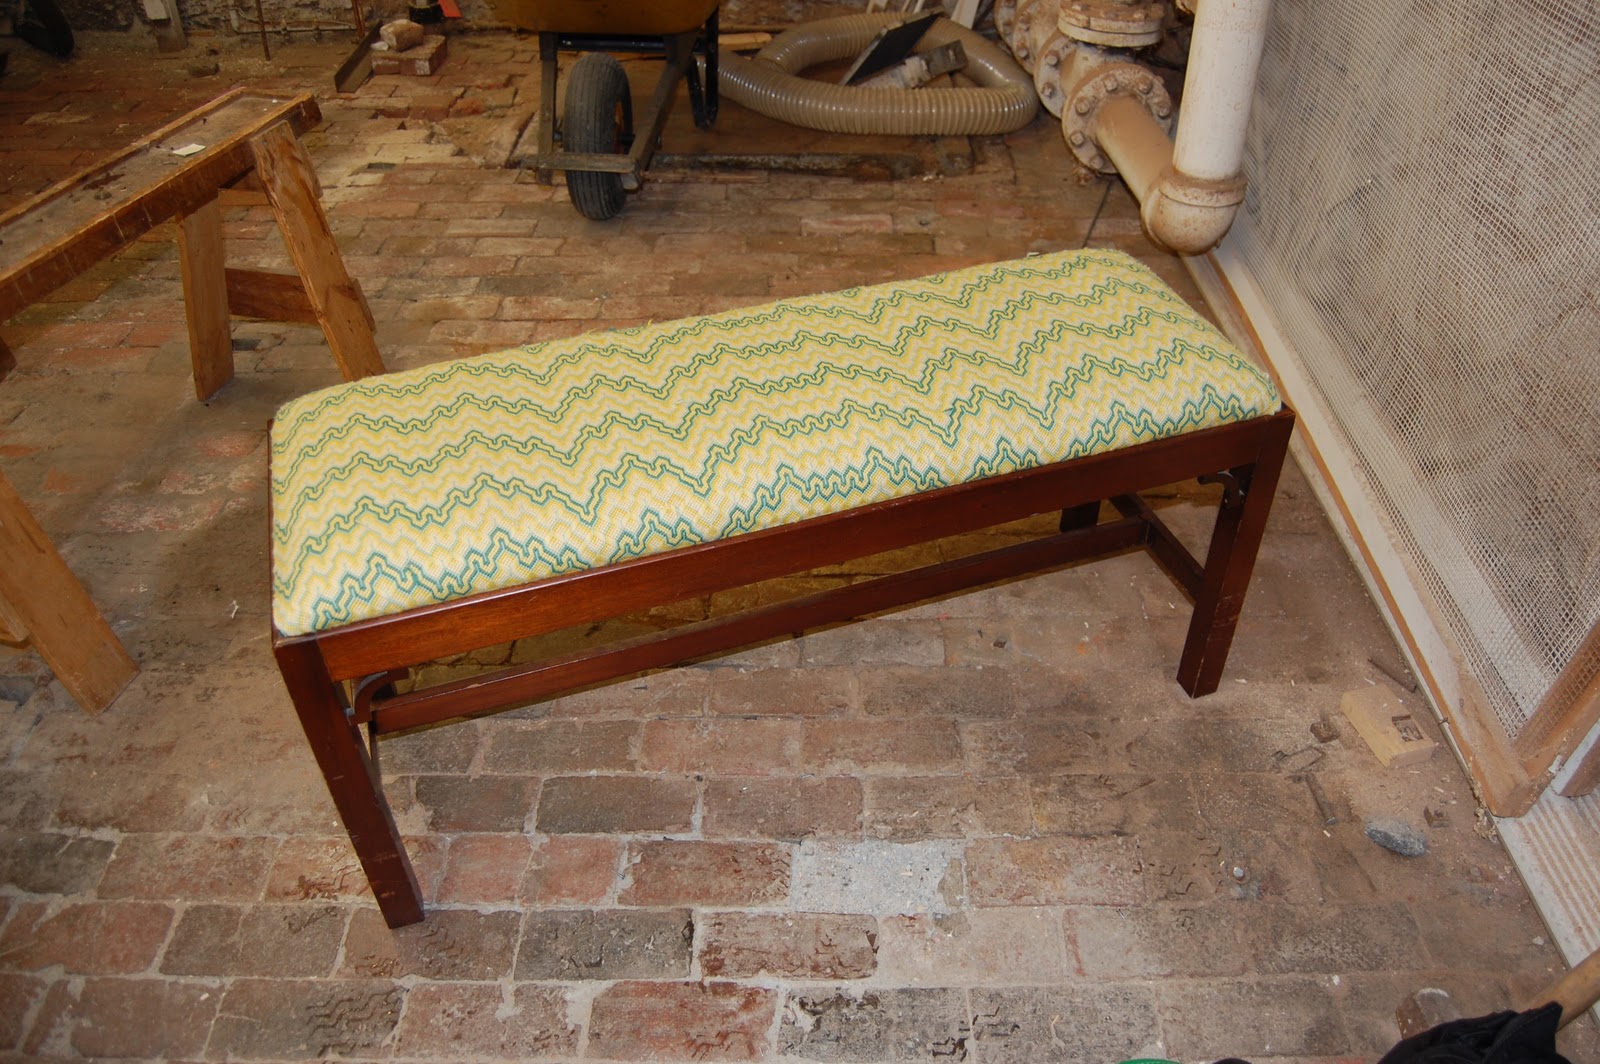
I have enrolled in an upholstery class at the Eliot School of Fine and Applied Arts. For the sake of progress — not to mention my crafty bravado — I chose a simple item as my first project: a piano bench with an upholstered top. It had been my grandmother and my great aunt needlepointed the cushion. I marched it into the Eliot School one a snowy night and three hours later my wee bench was in traction – literally.

@font-face { font-family: “Times New Roman”;}p.MsoNormal, li.MsoNormal, div.MsoNormal { margin: 0in 0in 0.0001pt; font-size: 12pt; font-family: “Times New Roman”; }p { margin-right: 0in; margin-left: 0in; font-size: 10pt; font-family: Times; }table.MsoNormalTable { font-size: 10pt; font-family: “Times New Roman”; }div.Section1 { page: SectionWhat I have discovered about upholstering is that first you have to un-upholster an item, and for that anything goes. A wrench, a screwdriver, a mallet…prying, ripping and wrestling – I utilized all of these trying to turn my bench cushion into well, nothing. Even if you are working on a more complicated project (say a wing chair – more about that later) you still have to strip it down to build it back up. When the only thing left was the bench frame we took that apart as well. I secured the bench’s joints with screws and glue. Glue seems to do most of the work so it is important to get it all over the joins of the furniture; hence it got all over me.
@font-face { font-family: “Times New Roman”;}p.MsoNormal, li.MsoNormal, div.MsoNormal { margin: 0in 0in 0.0001pt; font-size: 12pt; font-family: “Times New Roman”; }p { margin-right: 0in; margin-left: 0in; font-size: 10pt; font-family: Times; }table.MsoNormalTable { font-size: 10pt; font-family: “Times New Roman”; }div.Section1 { page: Section1; }
After applying the glue to the bench (and myself) I secured the bench from every angle with large, heavy clamps, which is how I left it until next week when I will sand and stain my little bench.
With my first class behind me, I can already say that I really enjoy this. It’s active (you really have to use some muscle) and creative (I have picked out the most gorgeous blue ikat fabric for the top and I am toying with the idea of hot pink piping). If not my passion, this could certainly turn out to be a new hobby!
I will have another update after next week’s class. Today a piano bench – tomorrow the world!

This seems like such fun! Keep up with the posts; I want to see the end result.